Let’s set up some scenes in OBS Studio. I’ll also show you how to customize our graphical assets directly inside of OBS Studio, as well as setup hot keys to make switching between our scenes quick and easy.
For this video, make sure to check out the link to NerdOrDie.com that will provide you with all of the graphics we’ll be using in our scenes. They’re all completely free. If you enjoy using them, sharing the site or this video on Twitter, Reddit, Facebook., or whatever you use would mean a lot!
Anyways, if you followed the series so far, you’ll have a very strong understanding of how to work with OBS Studio. Scenes will be our collection of different sources – each scene will have a different purpose during our broadcast.
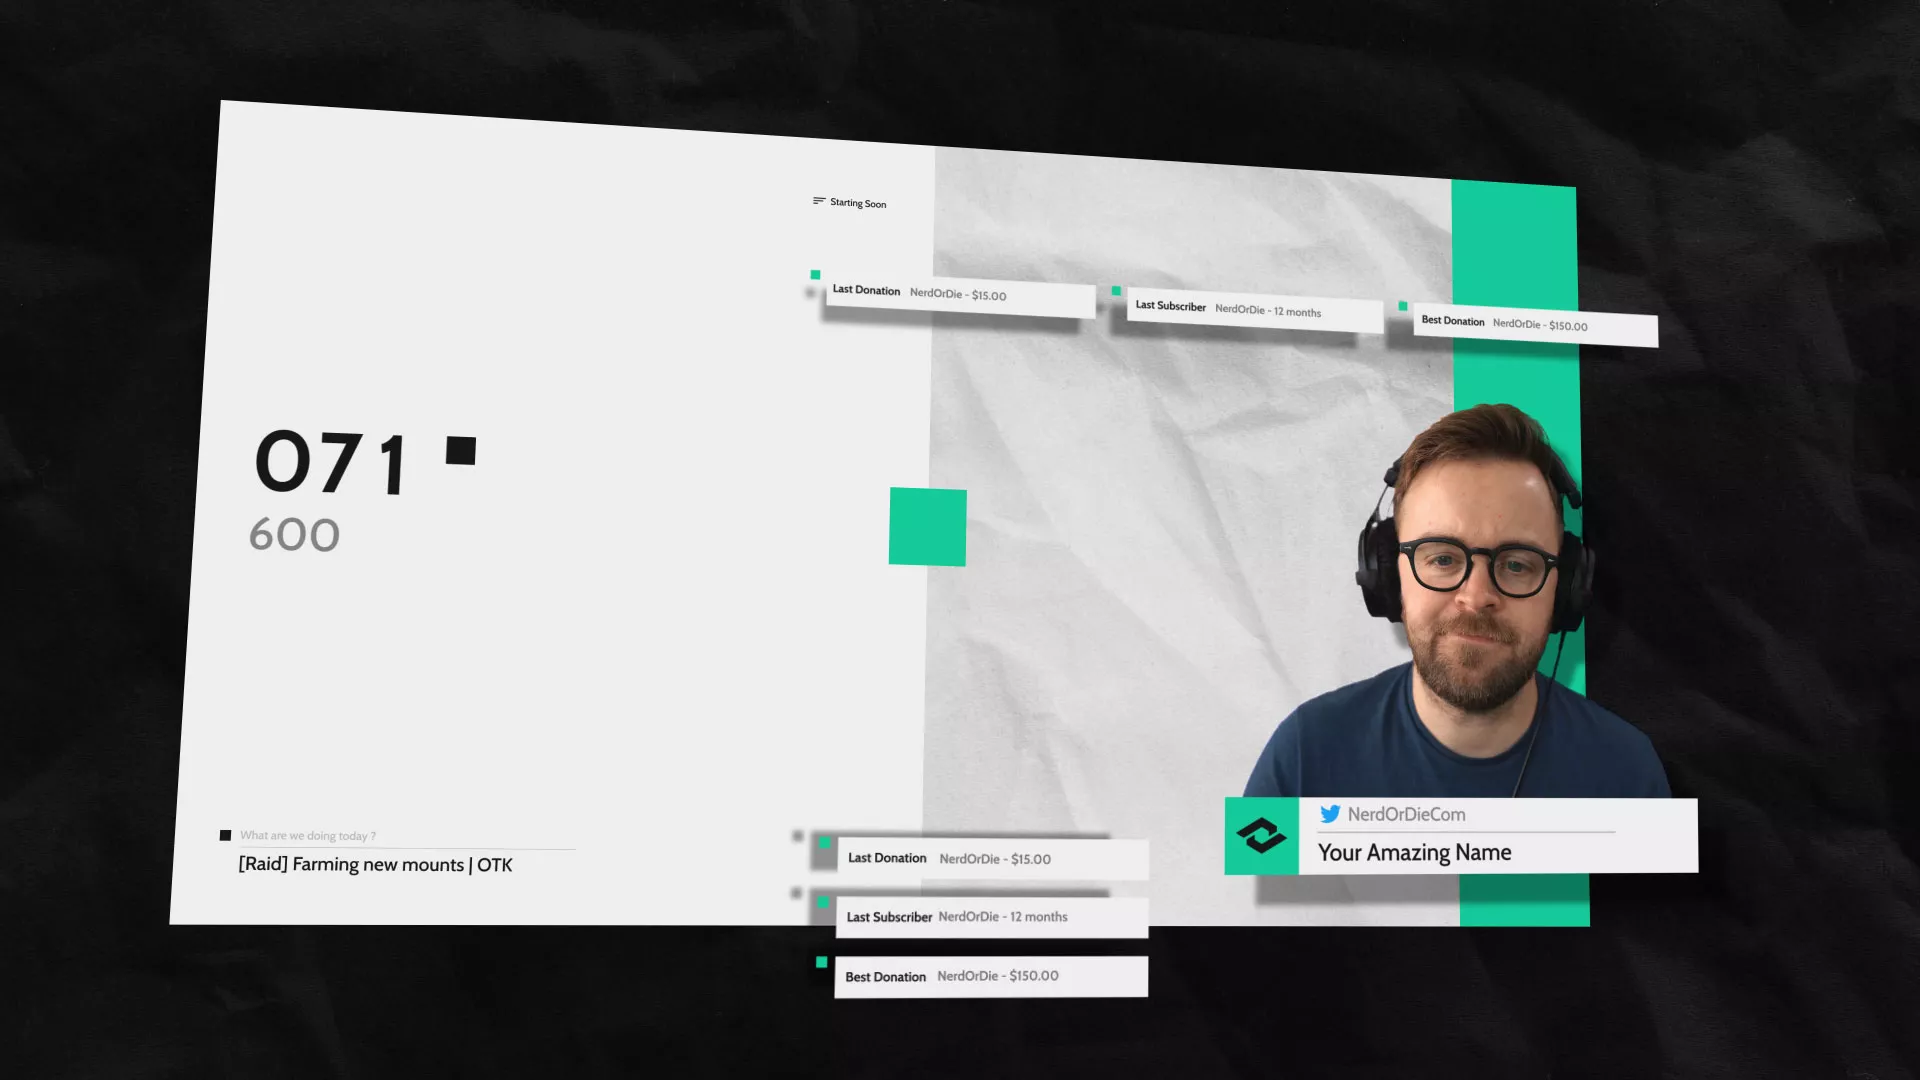
To start, I’m going to download the graphic assests from NerdOrDie.com – the overlay image files are in a .zip, so you’ll need to extract them. I’ll put everything on my desktop. Feel free to save yours anywhere. The files contain a generic overlay – but if you need to further customize your overlay – you can use our Overlay maker, link will be found in the description as well. Let’s first start with an “Intro” scene. Broadcasters generally use this to give time for any viewers to filter in before they start their show. I do want to mention that my base canvas size is 1920×1080 pixels… if yours isn’t you may need to adjust some of the graphics with scaling and positioning.
The first thing I’m going to do is rename our default scene to intro – now, let’s add in our looping background video. Add a media source and name it Background. We’ll leave local file checked, and then browse to find our video background file. Select loop, as we want this file to continuously play in this scene. If you’d like, you can uncheck Restart playback when the source becomes active, but this isn’t necessary with such a small file. This option would help reduce some memory usage, if you’re concerned about that. Hit okay.
Now let’s add in a text source, and name it “Header”. Hit select font and choose any font that you’d like to use, and any styles here as well. I’m going to set the size to 72, hit okay to go back to the font properties. I’m going to type “The Stream Will Begin Shortly” in all caps. Next, I’m going to select my font color. You can choose whatever you like, but I’m going to leave color 1, or the top part of our text o n white, and color 2 which is the bottom part of the text as white as well – hit okay once you’re done with these options. I’m going to then hit Ctrl+D to center this text on my screen. You can also right click the source, go to transform, and then hit “center to screen” here as well.
We have a nice header message, in our scene, but let’s add something about our social media or a general message quickly. Create another text source, call it subheader, but this time make the font a bit smaller, in my version I’ll select 48 – I’ll also choose the same font I was using before. After I have those options selected, I’ll just type in something like “Don’t Forget To Follow!” and then hit Okay. Again, I’ll use Ctrl+D to center my source to the screen. We need to shift this source down in its vertical position. While we could do this by clicking and dragging, let’s do this a more precise way. Right click the source, and go to Transform, Edit Transform. Here we have all sorts of way to reposition our source. I’m going to increase the value of the 2nd input for position, as this is the vertical positioning. This will allow us to keep the text perfectly centered horizontally. Remember, you can type in a value here to go a bit faster, or just click inside and use arrow key up to go a bit faster. Close this box when done.
Everything is looking pretty good so far! If you have a logo, we can add that in as an Image source. So, just add in an image source, find the file to use as your logo. Now, use Ctrl+D again, right click the source and use Edit Transform. We’re going to decrease the 2nd position value, since we want our logo to go up, this time.
Feel free to play around with alignments and positioning to make your scene unique to your own channel – I actually am going to click some of these sources and use the down arrow to nudge it down a bit, to center it vertically.
We’ll cover customizing colors for sources towards the end of the video.
Let’s move on to our gaming scene. I’m going to add a Scene and name it gaming. First, I’m going to add a game capture and leave it at it’s default name. Next, since my game is already in borderless windowed mode, I’m going to uncheck “Capture any full screen application” and select CS:GO in my window drop down. I’ll leave the settings at their default, and hit okay.
Let’s add our webcam into our design. For this, it will be a video capture device and name it Webcam – Gaming. After I make sure the device is set to my webcam, I can then set up some additional settings. You can leave your resolution and settings at your default value, but I’m going to change my Resolution/FPS type to Custom and set my Resolution to 864×480. I know my webcam won’t be very big, so there’s no need to have the resolution any higher. Once the camera is added into my scene, I can drag it to where i’d like, and use the corners of the red bounding box to scale it down to the size I want as well.
Let’s now add an image overlay in. With a new image source, let’s name it overlay. Choose the file you’d like to use as your overlay, and hit okay. We can simply drag this image to the bottom, since that’s where I’d like mine. Again, if you need a different overlay designs, check out the overlay maker on the Nerd Or Die website. We also have a video detailing how to use it – which will be linked in the description as well.
What if we want a custom size, shape, and color for a webcam frame. Honestly, the best way is to have a shape designed and edited in photoshop, but don’t worry, we can make something work! Remember that big white rectangle I downloaded? Well, we can use scaling and filters and make it our webcam border. Let’s add in another image source, name it webcam back, select the white rectangle file and hit okay. We’ll see this image take up the entire screen. Let’s first reposition it in our sources panel to be under our webcam. Next, let’s resize it to give the top and bottom of our webcam a nice border. It might take a bit of adjustment to make sure the top and bottom side are even, remember you can also use the arrow keys to reposition it. You’ll notice that the border is too big on one of the sides of the webcam. So, we need to crop out part of the side that’s a bit too big. We can do this in a few ways. The easiest way is to simply move the source a bit to the side with the arrow keys or by clicking and dragging. We can basically nudge it out of our preview window until we get a nice even border. If you need to, cropping this image might work best, depending on where you position your webcam.
I noticed that the color isn’t something I like. Let’s change that with filters! Right click the source and go to filters. First, let’s add a color correction filter. Choose “select color” and you can pick any color here or we can hit “Pick Screen Color”. With Pick Screen Color active we can mouse over the color from your overlay that you’d like to choose with our crosshairs, and then click when we get the color we’d like to use. I’ll drop this blue from the overlay. If you missed our video about filters, go back and check it out, this process will make a lot more sense!
Something that I want to quickly mention is that OBS Studio version 0.14 and above will also have the ability to hold alt, and drag the sides of our bounding boxes of any source to crop them. The version that I have, doesn’t have it just yet – you can check the version in the top of OBS Studio. This is definitely the easiest way to crop sources.
In a future video we’ll cover how to add donation, follower, and alert text into our scenes – but for now, let’s move on to what I like to call the “inbetween scene”. I’ve been using this term for a long time, and it basically means a scene that I’d use between games. So, if you’re just talking to chat, or waiting in a queue, this is the scene you can use.
Let’s make a new scene called Inbetween. First, I’m going to add in a background video, this time I’m going to choose the version without particles, but pick whatever looping video you like. Next, I’m going to add in the image I downloaded from NerdOrDie.com – the Inbetween image. Let’s add a color correction filter on top of this image to choose a color we like. I’m a fan of blue – so I’ll choose one I like and go with that. Before we continue, let’s take a look at our how scene looks in full resolution.
I’m going to right click the preview area, go to fullscreen projector (preview), and then select the display I want to view this on. We’ll see what our scene looks like in full screen – pretty solid so far, but let’s add a couple of elements into this. Right click and go to close, to leave this mode, or hit escape.
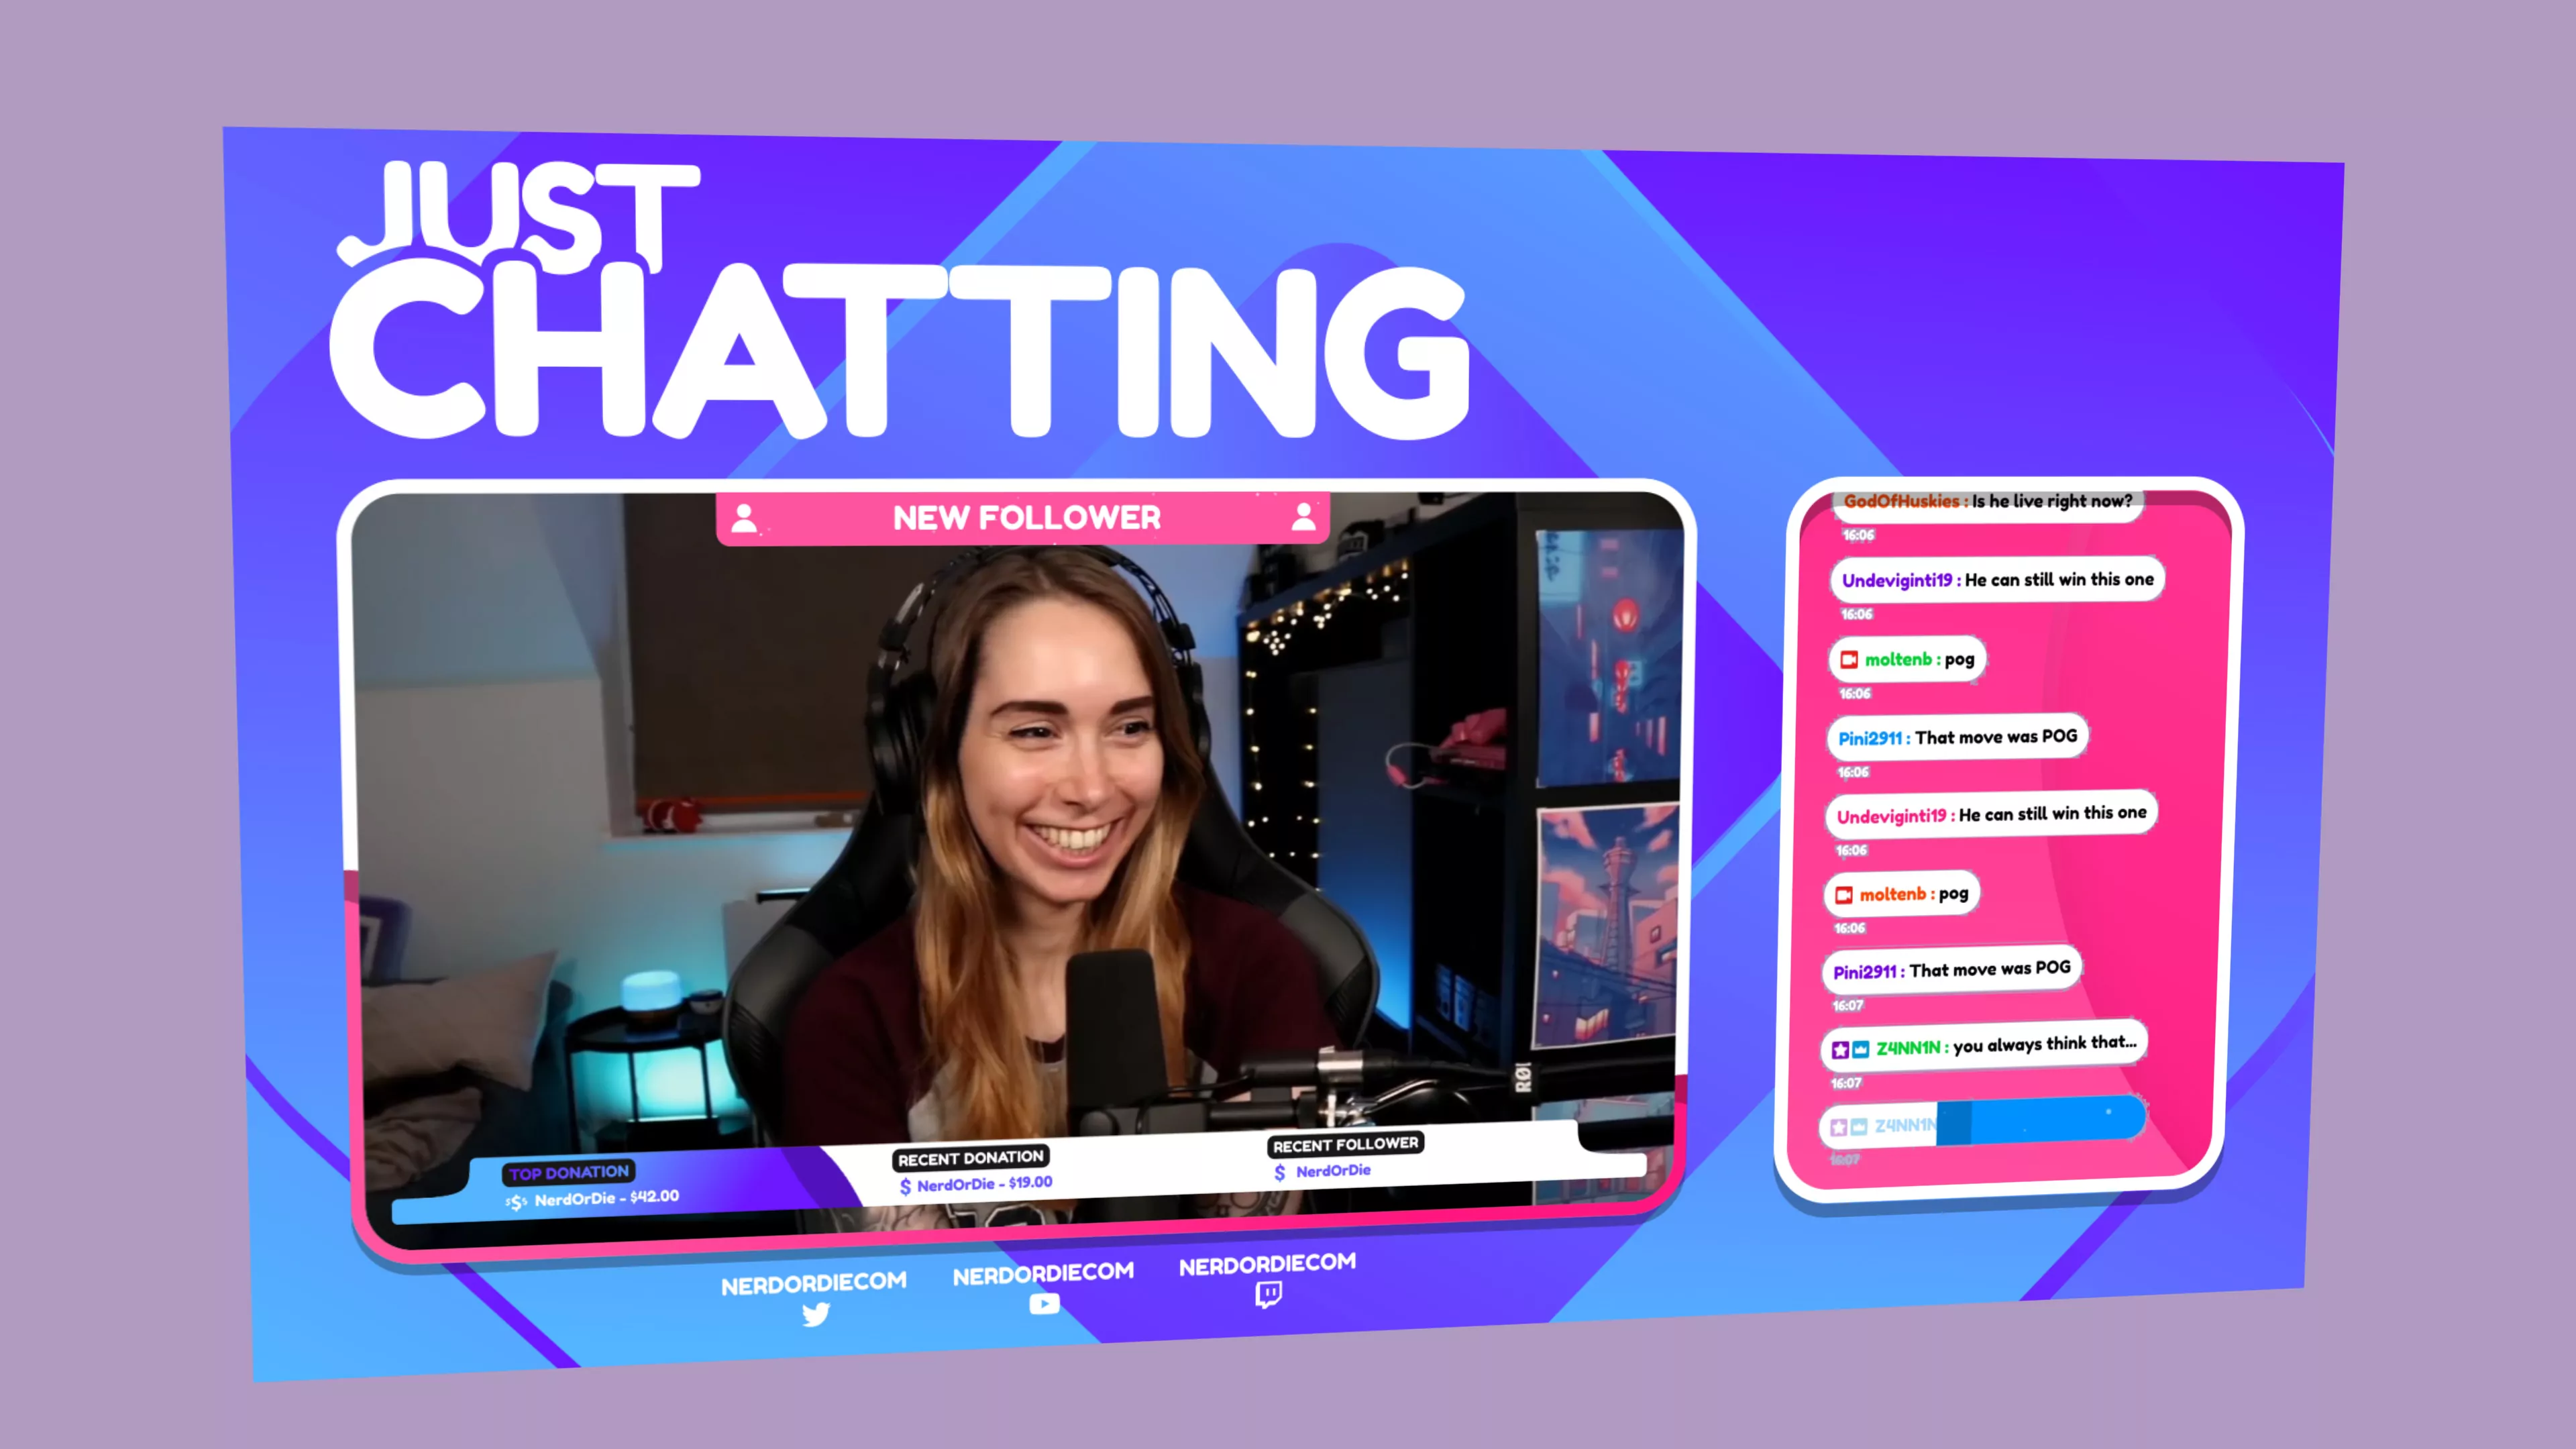
Next, I’m going to add my webcam back in. Since we already used it in another scene, I’ll just add a video capture device, and select Add Existing, and choose Webcam – then hit okay. I’m going to move it around, and do my best to make it line up with one of these boxes on the left. If you’re having trouble getting the source exactly where you want it, don’t forget you can use the Edit Transform box to use more precise values. You can also use cropping if needed. Let’s do the same thing with our game capture. Add in the existing source, and scale it to where we need it – we want it to be just inside of this blue box. After I position this where I feel is good, I’m then going to click and drag the Inbetween Image to the top of my scene. The boxes will now cover parts of the sources, and create a nice frame as well. With that positioned, we’re done for now with this scene. The middle area is intended for Twitch chat, this top right area is for our recent supporters, such as latest follower, top tip or donation, and recent tip.
We haven’t covered how to add those things in yet, but we will be in the next video – so make sure to subscribe to learn how to do that.
We also have a spot for a music ticker as well.
If we wanted to add a logo below the ticker, or a message with a text source, we can do that now. I’ll actually add in my logo from an existing source for now.
Let’s next talk about duplicating scenes, and how filters on sources work for various scenes.
Let’s say you wanted to make a “be right back scene”. A quick way to reuse scenes would be to right click the “intro” scene and select duplicate. Let’s name our new scene BRB. We can arranges scenes in the same fashion as we can with sources, but I’ll leave this BRB scene on the bottom. So, to make this a “be right back” sort of scene, I’d only need to change the text from “The stream will begin shortly” to “Taking a Break, I’ll Be Right Back!”. Let’s try that and see what happens. Right click the source we named header and go to properties. I’ll enter in the phrase and hit okay. So once I’m done with aligning this, I should be good to go, right? Well, the change took place, but if we go back to our intro scene, we’ll see that our intro text has changed also. This is because we duplicated this scene and have changed this source. So, we just need to make each of these a separate sources. So I’ll actually remove header from the intro scene, and add in another text source, name it Welcome – Header, Re-enter my message “The Stream Will Begin Shortly”, and then just realign it. The same type of rule applies to filters. If I wanted to make my logo into a watermark on my Inbetween scene, I would first want to remove this current logo. Add in another image source, let’s call it watermark instead of logo, position and scale it to where we’d like. Next, let’s add a filter for color correction. I’ll select a blue, and set the opacity to 30. You’ll see the image now has a watermark-like appearance.
So, just remember, when duplicating scenes, and applying filters to your sources, they can be affected throughout different scenes. If you need to, create additional sources.
The last things we’ll go over is transitions and hotkeys to switch scenes.
Transitions can be set and modified next to the “Start Streaming” button. We can select a certain transition and how long it takes. I’ll put mine to 500ms. If we click to different scenes, we’ll see a nice half second transition. I like this – so let’s move on to hot keys. Click settings and go to hotkeys. We’ll now see a big list of hotkeys. We can even create hotkeys that allow us to show and hide individual sources in our scenes. For now, I’m going to only worry about the “Switch TO Scene” option, and in this video I’ll set them to Shift plus 1, 2, 3, and 4. I just click inside of the command I want to set, and hit the key. I’d like to set them to. Once I have all of them complete, I can hit okay, and use the hotkeys to switch between scenes! You’ll probably want to pick different combinations of keys, but hopefully you get the idea of how these will help.
With that, we’re done with setting up our scenes. In the next video we’ll discuss different notification systems, and we’ll even use one to fill in the rest of our inbetween scene.
The Core OBS Studio Tutorials
Get the free graphics used in these videos.
- Introduction to our OBS Studio Tutorial Series
- OBS Studio Vs OBS Classic
- Installing and Setting Up Profiles In OBS Studio
- Best OBS Studio Settings
- In-depth look at OBS Studio Sources
- Using OBS Studio Filters
- Setting Up OBS Studio Scenes (current post)
- What Notification Should You Use With Twitch?
- Setting Up Your Twitch Account Before You Stream
- Streaming Live on Twitch and How to Improve Your Stream
- OBS Studio Updates – Alt Cropping, New Transitions, and Source Snapping
New Posts
Streamers VS Mainstream Media
April 8, 2024
The digital landscape is ever-evolving, and with it, the rise of streaming in…
0 Comments7 Minutes
Premium and Free Twitch Overlays Templates
March 24, 2024
Twitch overlay templates are what we do best. Here is a selection of freebies…
0 Comments7 Minutes
Free Twitch Overlays, Alerts, and Widgets
March 3, 2024
Free twitch overlays, alerts, and stream widgets are something that we’ve been…
0 Comments9 Minutes
