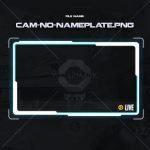
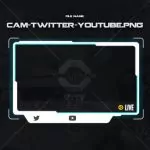
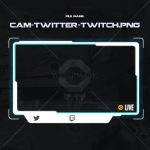
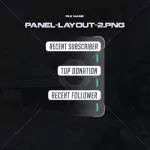
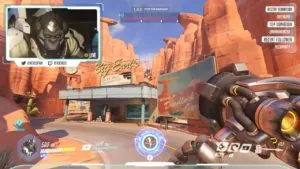
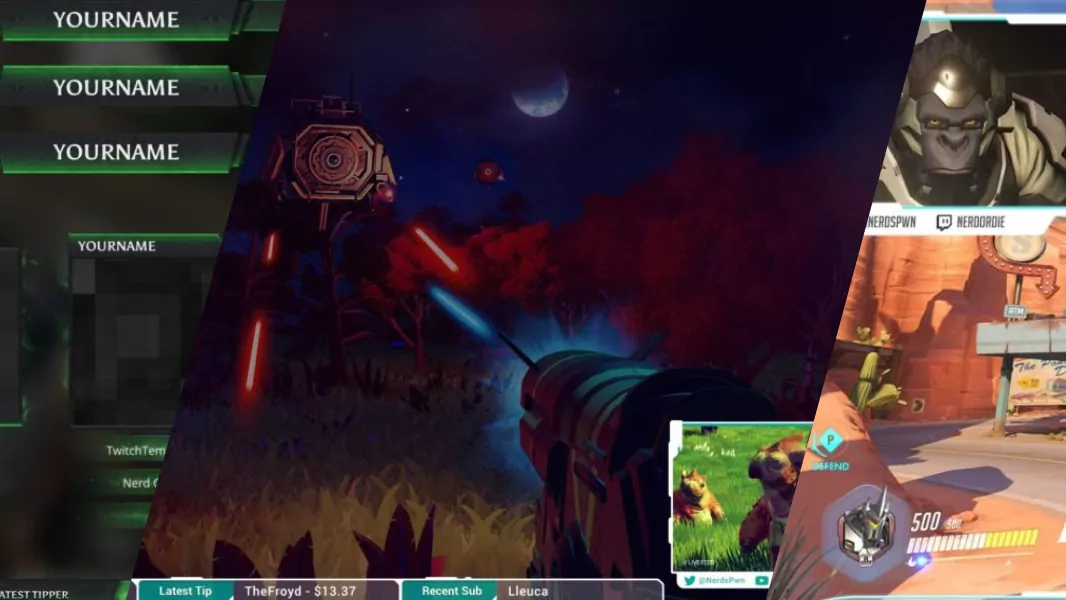
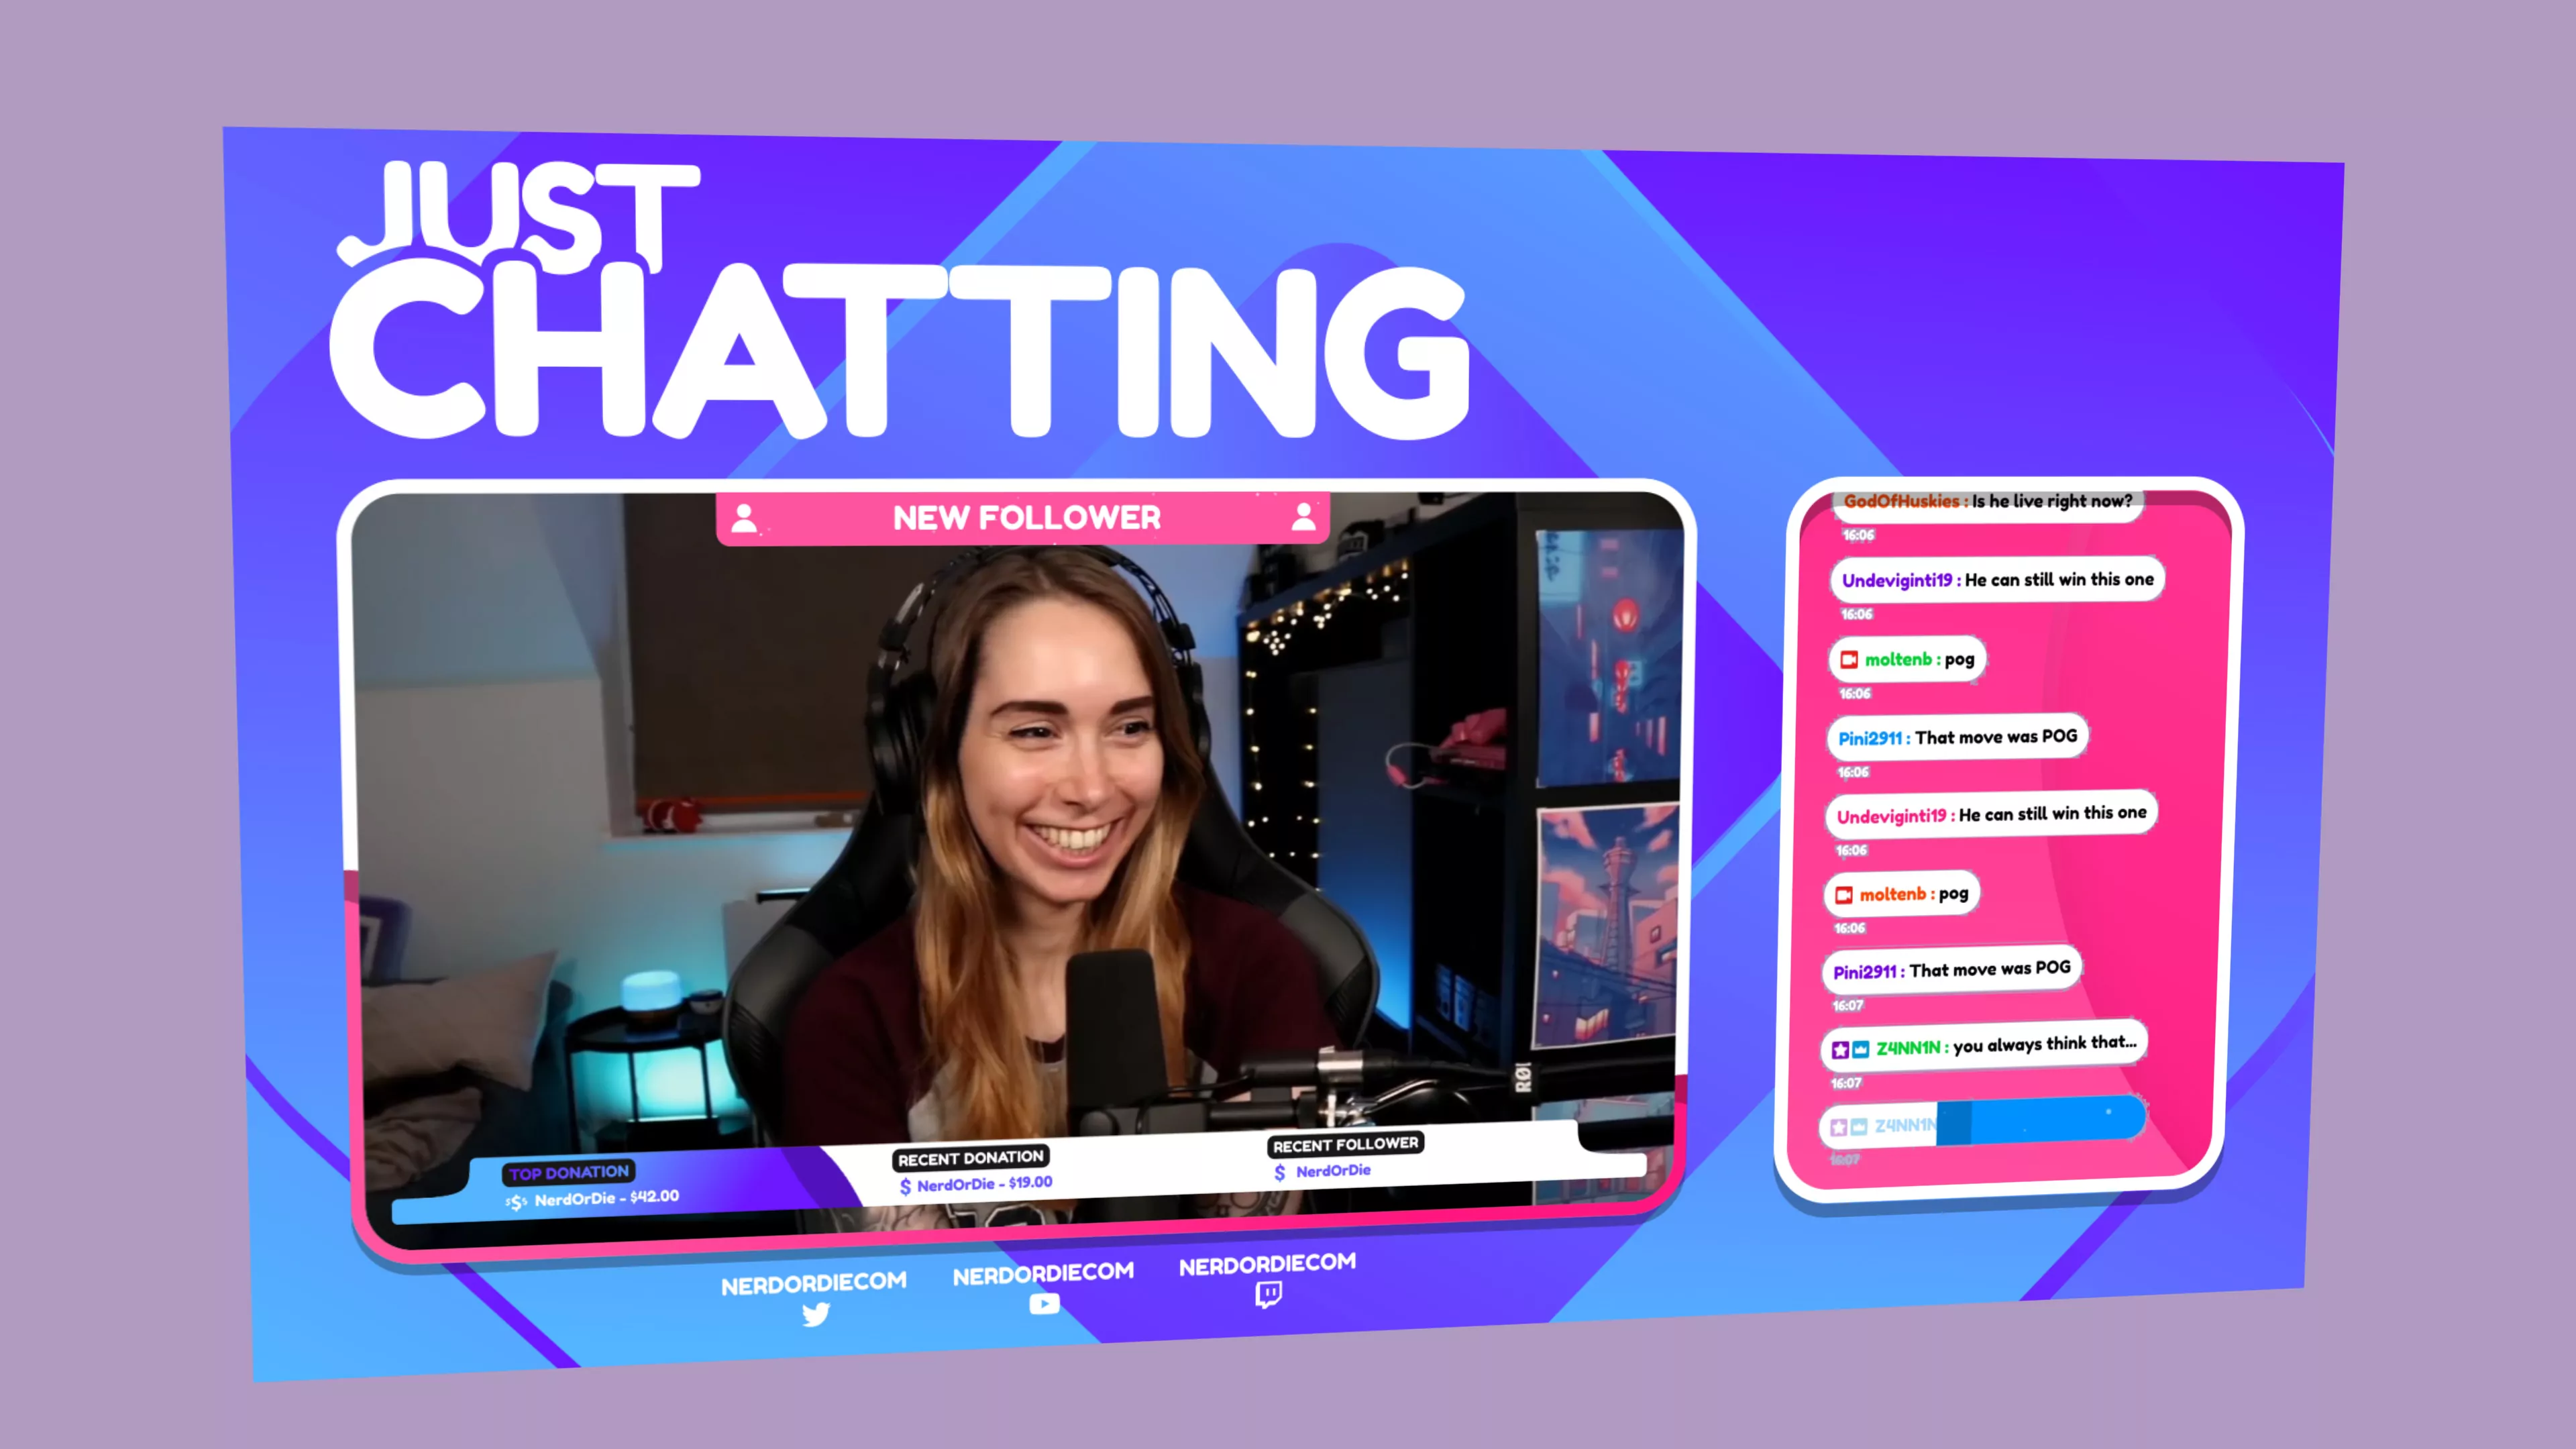
To celebrate the release of one our favorite games to play, we created a free to use Overwatch overlay! If you like this design, let us know by commenting below, we’re thinking about making this design into an animated version. So check back to catch any updates on that.
I want to give a huge shout out to @CFroyd – he was the one who designed this free resource, so a big thank you to him.
Download Overwatch Overlay Files
Let’s head over to the Overwatch overlay product page to download all the files you’ll need. In our store you’ll find this free overlay. You can check out some previews of the images below if you’d like. To download, set the price you’d like to pay – you can use $0.00 and hit add to cart.
Next, click view cart, and then proceed to checkout. Your Email address is required here, so that you can be sent the download links – but you’ll also get direct access to the links on the website after you hit place order. On this page you can simply download the items you’d like to use. If you do decide to enter an amount greater than $1 there will be an extra step via PayPal to make your purchase complete. Please feel free to download this and use as you’d like!
If you’re not sure which items you like, you can of course download them all, or go back to the product page, and view the previews again. As I mentioned earlier, you’ll also receive an Email that contains the download links a few moments after your order has been submitted.
Preview of the Overwatch Overlay images
Installing the Overwatch Overlay OBS Studio
Supporters Section
Let’s move onto setting up this Overwatch overlay in OBS Studio. To set up your supporters section, you can simply add in an image source, and choose the layout you’d like by browsing to your newly downloaded images. In the video, I add in panel-layout1. You can simply drag it in to resize it a bit and then position it where you’d like.
From here, we can add in our donation labels as a text source. For the font – I’m going to select Big Noodle Tilting. Let’s also set the font style to Italic. Make sure you set a font size appropriate for how big you made your image, and then you will need to link your donation labels via the read from file option. If you’re not sure how to do this part, here’s a link to YouTube video that will help you out with this. We also want to right align the text for this, to do so, right click the text source we added and go to Transform then Edit Transform. Change the positional alignment to “Top Right”.
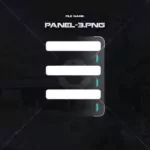
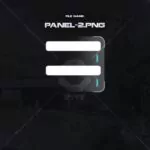
The pack also includes blank supporter panels, named panel-2, 3 and 4. You can add these image in the same way. You can also add text sources with a dark color font to make your own headings if the template ones don’t fit your requirements. If you’d like to have the image left aligned then simply right click the image and go to Transform then Flip Horizontal to mirror the image.
Don’t forget that you can use the arrow keys for fine tuning with your positioning inside of OBS Studio.
The HUD
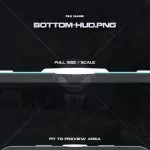
The HUD part of this Overwatch overlay is a simple image. Add it in as an image source and that’s that! You can position this at the top, or bottom of your stream. To flip it, right click and go to Transform then flip vertical.
Since this is a blank HUD you can easily add in more text sources to create a name plate, or you could even use this as your supporter section, instead of the panels we just set up. Get creative with how you use all these images together with text sources, and create your own unique overlay.
You could even add a color correction filter to these images to match your brand color. There’s a ton of great options with OBS Studio that you can use to make this Twitch overlay unique to your channel. If you need more information about how to use filters, check out this video on the subject. It covers everything you’d need to know about OBS Studio filters.
Adding in the Webcam
Finally, we need we add in the webcam. First, add in your own webcam, which is a video capture device. Set your resolution/fps type to custom and select 1280 x 720 for the resolution. Next, add a filter on your webcam, so that it can have round the corners to get it to fit properly inside of the image you’ll soon add in. Right click the source and go to filters. Click the plus for an effect filter, and add an Image Mask/Blend – leave this on Alpha Mask and browse to find the webcam-mask file. Select it, then close out of the filters section. We’ll see that our webcam has been cropped and rounded.
Let’s next add in an image source, and select the webcam template we’d like to use. In the YouTube video we use the cam-twitter-youtube file. Once it’s added in we can easily resize both our webcam and this image source, and position it where we’d like. Again, most of these templates have been left blank, so that you can add in custom text sources with the information you’d like to include.
There’s even templates with no areas for text, if that’s what you’d prefer.
Well, that’s about all there is for the setup of this Overwatch overlay design! I really hope you enjoy it, and I hope everyone has a great time playing Overwatch. Please let me know in the comments below if you have any questions. As I mentioned before, if you’re interested in an animated version of this, where we’ll add some cool glow effects and maybe even a bit more, let us know in the comments as well, or by sending us a tweet.
New Posts
Streamers VS Mainstream Media
April 8, 2024
The digital landscape is ever-evolving, and with it, the rise of streaming in…
0 Comments7 Minutes
Premium and Free Twitch Overlays Templates
March 24, 2024
Twitch overlay templates are what we do best. Here is a selection of freebies…
0 Comments7 Minutes
Free Twitch Overlays, Alerts, and Widgets
March 3, 2024
Free twitch overlays, alerts, and stream widgets are something that we’ve been…
0 Comments9 Minutes
