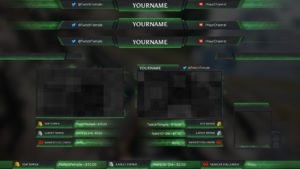
Stone fire is now available as both an animated paid version, as well as a static free version. It includes multiple layouts designed for casual and variety streamers. We also created layouts specifically for broadcasters that play League of Legends and Dota 2.
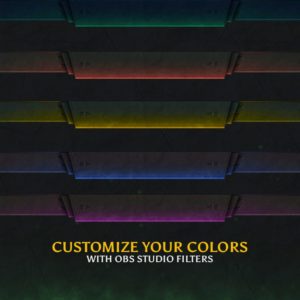
Adjust Colors
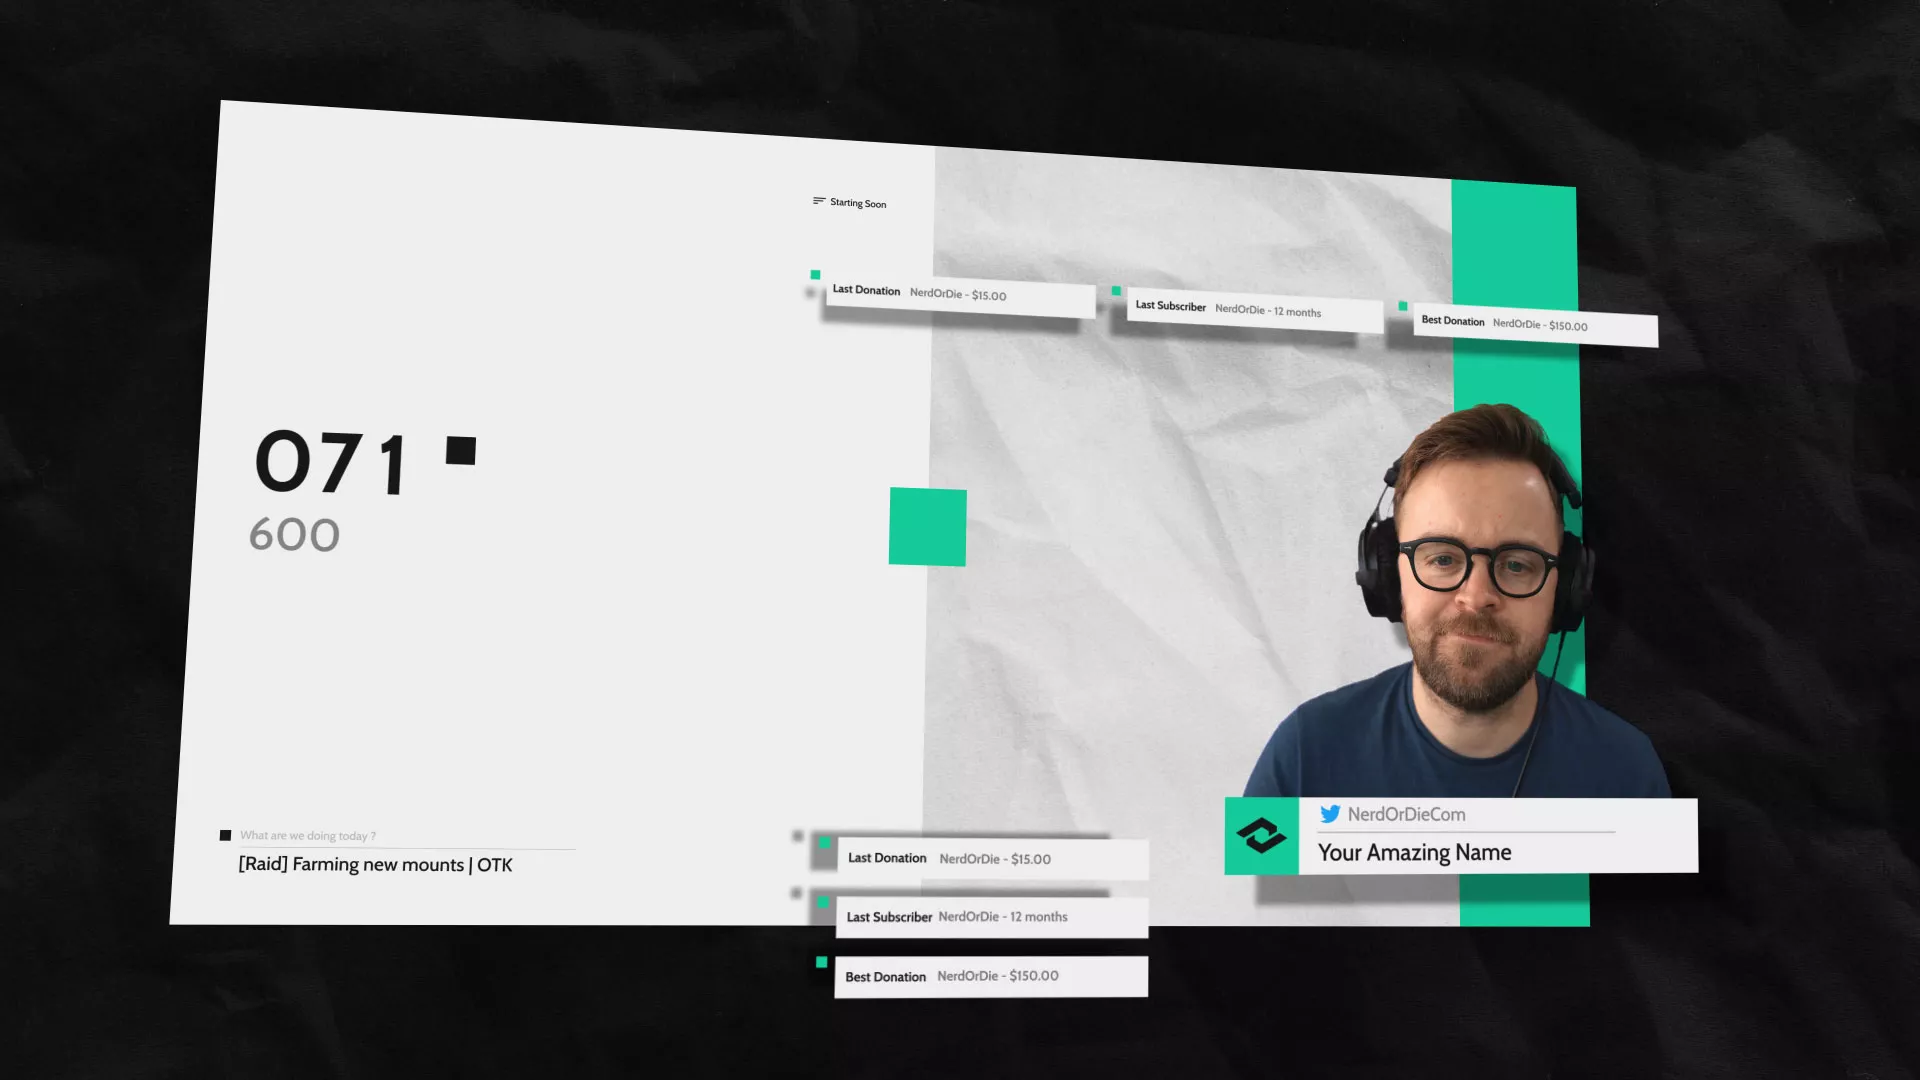
The package was designed to make it easy to adjust the colors of the items included. So that you can choose the colors that best fit your theme. Stone Fire includes intro, intermission, and an outro screen designs. All of which are animated, and allow you to customize the what icons and messages are included on your stream.
Custom Layouts – Standard, League of Legends, and Dota 2 Overlays
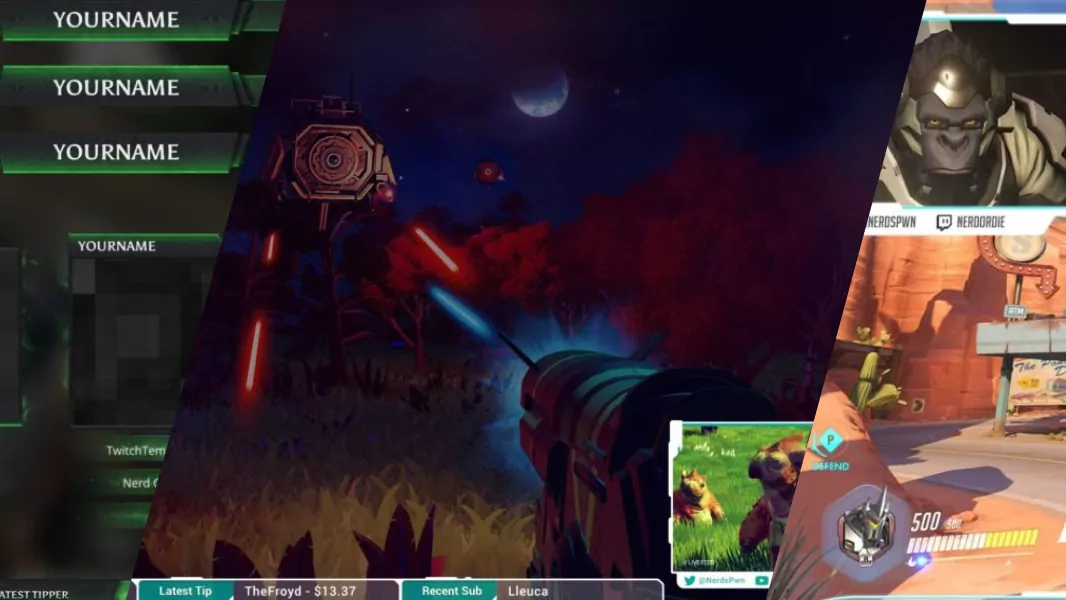
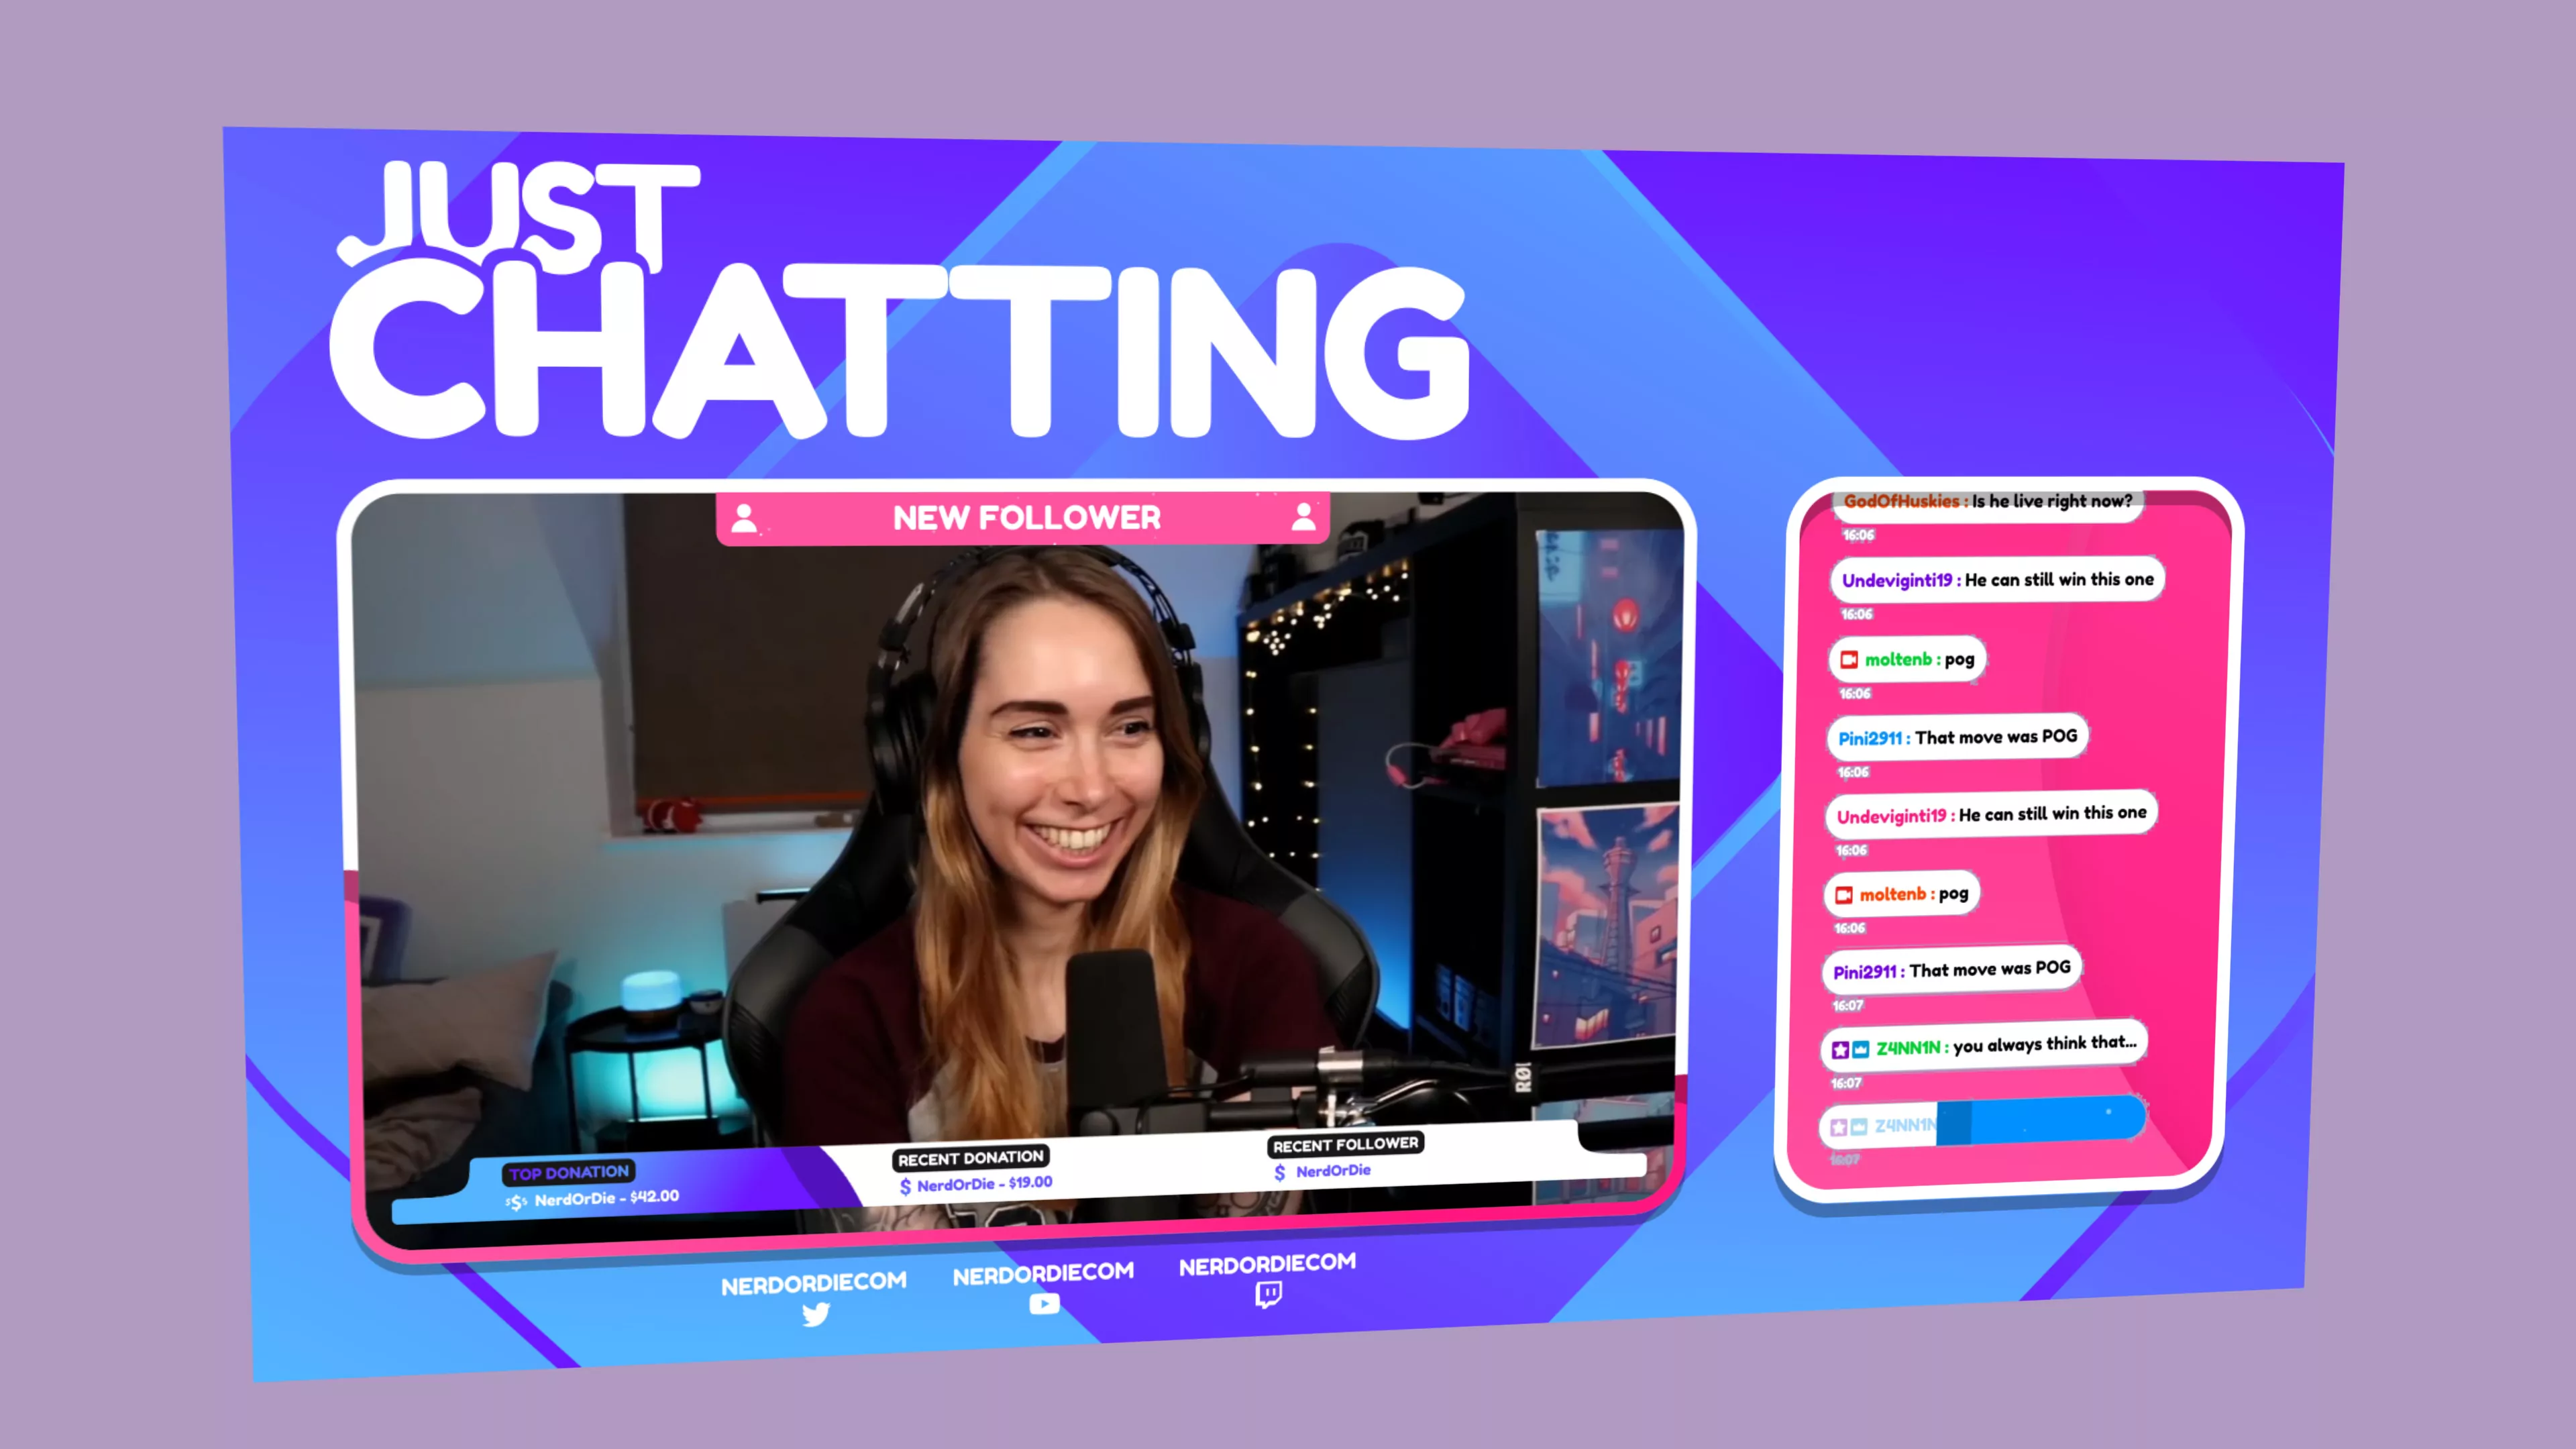
The overlays included have individual items and preset layouts. Meaning you can add in you or overlay quickly, or use parts of the design as you see fit. It also has designs specific for League of Legends and DotA 2. Our goal with these layouts are to show as much of the game as possible.
Animated Alerts with Custom Sounds for Stream Labs, Muxy, and More
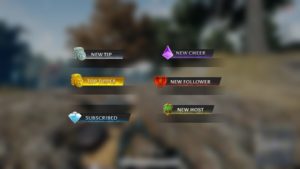
Stone Fire also includes animated alerts that will work with pretty much any platform. The alerts with Muxy include a 1 click setup, as well as custom sound files. The package comes with WebM video files for each type of alert that you will need.
Twitch Panel Designs + Icons for Stone Fire
Last but not least, we have the panels, which include illustrated icons. All icons are found in the package download. The free version static overlays as well as the panels. So, check out that item if you want to give this overlay a quick trial run.
Setting Up the Stone Fire for Twitch Streaming
After you download the Stonefire package, extract it using 7zip or Winrar onto your PC. The folder includes a helpful ReadMe file that will give you the basic information about this package. One thing you should do before beginning, is install the included fonts, as they will be used later in setup.
Intro, Intermission, and Outro Scenes
Let’s begin with the intro, intermission, and outro setup process. I’ll talk about how to handle just the intro, but the techniques I use can be applied to each scene.
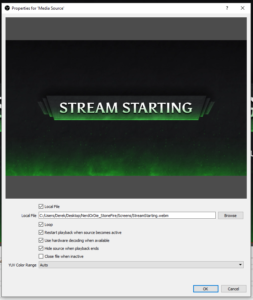
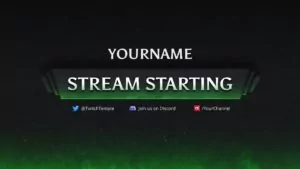
First, let’s create our intro scene in OBS Studio. Next let’s add in a new media source. Navigate to the Stone Fire folder and in the screens folder we’ll see the video files for starting, ending, and intermission. The intermission folder contains variations of the video, which allow you to custom this exactly to the style you’d like to use. I’m going to add in the StreamStarting.webm file, and make sure it’s set to loop.
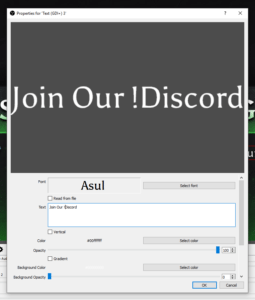
Next, add in a text source and call it Stream Name. We’ll hit select font, and find the font Asul, leave the style as normal, and enter in a large text size. Remember, you can always scale text down in OBS Studio, but when you scale it up it may become blurry. So, let’s enter something like 272 for the size. Click okay, type in your Stream name in the Text box, and for color, let’s just use a solid white. Hit okay. Positioning the text in the center can be difficult by just eyeing it. Let’s go into OBS Studio’s settings and under the general tab, make sure that source alignment snapping has everything enabled. This will allow us to click and drag this text file, and have have it “snap” to the horizontal center. It will also be helpful with setting up the icons and other text files we’re about to add.
Let’s add in an image source. Navigate to the icons > large folder, and for this example let’s choose Discord. Let’s also add another text source, using the Asul font, 72 size, white color, and we’ll type in Join Our !Discord. Once that’s added in, we’ll click on the Discord icon inside of the preview area, and then use the arrow key to nudge this item over. Next, while holding control, we’ll select the Discord icon and text source, and drag it down where we’d like to position it. With snap enabled, it should be easy to center this item.
From here, I could add in more icons and more text as needed. I find that the easiest way to do this is by copy and pasting sources. You can right click the source to copy and paste, make sure to use paste duplicate for it to work properly. From here, I can select both new sources and click and drag them over, or I can select them and use the arrow keys to slowly nudge over. You can go into the properties of each source and change out the text or the image that’s used.
We’ll quickly set up one for Twitter. After that, we’ll re-copy and paste the sources from the middle, and move them over to the right side. Again, if we’d like, we can use the arrow keys or the clicking and dragging method. I personally like to use the arrow keys for the icon, and then dragging to move both.
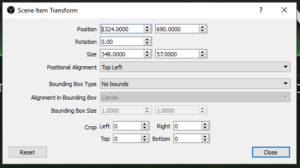
However, if you’d like to be 100% precise, I recommend using only the arrow keys here. But remember that you have to click on the source in the preview panel before you can use the arrow keys to nudge each item. Alternatively, you can open up the transform properties inside of each source by right clicking, going to transform, edit transform. The top numbers here represent the X and then the Y value for your sources position. The Y value can be useful if you want to make sure everything is perfectly aligned vertically. You can simply copy the number from what you want to align with, and paste it into appropriate sources transform values.
As I mentioned, with all the techniques used here, you should have no problem setting up the other screens!
Overlay Setup
Let’s move onto the overlays, which is a lot simpler to set up. We’ll also talk about shifting the colors.
In the Overlay folder, you’ll want to look through and find out which layout best fits your theme. If you want to quickly add in an overlay and get up and running, one of the preset layouts can be added in as a looping media source. But, let’s look at a more advanced setup.
Start by making a new scene called Overlay.
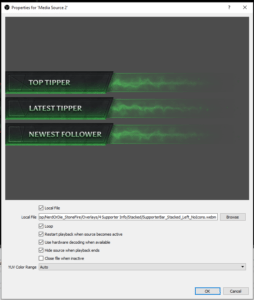
Add in a media source called supporter section. We’ll go into the Supporter Info folder, and choose stacked. We’ll select the SupporterBar_Stacked_Left_NoIcons.webm and set it to loop. The reason I chose the one without icons, is because when I shift the color of this source, I don’t want the icons to have their colors shifted as well. We’ll quickly position this where we’d like, then add in a new image source, which we’ll call icons. Position the icons properly above the media source.
A quick note, if you’re looking to use the free overlay, you will add in the items as images, instead of media files.
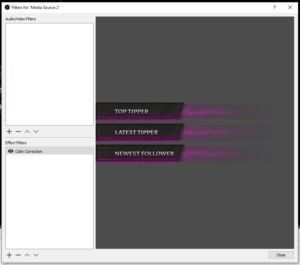
With the overlay item added, let’s shift the color. Right click the media source, and go to filters. Let’s add in a “Color Correction” filter. The easiest way to change the color is via the “hue shift” slider. We’ll drag it all the way over to the right, to get a cool purple effect.
Let’s quickly add in a webcam frame. We can do so as a new media source, named webcam frame, and set it to loop. Next let’s apply the color filter to this as well. Simply right click the supporter source, select copy filters, then select the webcam frame source and right click and hit paste filters. It should now have the same effect we added before.
You’ll want to add in your webcam behind this new webcam frame source, crop and scale as needed.
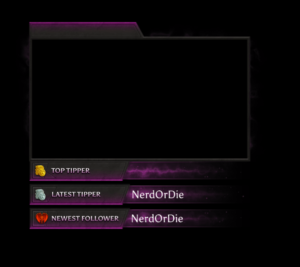
To add in the text files properly, simply create a new text source. Let’s choose the appropriate font (Asul), and put the size at 36, and set color to white. Feel free to add in an outline if you think it’s needed. Let’s type in any word in the text box, so that we can first align the text.
Drag the text to where you’d like. Then, right click the source to copy, right click again and use paste duplicate. Drag each down to the proper location.
Now, let’s go back into each sources properties and select “Read from file”. This will allow us to choose which text file from the Muxy ticker or StreamLabs Stream Labels program that you’d like to add in. Navigate to the folder where you store these text files, and select the appropriate file for each text source. We’ll quickly do this for one text file.
With this done, we can now add this Overlay scene into other scenes as needed. I personally like to keep this type of scene separate of any game setup scenes, and use the scene source feature to place it into the scenes I use for my live broadcast.
Alert Set Up for Stream Labs and Muxy
Stream Labs
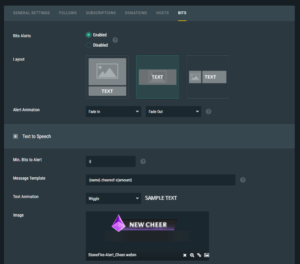
For StreamLabs, we’ve included included WebM files. You will need to upload the proper WebM in your StreamLabs Alert box. It’s also important to click the Layout section that has the text overlayed on the middle of the image. Feel free to customize the other settings as needed. These alerts must have the messages disabled. To add these into OBS Studio, add in a Browser Source, paste in your Widget URL.
I recommend a width of 1920 and height of 480 for your browser source. Sound files can be found in the “Alert Sound files” folder.
Muxy
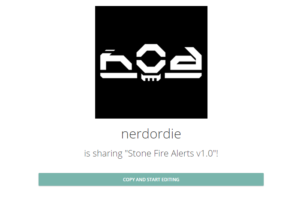
For Muxy, simply the “Muxy One-Click Setup” url, and hit “Copy and Start Editing”.
Then, grab the Alert Package URL, and paste it into OBS Studio as a browser source For Muxy I recommend a width of at least 620 and a height of 480. Also, you may want to adjust the font size if needed. Run a few tests to make sure you’re getting the proper look.
Twitch Panel Setup
Finally, let’s add the easiest item, the panels. Go to your Twitch page while logged in, and turn on “Edit Panels”. For a new or existing panel, click “add image” then choose the proper panel you’d like to add.
New Posts
Premium and Free Twitch Overlays Templates
April 20, 2024
Twitch overlay templates are what we do best. Here is a selection of freebies…
0 Comments7 Minutes
Streamers VS Mainstream Media
April 8, 2024
The digital landscape is ever-evolving, and with it, the rise of streaming in…
0 Comments7 Minutes
Free Twitch Overlays, Alerts, and Widgets
March 3, 2024
Free twitch overlays, alerts, and stream widgets are something that we’ve been…
0 Comments9 Minutes
2 Comments
Add comment Cancel reply
You must be logged in to post a comment.
This site uses Akismet to reduce spam. Learn how your comment data is processed.

Love this setup as well as Electrojunkie, I definitely use this when I play RPG’s ! I love it!
I love this overlay – I’ve been looking for something that could unify my stream, and do justice to my handle: Game kNight – this does both!
I’m starting using this today on my channel at 8PM if people want to see what you can do with it (I’ve customized it a bit in regards to color and such)
http://www.twitch.tv/GamekNightPlays