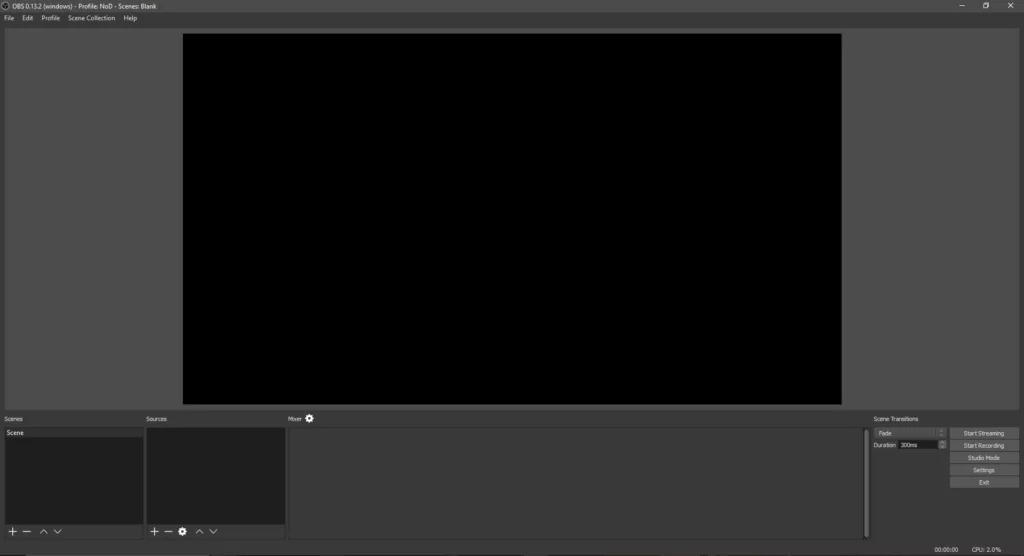
If you’re new to broadcasting or streaming, you’re likely looking to learn how to use OBS Studio. We’re going to walk through how you can begin streaming with OBS Studio from start-to-finish in this comprehensive 13 part tutorial series.
Watch Video Tutorial
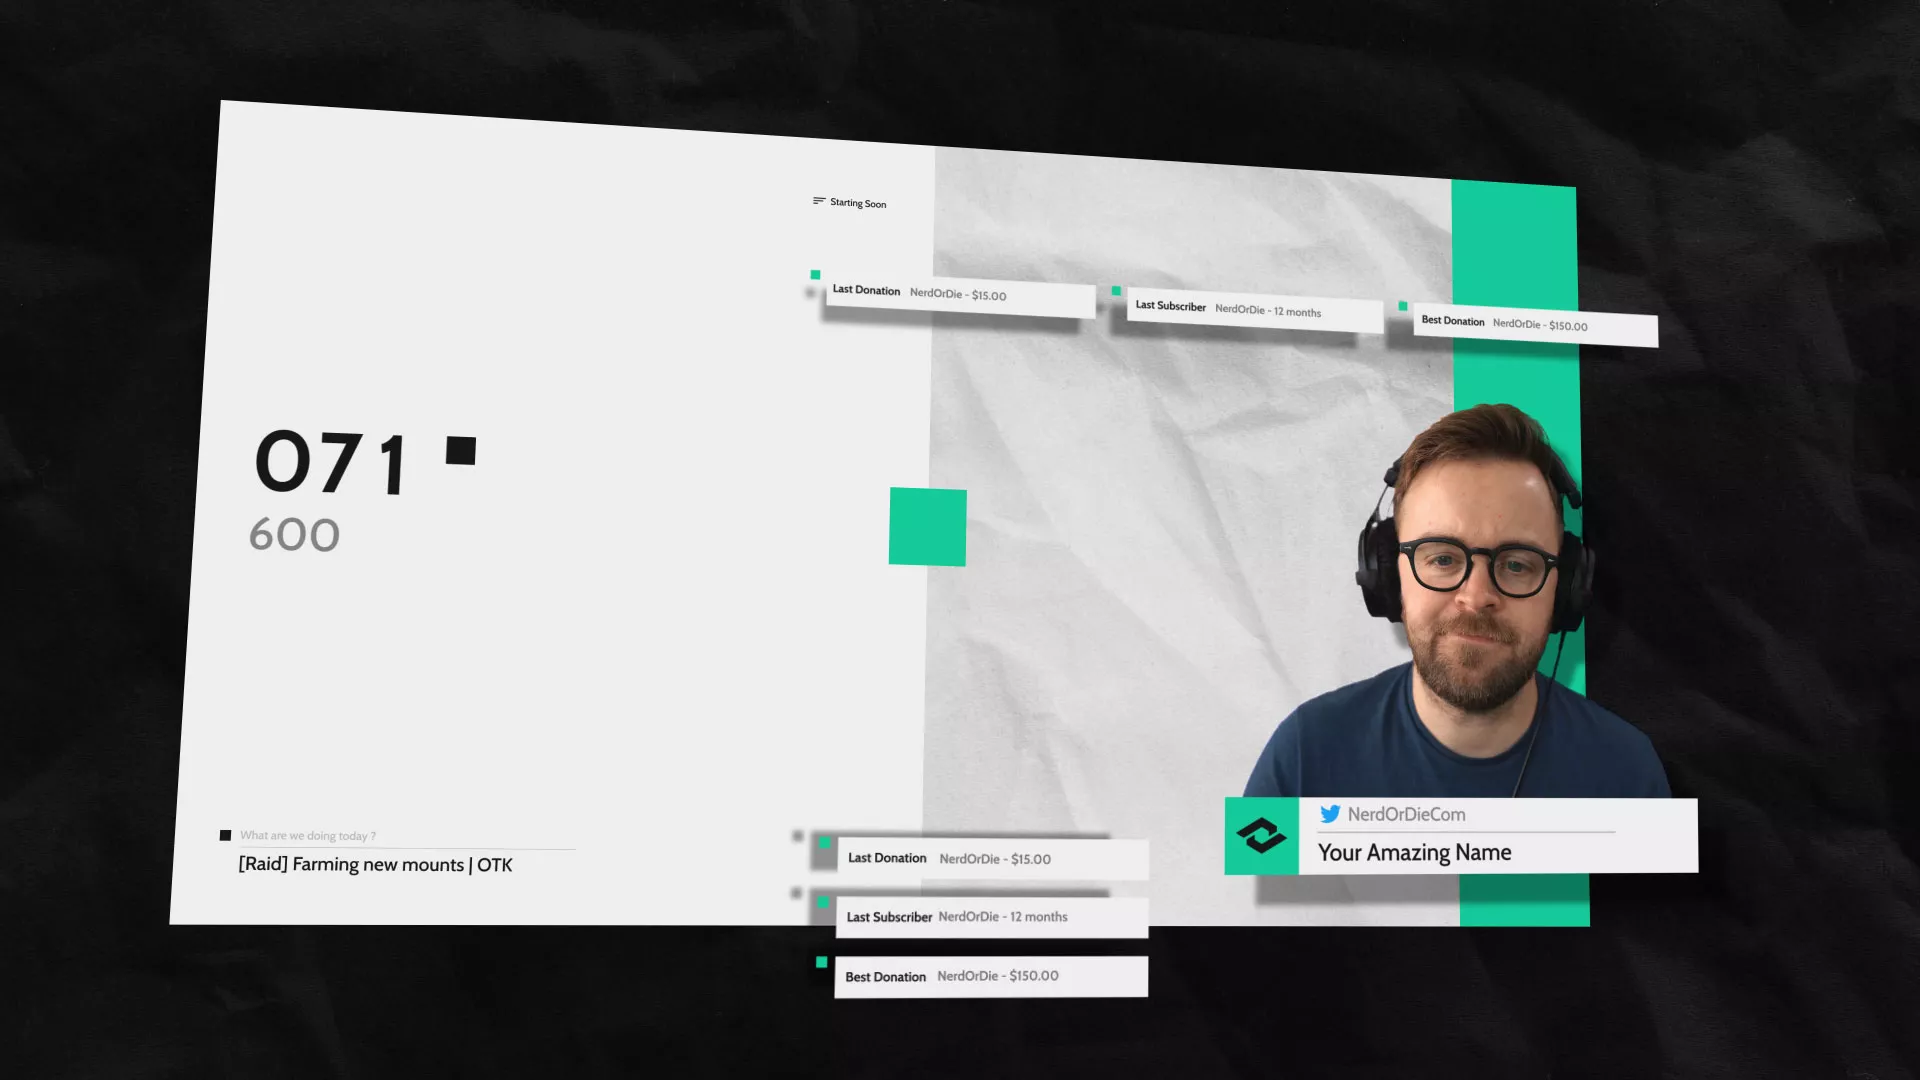
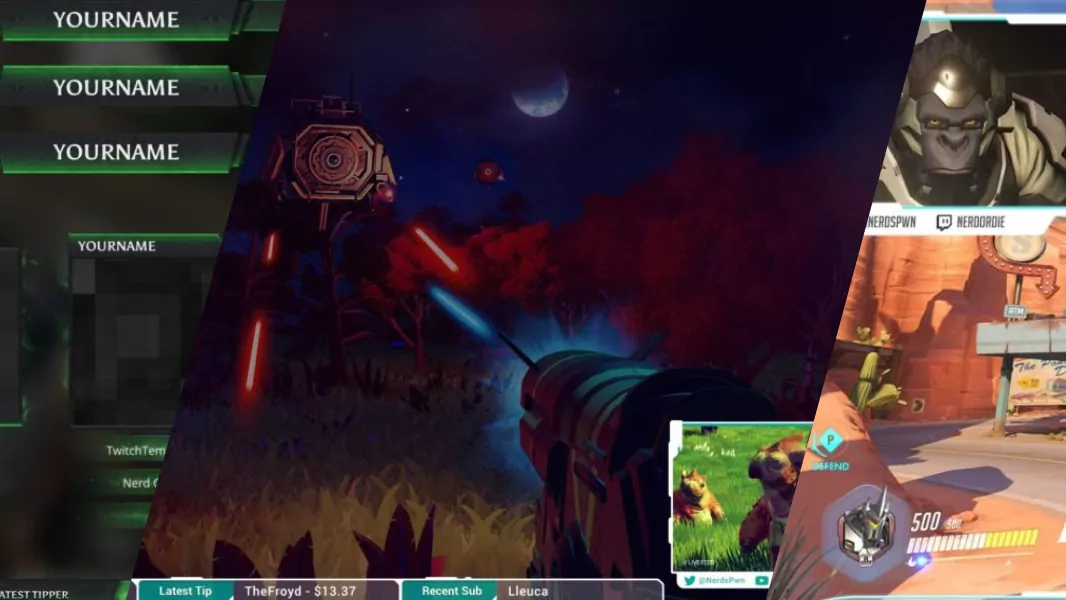
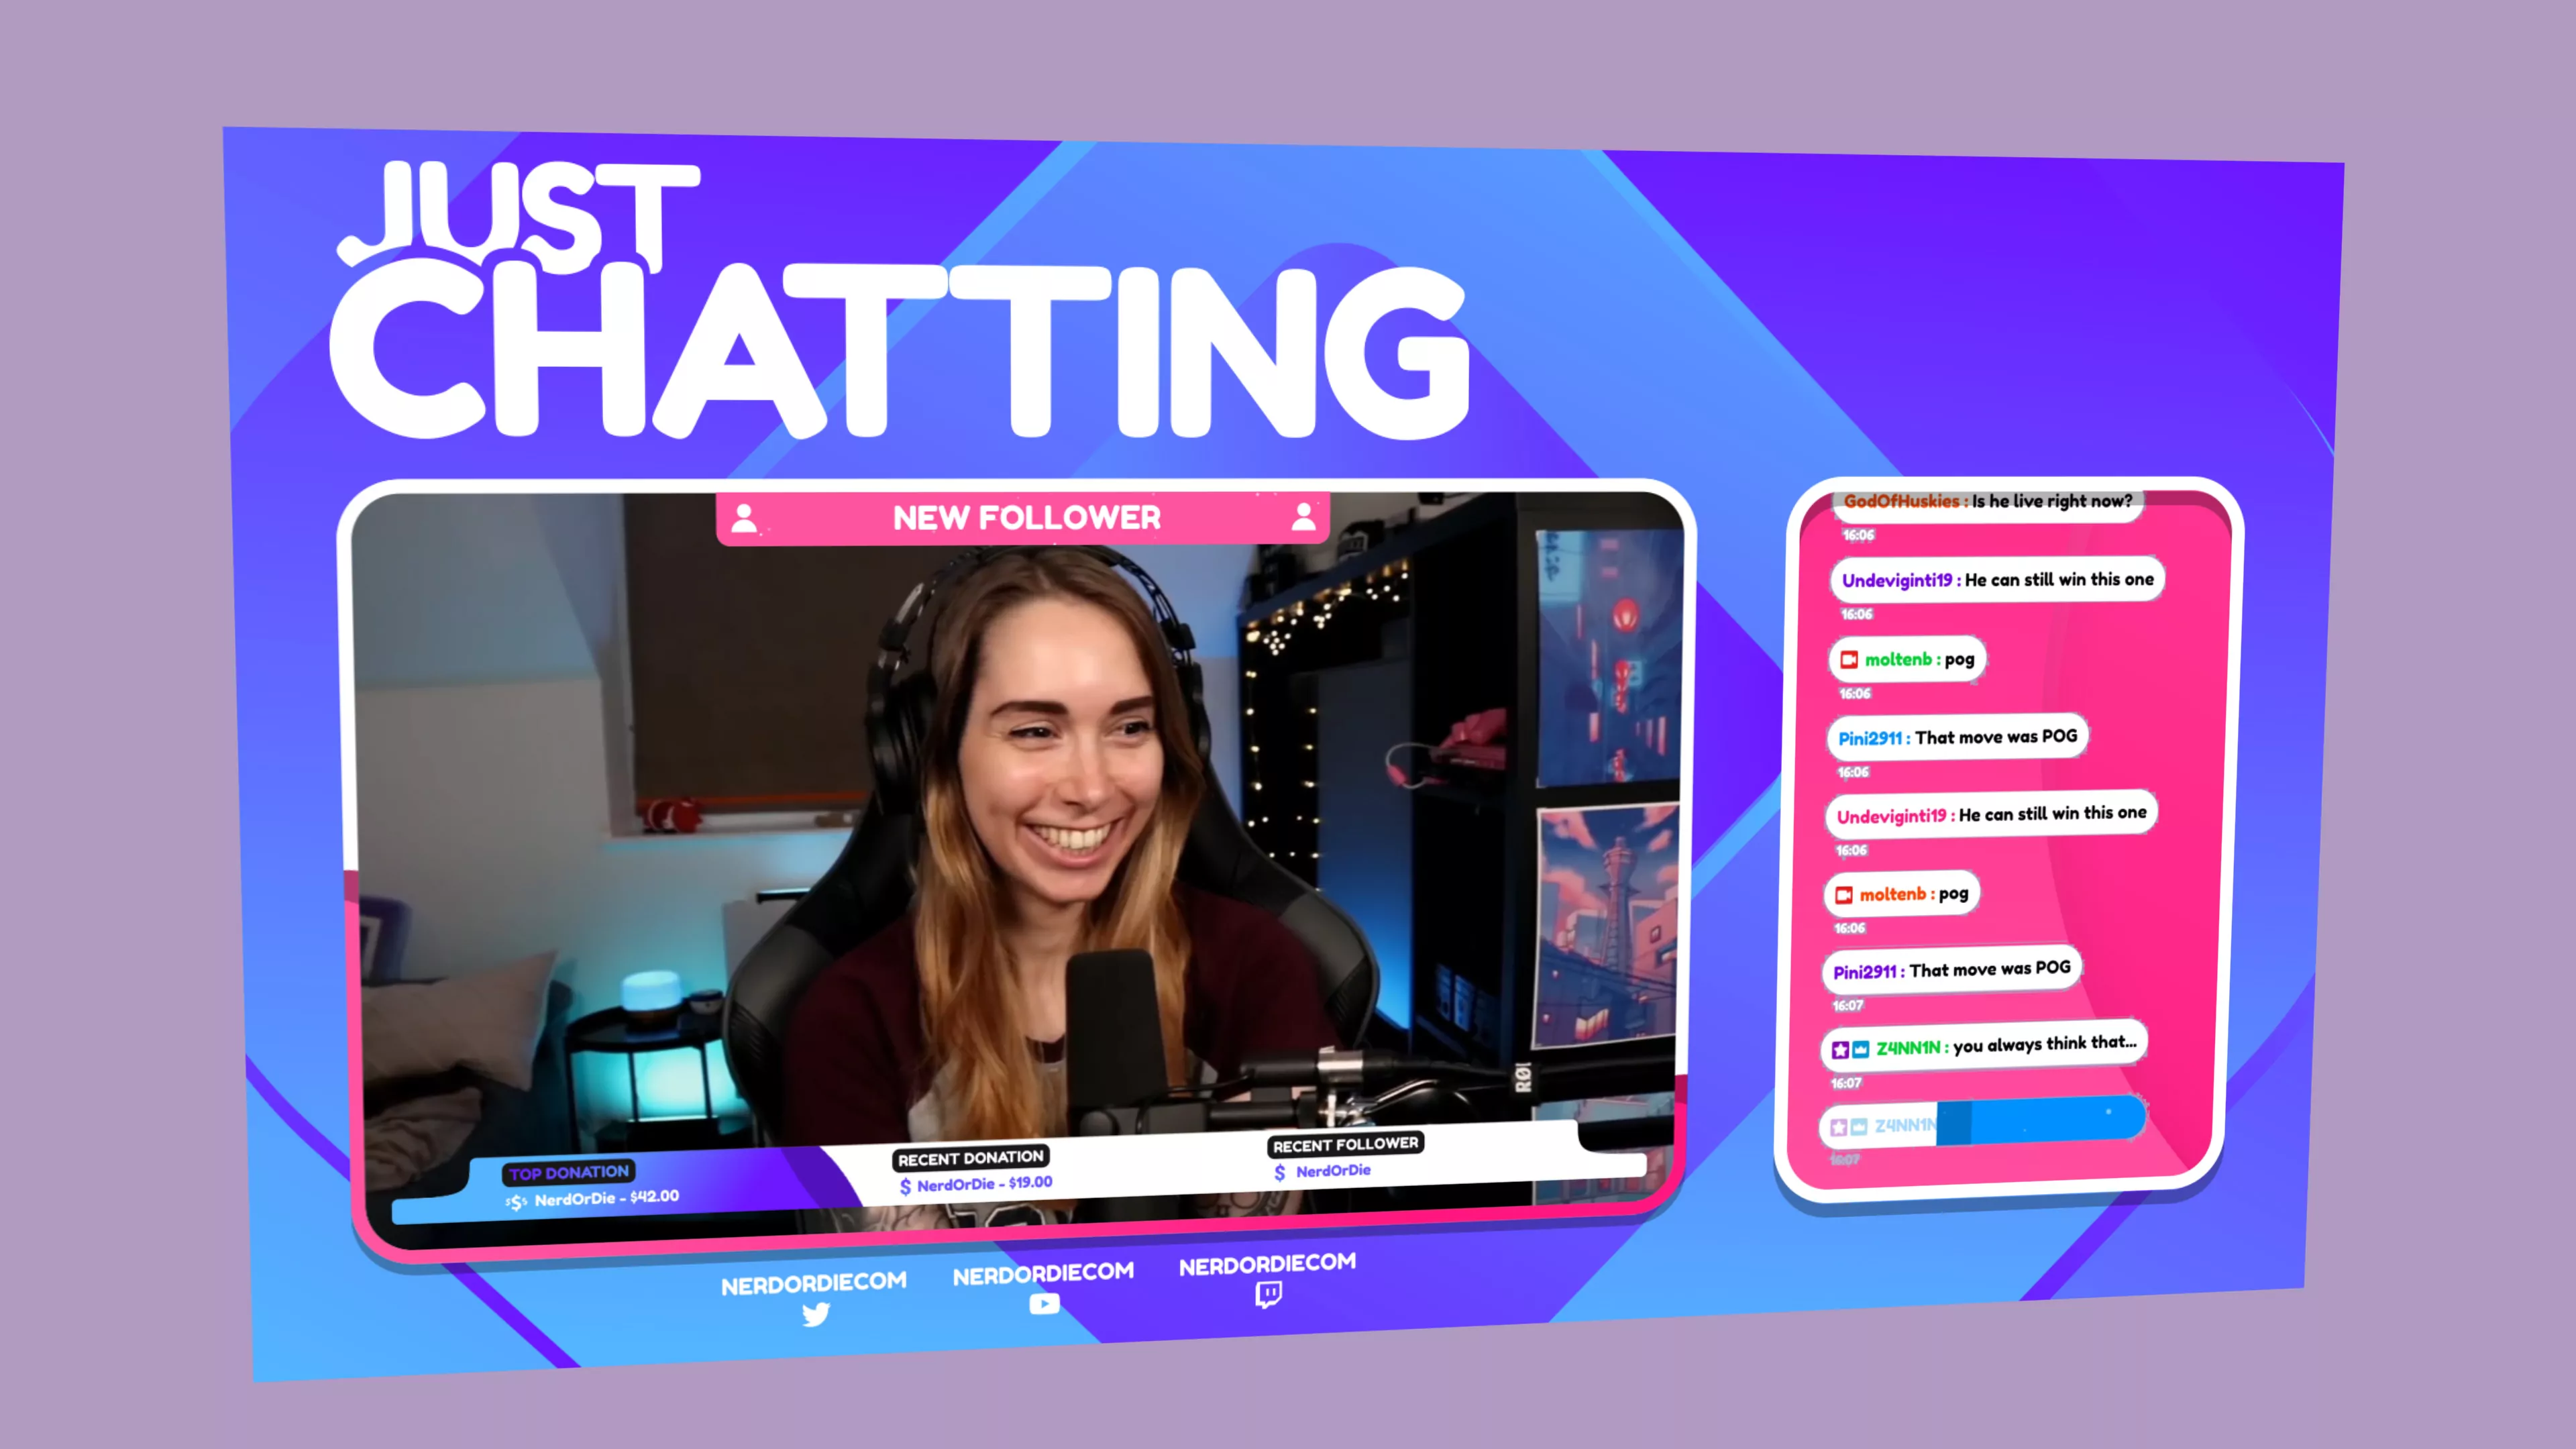
Our last series covered OBS Classic, but I think it’s a good time to consider upgrading to this new version. This series will have a couple of differences compared to our last full guide. First, I’m going to include a full set of graphics to get you up and running on your new stream channel. These will be either through direct download or via the Nerd or Die graphics makers. This means that any graphics you see me use in OBS, will be made available for download.
We’re also going to take a more modular approach to this guide. Posts are still going to follow a specific order in which you should read them, but they’re going to be broken up into more parts. The reason I’m choosing to do it this way, is because I want to make sure we can make updates to specific sections if needed.
What should I expect to learn from this OBS Studio Tutorial Series?
Well, after this introduction post you’ll first learn the differences between OBS Studio and OBS Classic (the original version). Then we’ll move on to how to install and set up OBS Studio. Following that we’ll move into general settings for OBS Studio . Next, we’ll take an in-depth look at using sources. After that I’ll show you how to use source filters to improve or modify your sources. By this point, you should have a very strong grasp on how OBS Studio works – so we’ll begin setting up our scenes. This will be the first tutorial where downloads will be available. We’ll include a general overlay, BRB or intermission screen set up, and background video.
Once we have our scenes created we’ll discuss what notification system should I use as a new streamer. There are a lot out there, but we’ll go through the pros and cons of different system, and from there you’ll be able to decide which one is right for you. We have YouTube videos and guides that cover notification systems – and will be making more in the future.
With all of our OBS set up complete, we’ll then discuss setting up your Twitch account for streaming. To finish off the basics of OBS Studio, we’ll finally go live and look for improvements to make.
These posts will make up the core structure of starting a stream with OBS Studio from start-to-finish, but I will be adding more advanced guides to the series to make sure that you know everything you need to become a successful streamer. So, make sure to follow the links below and read through each post, or watch the videos and subscribe on YouTube, to learn all about OBS Studio.
To give you a quick idea on more advanced posts, we’ll cover how to set up different notification systems, adding a chat bot to your stream, improving your stream production with studio mode, and how to properly troubleshoot dropped frames. Look for these videos and more in the near future!
As you can tell, there’s a lot to get through – so, I’ll see you in the next post!
OBS Studio Tutorials – Complete List
OBS Studio Updates – Alt Cropping, New Transitions, and Source Snapping
New Posts
Premium and Free Twitch Overlays Templates
April 20, 2024
Twitch overlay templates are what we do best. Here is a selection of freebies…
0 Comments7 Minutes
Streamers VS Mainstream Media
April 8, 2024
The digital landscape is ever-evolving, and with it, the rise of streaming in…
0 Comments7 Minutes
Free Twitch Overlays, Alerts, and Widgets
March 3, 2024
Free twitch overlays, alerts, and stream widgets are something that we’ve been…
0 Comments9 Minutes
