- Home
- Blog
- Tutorials & Guides
- How to Find the Best Bitrate for Your Twitch Stream: A Step-by-Step Guide
How to Find the Best Bitrate for Your Twitch Stream: A Step-by-Step Guide
What is the best bitrate for Twitch streams? We break down everything you need to know Twitch bitrates for OBS Studio.
Last updated: November 30th, 2024
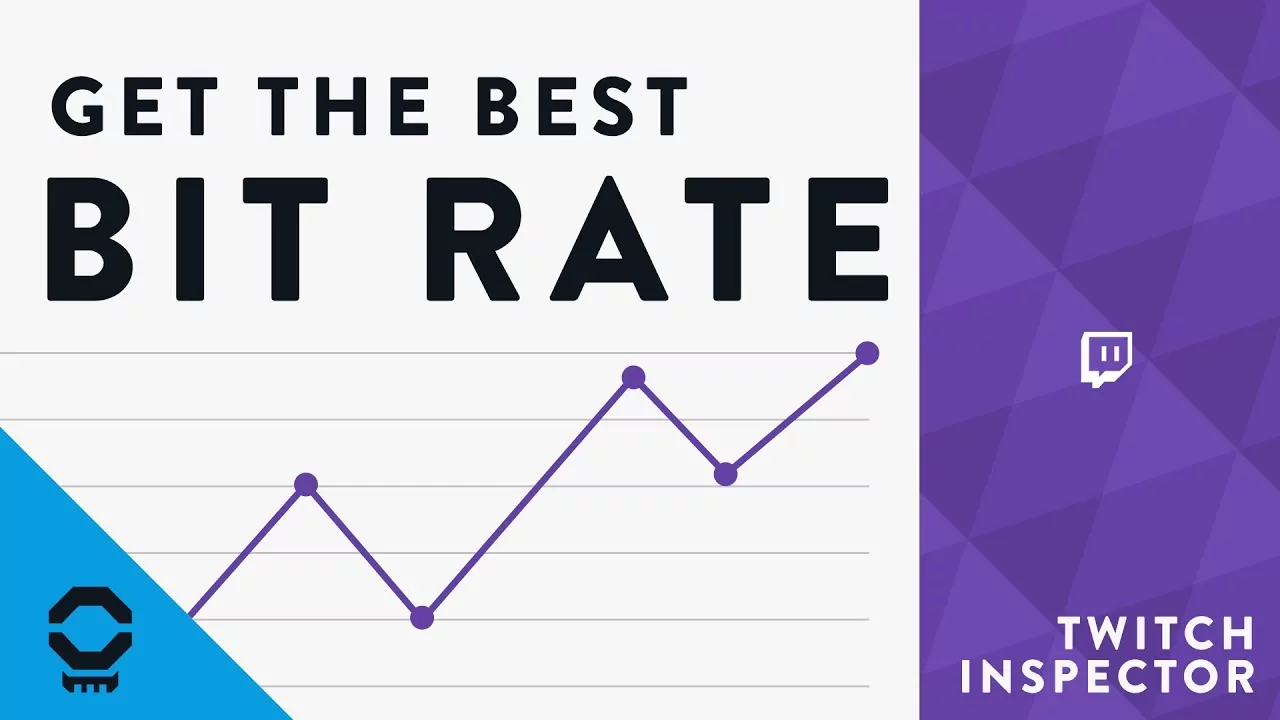
Struggling to balance stream quality with smooth performance? You’re not alone. Before we started creating Twitch overlays, we faced the same challenges—dropped frames, blurry visuals, and figuring out the best bitrate settings. Thankfully, tools like Twitch Inspector and OBS Studio have evolved to help streamers fine-tune their setups, and 2024 has brought even more improvements.
This guide will walk you through the latest bitrate recommendations, new tools, and tips for optimizing your stream for Twitch in 2025 and beyond.
What is the Best Bitrate for Twitch?
Bitrate recommendations depend on your resolution, frame rate, and internet connection. Here are the updated guidelines:
- 1080p at 60 FPS: 6000 kbps (maximum Twitch allows).
- 720p at 60 FPS: 4500 kbps.
- 720p at 30 FPS: 3000 kbps.
- 480p or lower: 1200–2500 kbps.
If you’re pushing for higher resolutions, such as 1440p, be aware that this requires an average bitrate of 8000–10000 kbps and advanced hardware. Twitch’s auto-transcoding can help your viewers access lower-quality streams, but this isn’t guaranteed for all streamers—especially non-affiliates.
Step 1: Determine Your Hardware Capabilities
Start with OBS Studio’s Auto-Configuration Wizard to determine what your hardware can handle. OBS Studio continues to improve, and its wizard is a fantastic first step. Here’s how to use it:
- Open OBS Studio and navigate to Tools > Auto-Configuration Wizard.
- Choose Optimize for Streaming (recording can be secondary).
- Set your resolution and FPS (e.g., 1280×720 at 60 FPS).
- Connect your Twitch account or use your stream key (found in your Twitch Dashboard).
- Let the wizard test your bandwidth and click Apply Settings.
OBS now supports cutting-edge features like AV1 encoding for users with modern GPUs (e.g., NVIDIA RTX 4000 series or Intel Arc). If your hardware supports it, AV1 offers better quality at lower bitrates, making it an excellent choice for streamers.
Step 2: Use Twitch Inspector to Fine-Tune Your Bitrate
While OBS provides a great starting point, Twitch Inspector dives deeper into your connection quality. This tool helps you identify the best bitrate for your setup and troubleshoot issues like dropped frames or inconsistent performance.
Here’s how to use Twitch Inspector:
- Log in to Twitch Inspector with your Twitch account.
- Run a stream test:
- Append
?bandwidthtest=trueto the end of your stream key (e.g.,live_0000000_xxxxxxx?bandwidthtest=true). - Set your bitrate to 6000 kbps for testing.
- Append
- Start streaming and let the test run for 5–10 minutes.
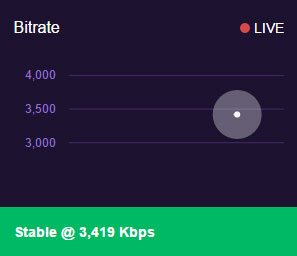
Once complete, you’ll see a detailed graph showing your average, maximum, and minimum bitrates. Use this information to set a stable bitrate. For example, if your average is 3400 kbps, you can safely stream at 1080p 30 FPS or 720p 60 FPS.
This tool will take the guess work out of issues with your stream bitrate. We’ve used it many times to figure out if we’re having a problem with our hardware or internet connection
Step 3: Troubleshoot Common Streaming Issues
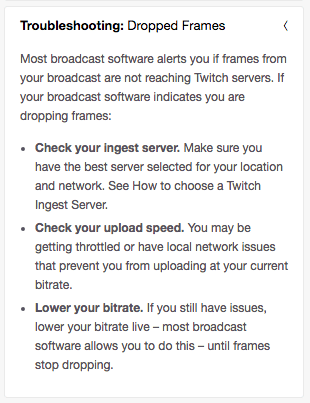
Even with modern tools, problems like dropped frames and lag can arise. Here’s how to address them:
- Internet Stability: Ensure your upload speed is at least 1.5 times your target bitrate. If your connection is unstable, lower your bitrate or switch to a wired Ethernet connection.
- Server Selection: Use the Twitch Bandwidth Test tool (or third-party tools like TwitchTest by R1ch) to identify the best server. Proximity isn’t always the best indicator—route efficiency matters.
- Encoding Overload: If your CPU or GPU struggles, lower your resolution, FPS, or switch to a hardware encoder like NVENC (available on most modern GPUs).
Streaming Trends and Tools
The streaming landscape is evolving, and here are a few trends to keep in mind:
-
AI-Powered Enhancements: Tools like NVIDIA Broadcast now offer AI noise suppression, virtual backgrounds, and real-time video quality improvements. These features can elevate your stream even on older hardware.
-
Accessibility Improvements: Use Twitch’s Closed Captioning options or free plugins like OBS Subtitler to make your streams more inclusive for viewers with hearing impairments.
-
Vertical Video for Social Sharing: If you plan to repurpose your content for TikTok or Instagram Reels, consider tools like Streamladder to convert clips into mobile-friendly formats.
-
Energy Efficiency: Modern hardware and encoding options, like AV1, are more energy-efficient, aligning with growing sustainability concerns.
Final Thoughts
Finding the best bitrate for Twitch requires a balance between hardware, internet, and audience needs. Tools like OBS Studio, Twitch Inspector, and bandwidth testing tools make this process straightforward, allowing you to deliver a high-quality stream with minimal guesswork.
If you’re still experiencing issues, don’t hesitate to reach out! Drop your questions in the comments or join our Discord community for personalized advice. With the right setup and tools, you’ll be streaming smoothly in no time.
New Posts
Hardware Acceleration for Live Streamers
July 30, 2025
If you're a streamer using OBS Studio, Streamlabs, or StreamElements overlays,…
0 Comments4 Minutes
How to Boost Engagement as a New Streamer (Across All Platforms)
June 17, 2025
Streaming to an empty chat room? Been there. The good news: building engagement…
0 Comments5 Minutes
Best Stream Settings for OBS Studio in 2025
June 11, 2025
Bitrates, encoders, frame rates and scaling filters are all part of finding the…
0 Comments15 Minutes
