- Home
- Blog
- Tutorials & Guides
- How to Start Streaming on Twitch: 10 Easy Steps for Beginners
How to Start Streaming on Twitch: 10 Easy Steps for Beginners
Learn how to start streaming on Twitch with our 10-step beginner’s guide. From account setup to going live, this easy tutorial has you covered!
Ready to start streaming on Twitch but feeling a bit lost? No worries! Twitch is the go-to spot where gamers, artists, and creators connect with a super fun community. If you’re a beginner eager to share your gameplay or chat with viewers, this 10-step guide is your ticket to going live. We’ll walk you through everything—from signing up to hitting that “Start Streaming” button—in a way that’s crazy easy to follow. Check out our embedded video above for a quick rundown, then dive into the steps to kick off your Twitch journey like a pro!
Table of Contents
Your 10-Step Guide to Start Streaming on Twitch
Let’s get you streaming! Follow these simple steps to set up your Twitch channel and go live in no time.
Step 1: Sign Up for Twitch
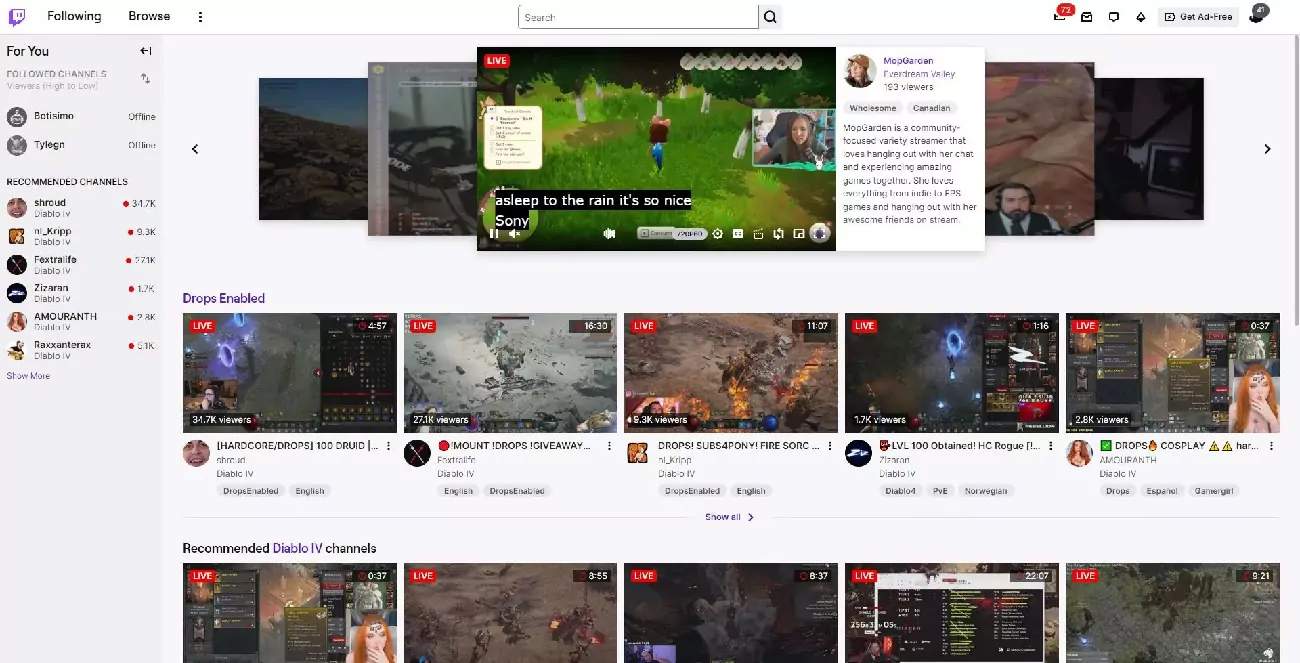
First up, you need a Twitch account. Got one already? Skip to Step 2. If not, head to Twitch.tv and click “Sign Up.”
Step 2: Download Streaming Software
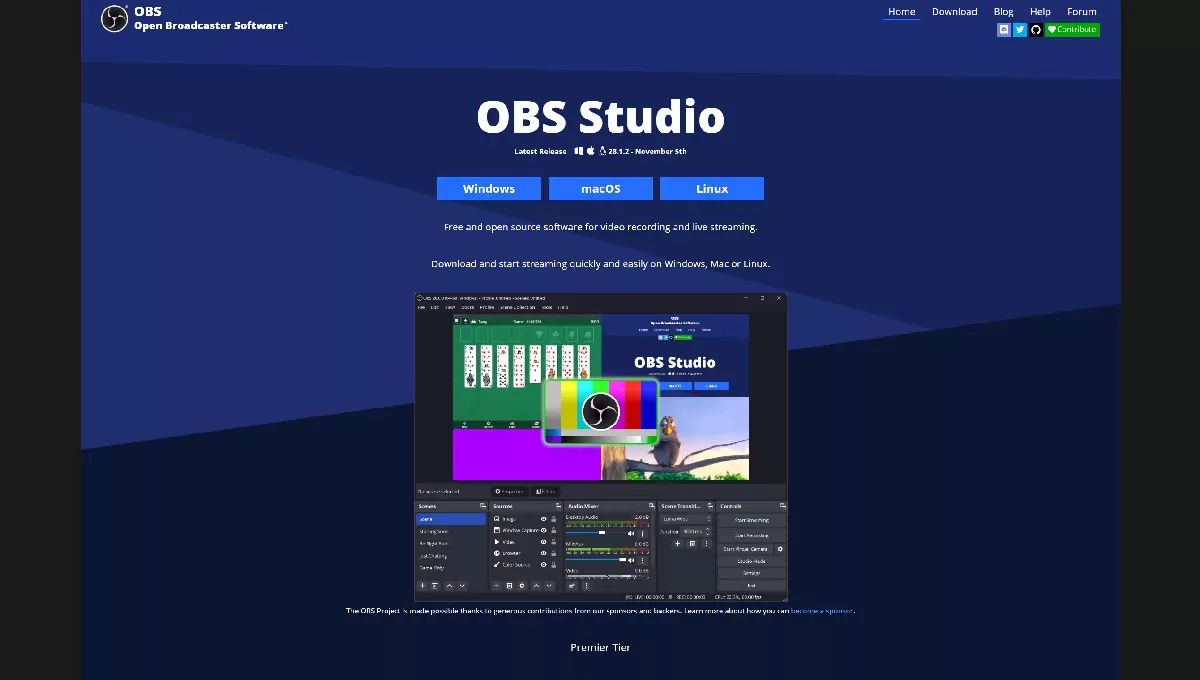
To stream, you’ll need software to send your gameplay to Twitch. Our top pick? OBS Studio—it’s free, beginner-friendly, and the most popular choice.
- Head to the OBS website, download the version for your PC (Windows, Mac, or Linux), and install it.
- Why OBS? It’s open-source, lets you customize your stream’s look, and works like a charm with Twitch.
Other options like Streamlabs Desktop or Meld are cool too, but OBS Studio is our go-to. See the video for a peek at the install process!
Step 3: Run the Auto-Configuration Wizard in OBS Studio
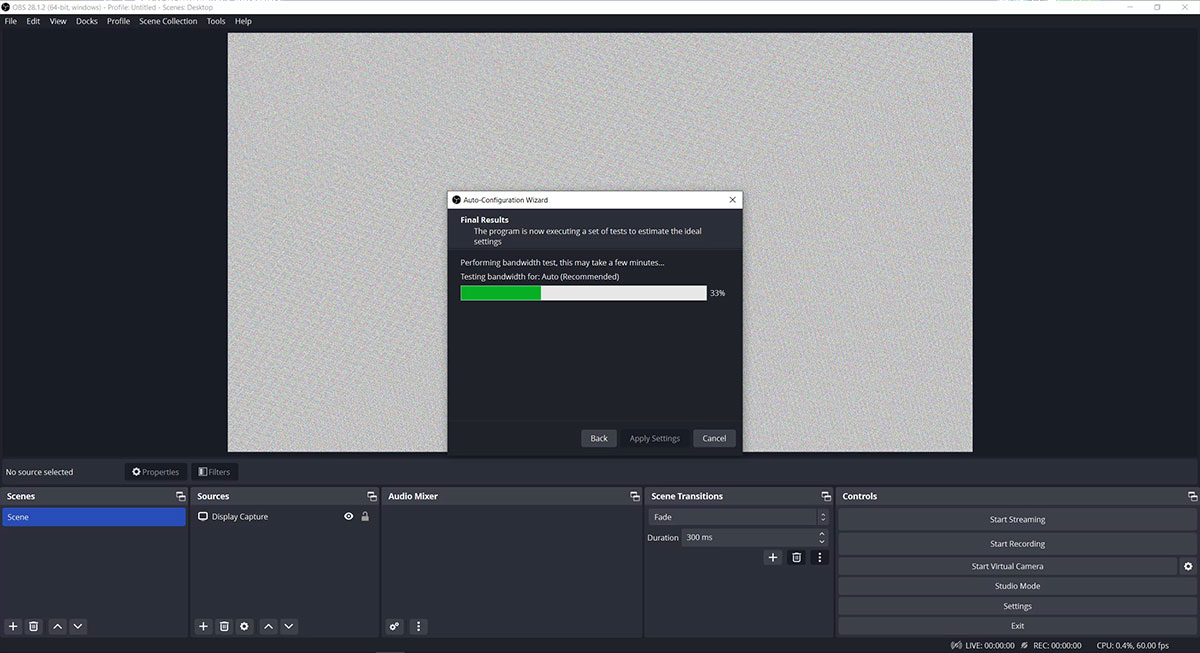
OBS makes setup a breeze with its Auto-Configuration Wizard. Open OBS, and if it’s your first time, the wizard might pop up automatically. If not, go to Tools > Auto-Configuration Wizard.
Let the wizard do its magic, then hit “Apply Settings.”
No stress—this takes like 2 minutes, and the video walks you through it!
- Select “Optimize for streaming, recording is secondary” and click Next.
- Choose a base canvas of 1920×1080 (standard for most streams) and 30 FPS (or 60 if your PC’s a beast).
- In the service dropdown, pick Twitch, then click “Connect Account” and log in.
- Let the wizard do its magic, then hit “Apply Settings.”
No stress—this takes like 2 minutes, and the video walks you through it!
Step 4: Add a Source to Your Scene
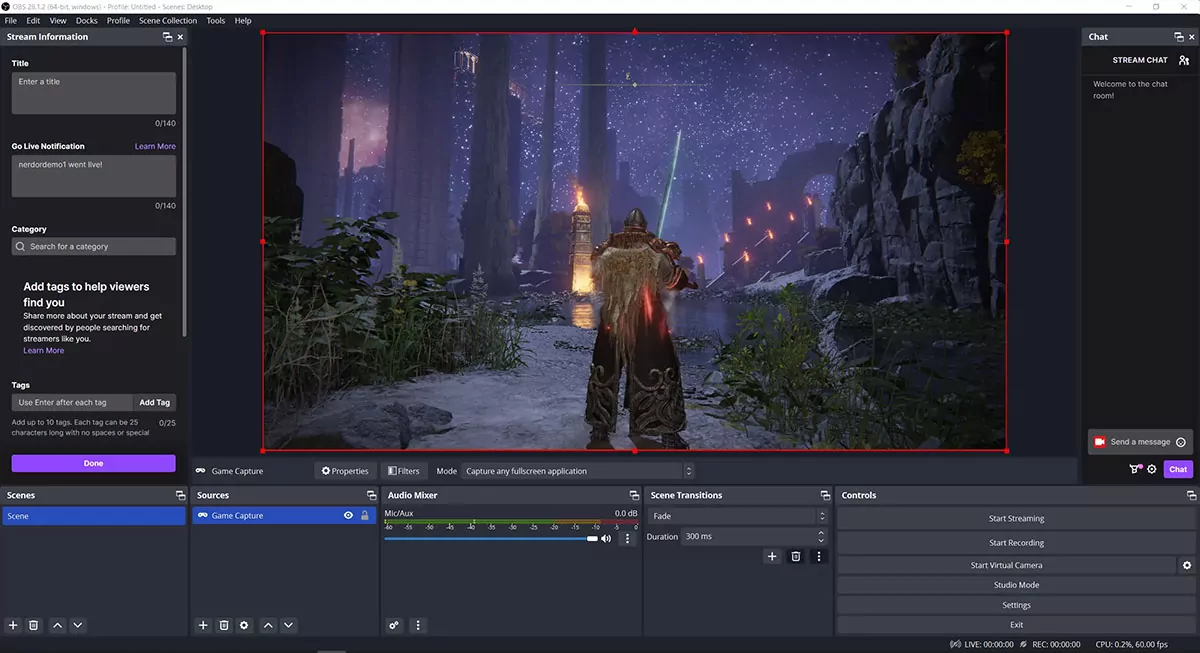
Time to decide what your viewers see! In OBS’s Sources panel, click the plus (+) icon and choose:
- Game Capture: Captures just your game (best for beginners).
- Display Capture: Shows your entire monitor (careful—it shows everything).
Name your source (e.g., “My Game”), hit OK, and set it to “Capture any fullscreen application.” Want to stream a specific game? Use “Capture specific window” and select it from the dropdown. Check the video for a demo of this step!
Step 5: Configure Your Audio
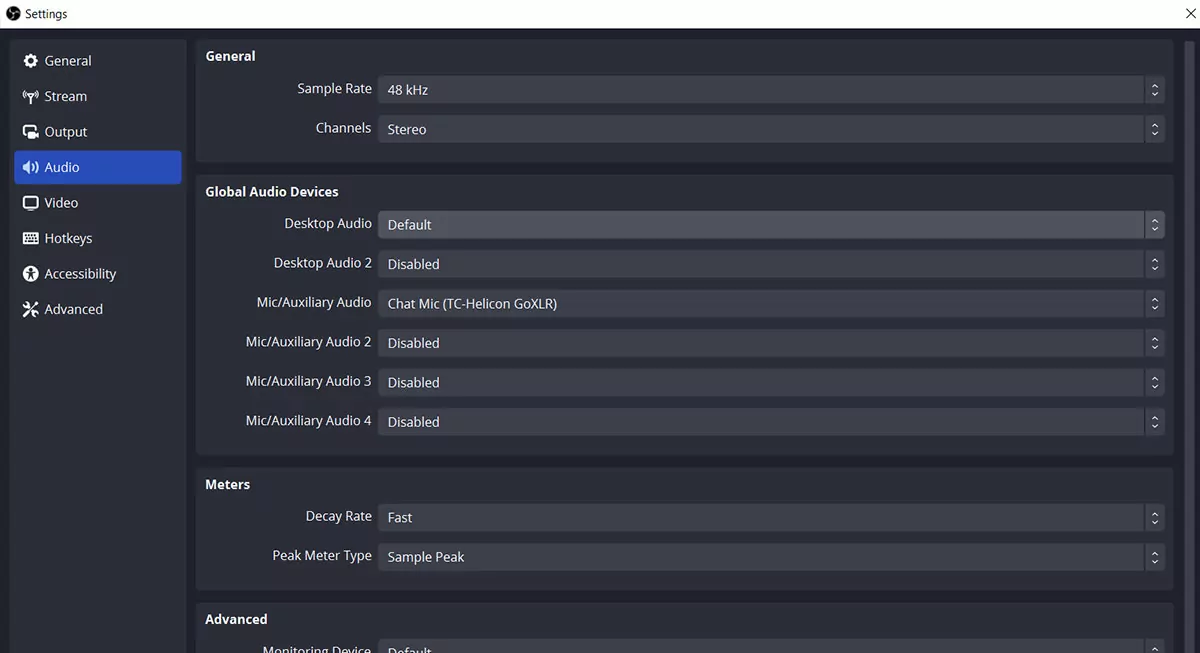
Good audio is key to a great stream. In OBS, click Settings (bottom right) and go to the Audio tab.
- Set Desktop Audio to “Default” so OBS picks up your game sounds.
- For Mic/Auxiliary Audio, choose your microphone (probably the one you use for Discord or Zoom).
Test your mic by talking—watch the audio bars in OBS move. No bars? Double-check your mic settings. Hit OK to save. The video shows exactly where to click!
Step 6: Set Up Your Webcam
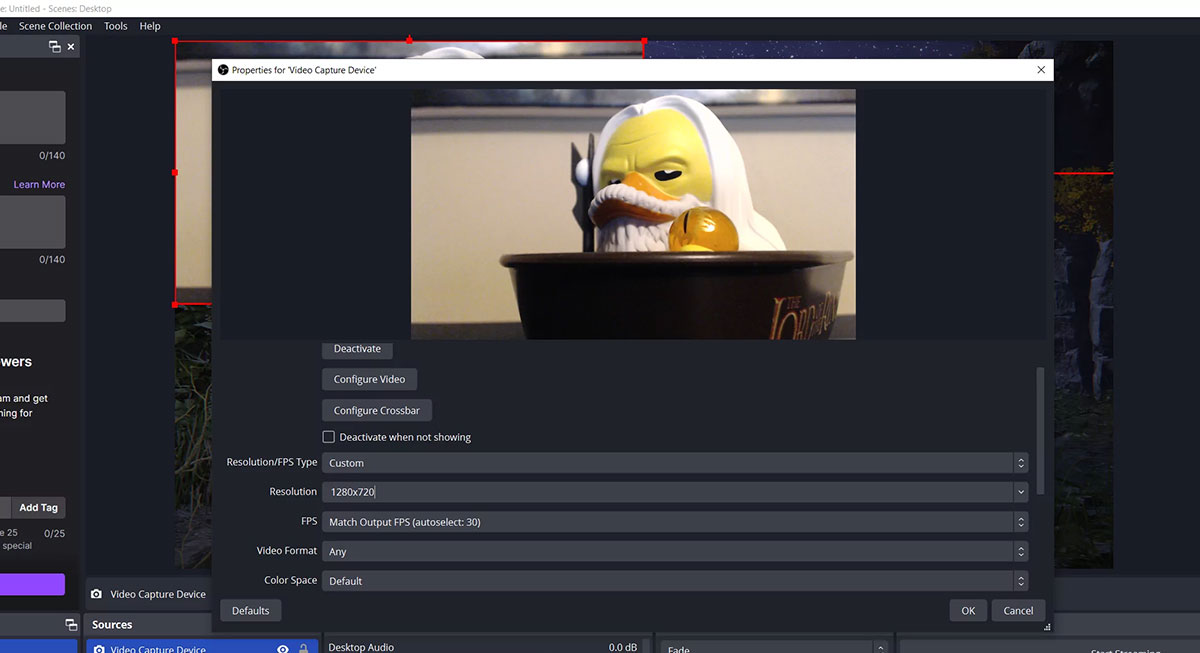
Want to show your face? Add a webcam! In OBS’s Sources panel, click the plus (+) icon and select Video Capture Device.
- Set Resolution/FPS Type to Custom and choose 1280×720 (or 1920×1080 if your webcam’s fancy).
- Hit OK, then drag and resize the webcam on the canvas to place it where you want (like the corner of your stream).
- Name it (e.g., “Webcam”), then pick your webcam from the Device dropdown.
No webcam? No biggie—you can skip this. See how it looks in the video!
Step 7: Update Your Stream Title and Category
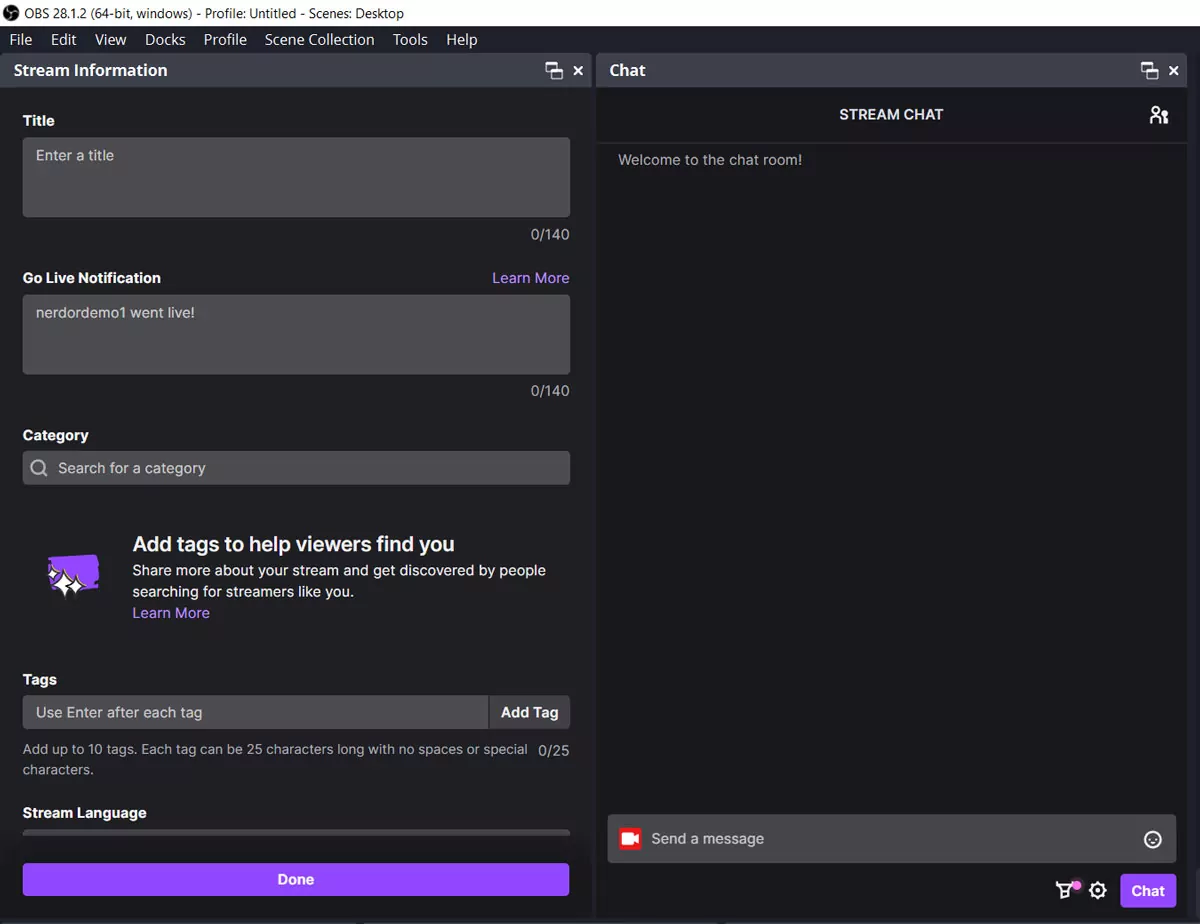
Make your stream discoverable! In OBS, use the Stream Information dock (appears after connecting your Twitch account) to set:
- Stream Title: Something fun like “Newbie Plays Minecraft – Join Me!”
- Category: Pick the game you’re playing or “Just Chatting” if you’re hanging out.
- Tags: Add tags like “Beginner,” “English,” or game-specific ones for better visibility.
This dock also shows your Stream Chat, so you can chat with viewers right from OBS Studio. The video covers this setup!
Step 8: Enable VOD Recordings (optional)
Want to rewatch your streams or share clips? Enable Video on Demand (VOD) on Twitch.
- Go to Twitch.tv, click your avatar, and select Creator Dashboard.
- Navigate to Settings > Stream.Toggle on Store past broadcasts to save your streams.
- Bonus: Set Latency Mode to “Low Latency” for faster chat interaction.
Do this before your first stream—it’s a game-changer! The video shows where to click.
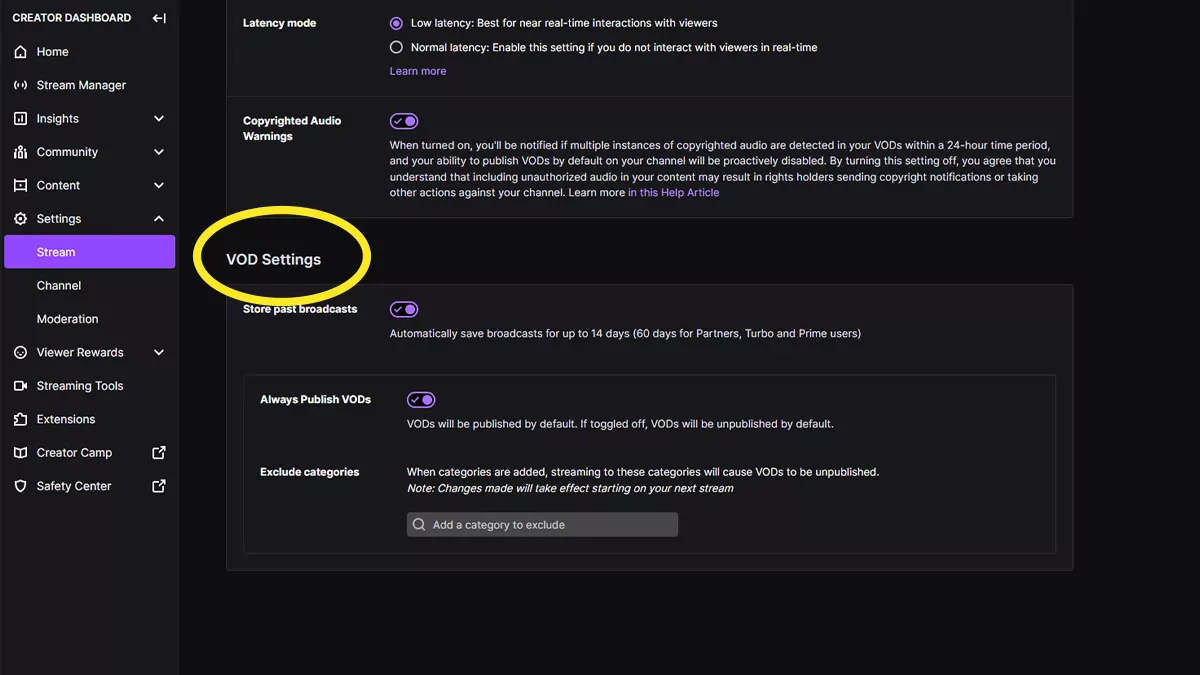
To enable VOD recordings click the user avatar in the top right and then select Creator Dashboard. From here, click the Settings tab on the left and go to Stream. Click the button next to Store past broadcasts to turn it on. While you’re here, we also recommend ensuring that Latency Mode is set to Low Latency. This will allow your stream to appear more quickly to your chat and save your streams on Twitch for later review.
Step 9: Mix Your Audio
Your viewers need to hear both your voice and gameplay without one drowning out the other. In OBS’s Audio Mixer section:
- Adjust the Desktop Audio slider for game sounds.Tweak the Mic/Aux slider so your voice is clear but not overpowering.
- Test by streaming to a friend or recording a clip. Aim for a balance where your voice stands out. The video has tips on getting this just right!
Step 10: Hit Start Streaming!
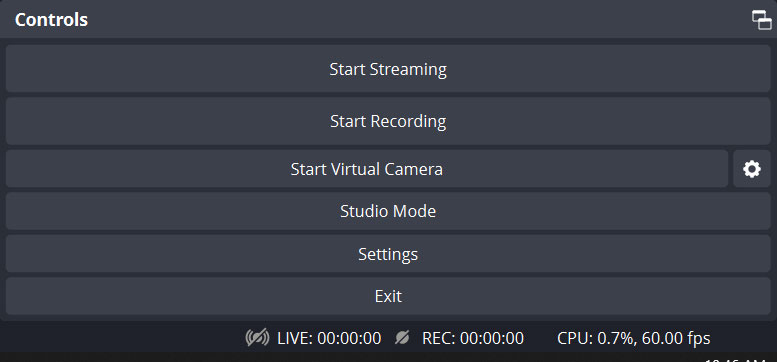
You’re ready to go live! In OBS, hit the Start Streaming button. Boom—that’s how to start streaming on Twitch!
- Keep an eye on the Stream Chat dock to chat with viewers.
- Play your game, have fun, and don’t stress about being perfect—it’s your first stream!
- When you’re done, hit Stop Streaming in OBS.
Congrats, you’re officially a Twitch streamer! Rewatch the video for a recap of this final step.
What’s Next After Your First Stream?
You did it! Now what? Here’s how to keep the good vibes going:
Relax and Have Fun: Your first few streams are about getting comfy. Share your stream with friends or just enjoy gaming. There’s no “perfect” way to stream, so find your groove.
Check Your VOD: Head to your Twitch Creator Dashboard and watch your saved stream. Spot any audio or video glitches? Tweak those in OBS for next time.
Spice Up Your Channel: Add a profile banner, avatar, and Twitch panels in your Creator Dashboard. Keep it simple for now—maybe a cool gaming pic and a short bio.
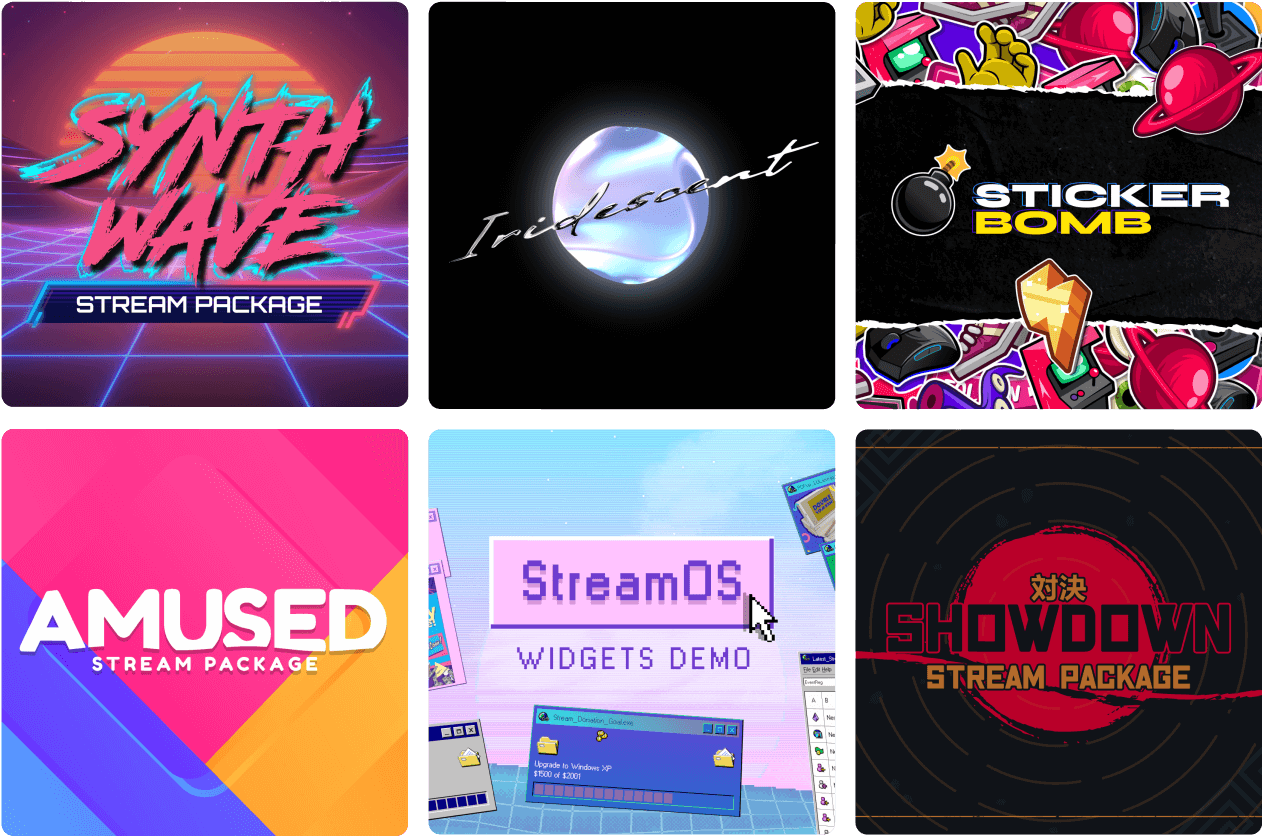
Add Stream Overlays and Widgets: Want to level up? At Nerd or Die, we make awesome stream overlays and widgets (yep, we’re biased, but they’re dope!). Think alerts, chat boxes, or themed designs—sci-fi, spooky, or retro. They make your stream pop and engage viewers. Check out our free overlays or browse our shop for full packages.
Ready to Grow Your Twitch Channel?
Streaming on Twitch is a blast, and you’re just getting started. For more tips, check out our post on how to get more viewers on Twitch. It combines tips on stream design, audience engagement, and more.
Still got questions about how to start streaming on Twitch? Check out our FAQ below for quick answers!
Frequently Asked Questions About Starting Your Twitch Stream
Got questions about how to start streaming on Twitch? We’ve got answers! Here are the top FAQs beginners ask when kicking off their Twitch journey. Check these out, and don’t forget to watch the embedded video above for extra help!
Do I need a webcam to stream on Twitch?
Nope, a webcam is totally optional! Lots of streamers start with just gameplay or audio and still build a great audience. If you’re shy, skip the cam for now—you can always add one later. Want to use one? Step 6 in our guide shows you how to set it up in OBS Studio.
Is OBS Studio really free?
Yup, 100% free! OBS Studio is open-source, meaning it’s built by a community and doesn’t cost a dime. It’s powerful enough for pros but easy for beginners, making it the perfect tool to start streaming on Twitch. See Step 2 for download tips!
What kind of PC do I need to stream on Twitch?
You don’t need a beastly gaming rig, but a decent PC helps. Aim for at least an Intel i5 or AMD Ryzen 5 processor, 8GB of RAM, and a mid-range graphics card (like an NVIDIA GTX 1660). If your games run smoothly, you’re probably good to go. The Auto-Configuration Wizard in Step 3 optimizes OBS for your setup.
How do I get viewers when I’m just starting?
Building an audience takes time, but start small! Share your stream with friends, post on social media, or join Twitch communities for your favorite games. Use a catchy stream title and tags (Step 7) to boost discoverability. Most importantly, have fun—viewers love authentic vibes! Our video has tips on engaging your first fans.
Can I stream on Twitch without a microphone?
You can, but a mic makes a big difference. Chatting with viewers builds connection, and most successful streamers use one. If you’re not ready, start with gameplay and add a mic later (Step 5 shows how). Even a budget mic, like a USB headset, works great for beginners.
How long should my first Twitch stream be?
Keep it short and sweet—1 to 2 hours is perfect for your first stream. It gives you time to get comfy without feeling overwhelmed. Focus on having fun, like we mention in Step 10, and check your VOD afterward to tweak things for next time.
New Posts
Hardware Acceleration for Live Streamers
July 30, 2025
If you're a streamer using OBS Studio, Streamlabs, or StreamElements overlays,…
0 Comments4 Minutes
How to Boost Engagement as a New Streamer (Across All Platforms)
June 17, 2025
Streaming to an empty chat room? Been there. The good news: building engagement…
0 Comments5 Minutes
Best Stream Settings for OBS Studio in 2025
June 11, 2025
Bitrates, encoders, frame rates and scaling filters are all part of finding the…
0 Comments15 Minutes
