I’ve been through the alert struggle. After years of streaming and helping other creators, I’ve seen pretty much everything and have found myself to be an expert on how to set up alerts on Twitch. Let me save you some headaches on choosing which services to use and break down what actually works in practice. If you don’t want to read all this, just go ahead and check out all the latest Twitch Alerts created by us (Nerd Or Die) which are primed with options and ready to use and easy to install. Otherwise, read on!
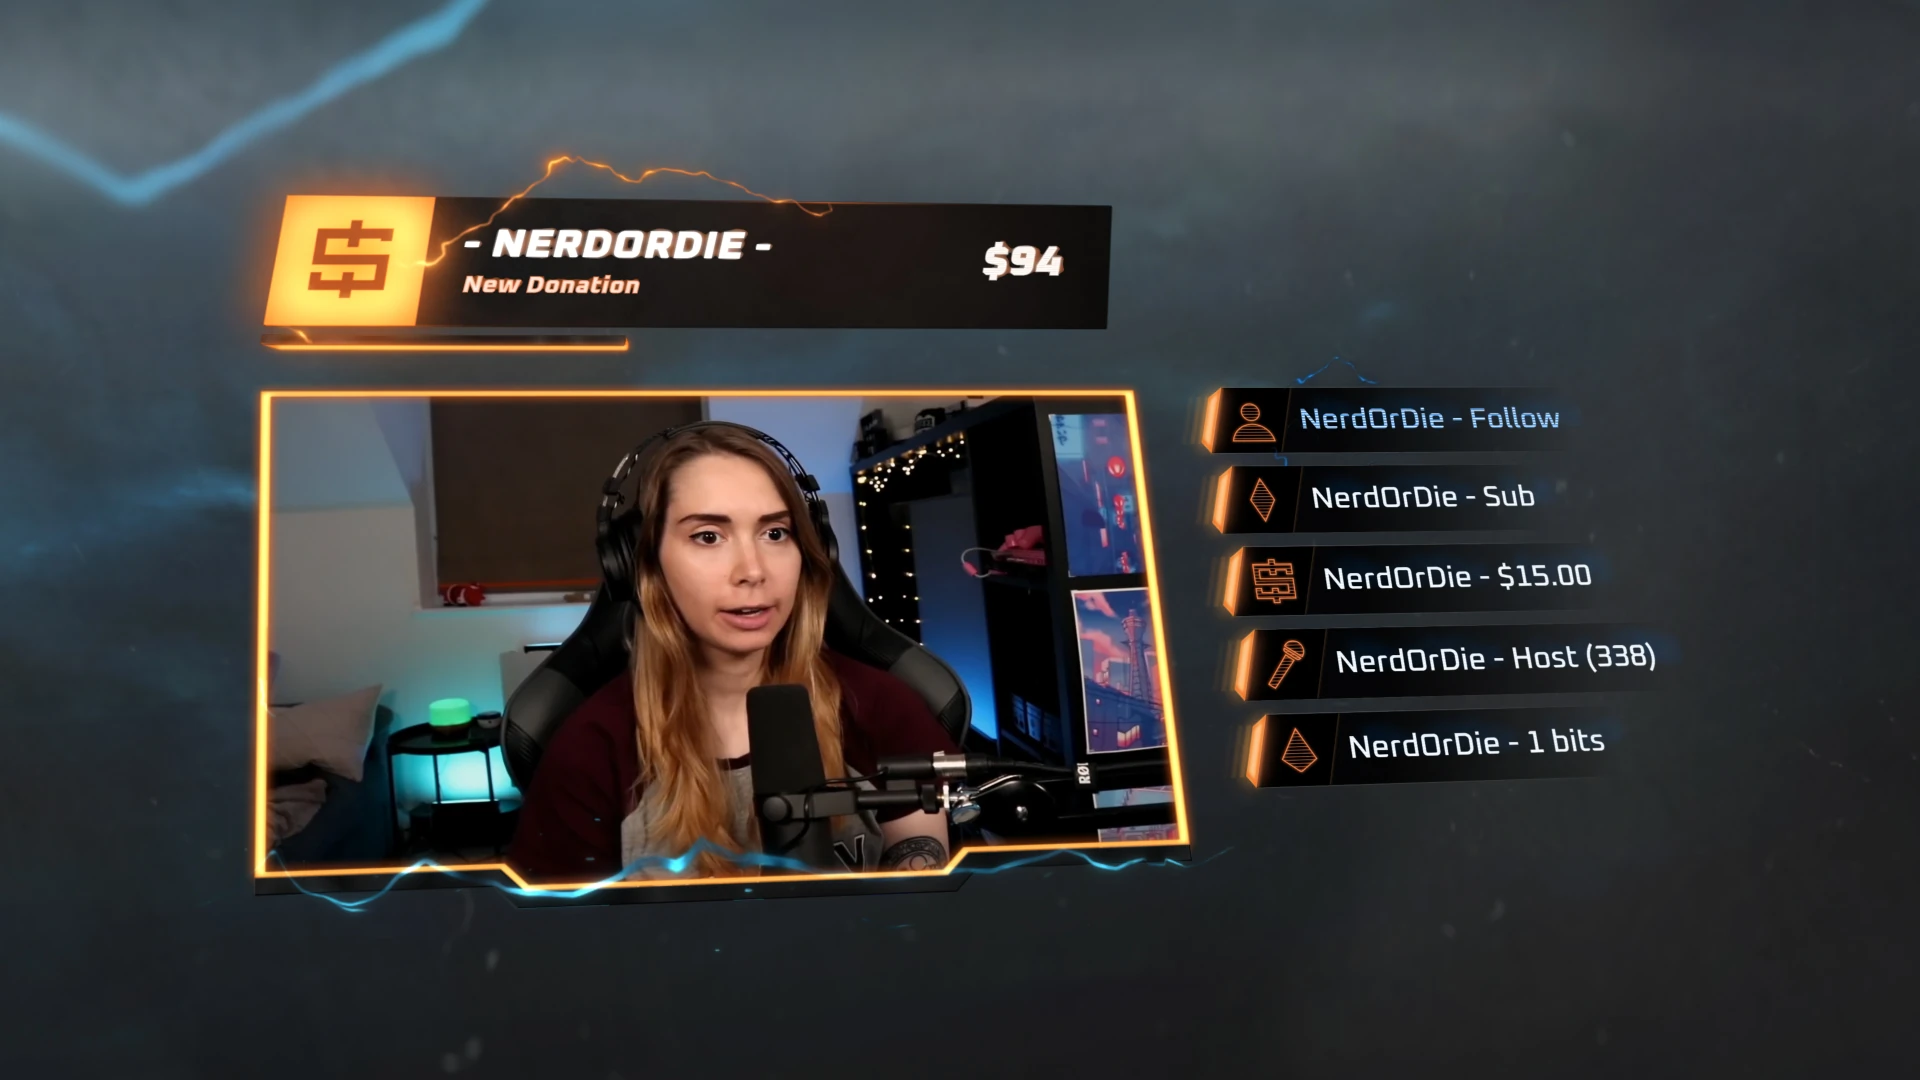
Table of Contents
Why Twitch Alerts Matter
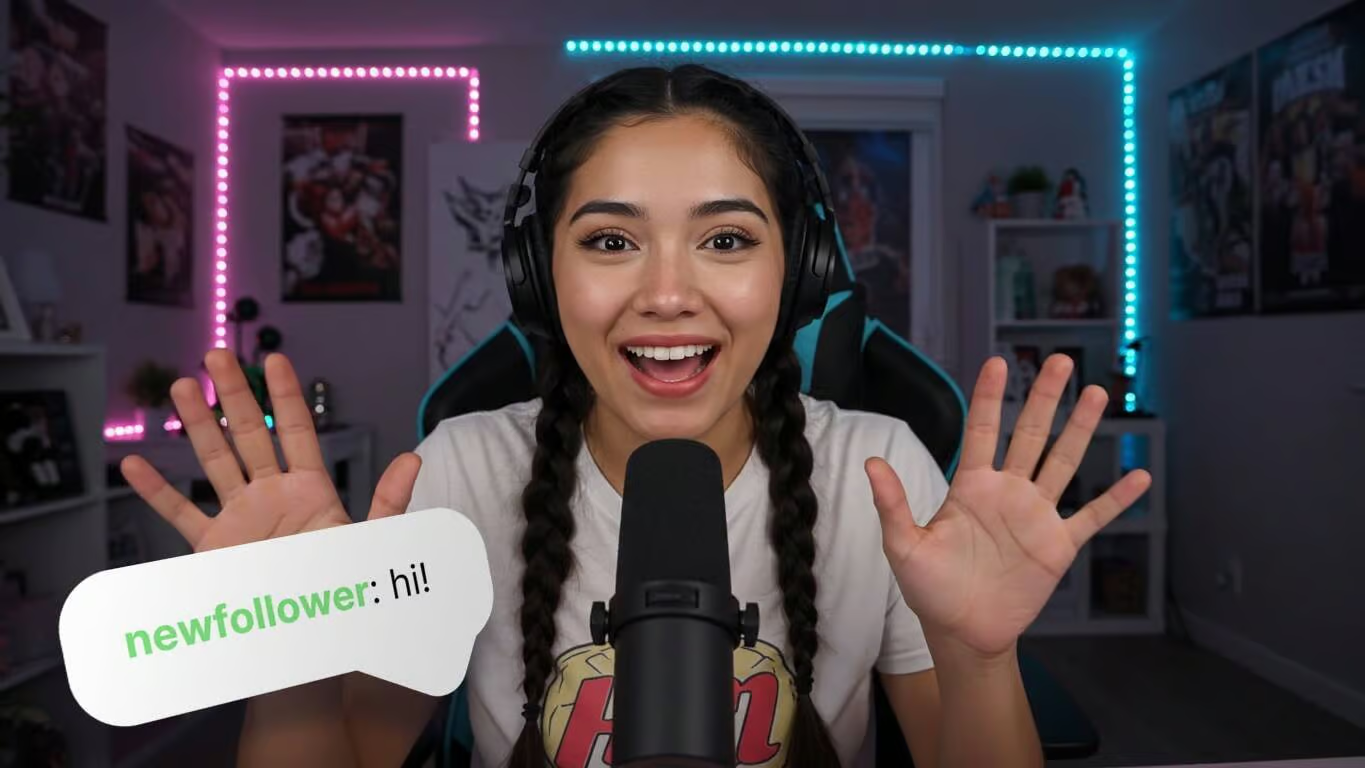
First off, do Twitch Alerts even matter? The answer is absolutely yes. You know that moment when someone drops a follow and you completely miss it because you’re in the middle of a boss fight? Yeah, been there. Alerts aren’t just fancy pop-ups – they’re your way of showing appreciation when you’re too busy to look at chat. Trust me, viewers notice when their support gets acknowledged.
Back when I started streaming, alerts were a mess. You either had to code them yourself (yikes) or use some sketchy third-party tool that might break mid-stream. These days, we’ve got options. Maybe too many options, honestly. But I’ll give you the TLDR on the best 3 routes on how to set up alerts on Twitch.
The Options
Twitch’s Built-in Alerts: The Starter Pack
Fun fact: Twitch didn’t always have built-in alerts. When they finally added them, I was a bit disappointed in the lack of features. But, for new streamers this might be all you need.
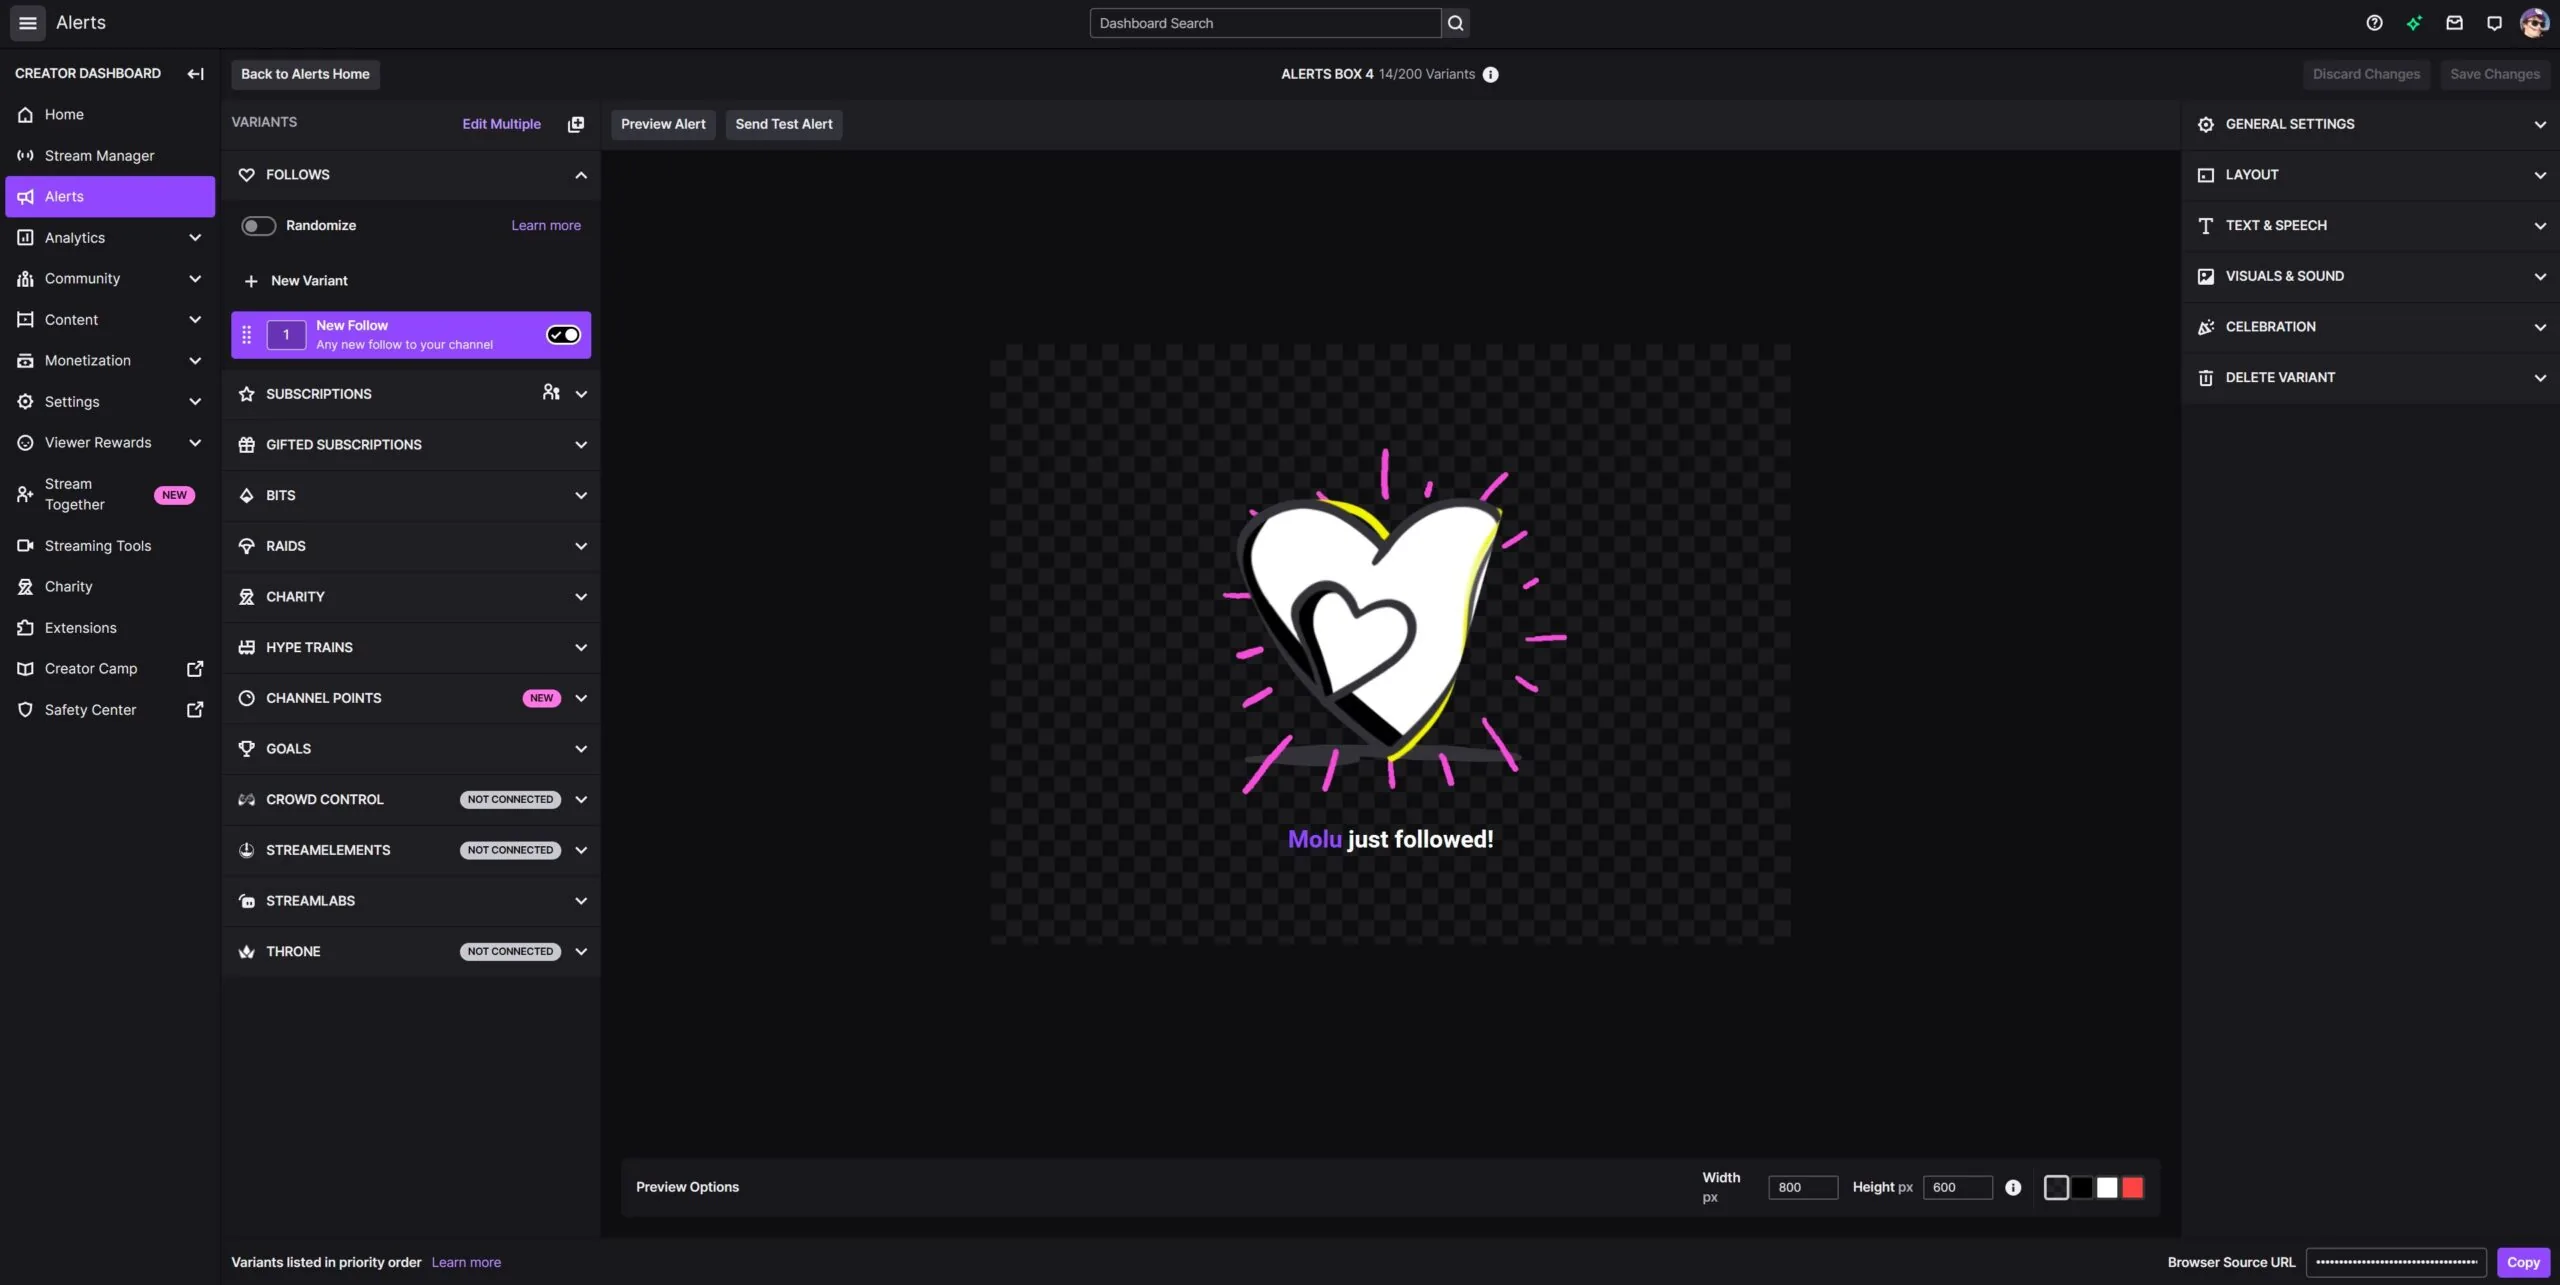
The good stuff:
- Already there when you start streaming
- Zero setup headaches
- Just works with Twitch
The not-so-good stuff:
- Very simple designs
- Can’t change much at all
- Everyone’s alerts look the same
Here’s the thing – Twitch’s alerts are fine when you’re just starting out. They’re like learning to drive in your parent’s old car. Does the job, but eventually you’re gonna want something that feels more like you.
Streamlabs and StreamElements Alerts: The Middle Ground
Streamlabs are by far the most popular choice when it comes to alert systems. There’s a reason for that. They made it possible to have Twitch alerts before Twitch did. They made it easy to have nice alerts without needing a computer science degree. StreamElements do a good job too, with a bit of flair and their own unique benefits.
Streamlabs: The Popular Kid
Streamlabs, formerly known as “TwitchAlerts” came in and basically said, “What if alerts were actually easy to set up?” And honestly, they nailed it. The alert editor is pretty straightforward, and they’ve got a large selection of premade designs. They all look a bit the same, but it’s probably good enough for most new streamers.
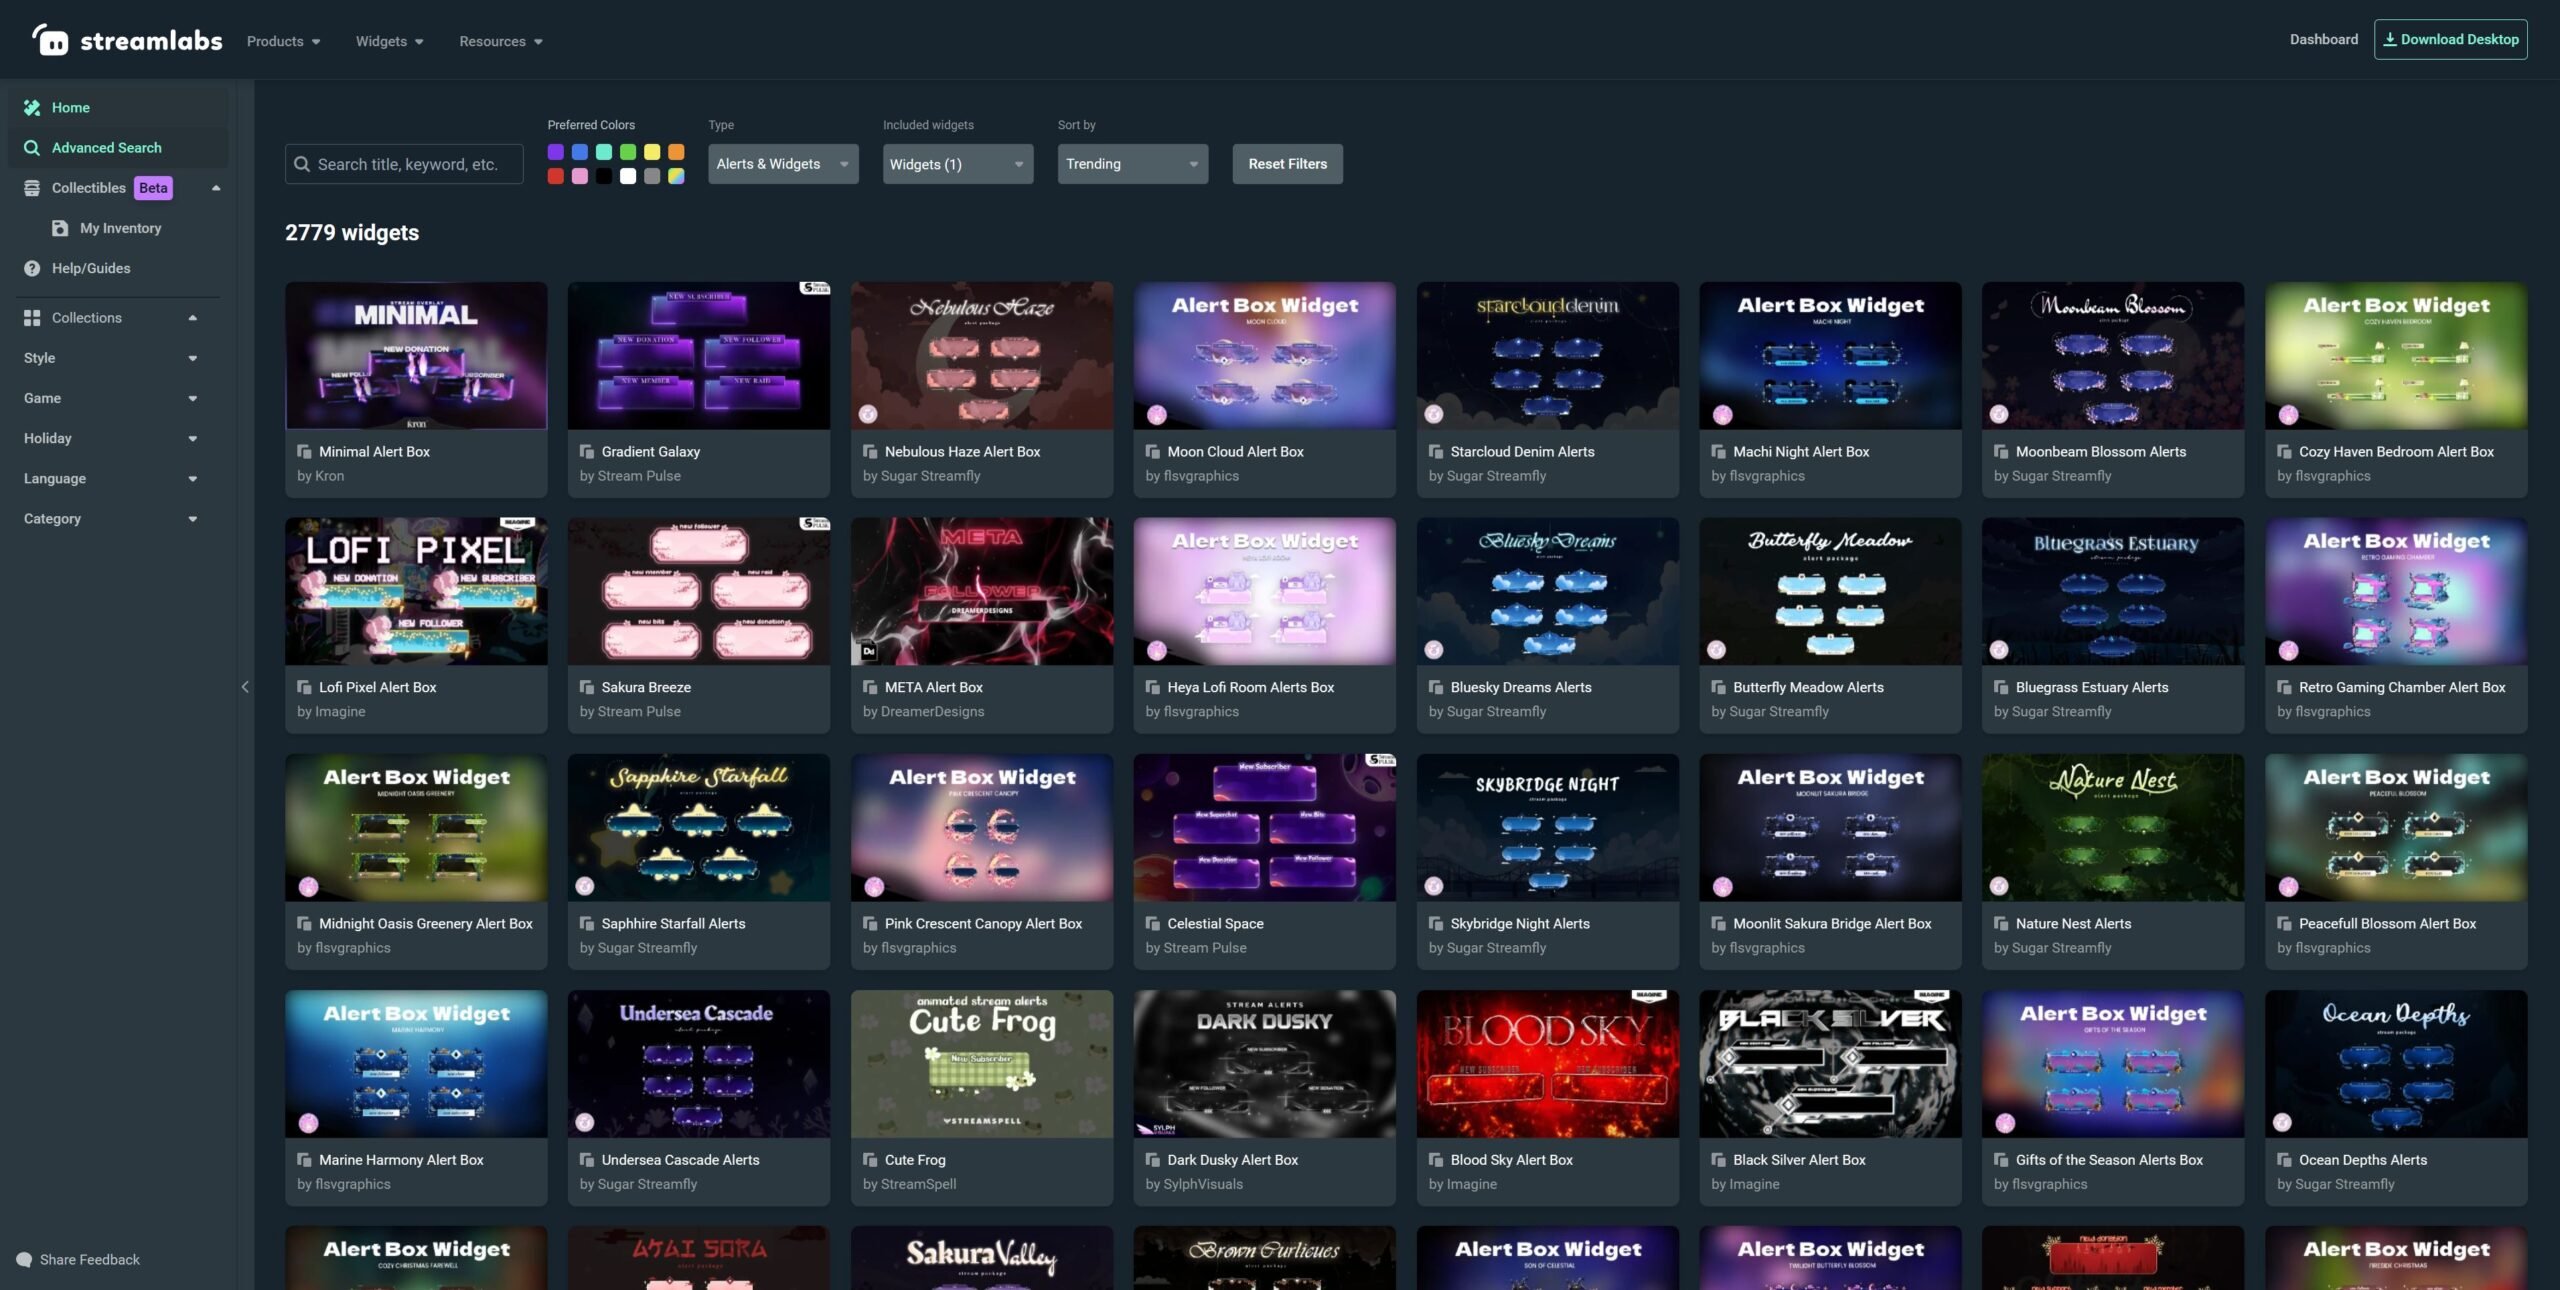
The good stuff:
- Pretty easy to figure out
- Decent template selection
- Basic customization that makes sense
The not-so-good stuff:
- Alerts can feel pretty same-same
- Some options are too limited
- Might notice your alerts look like everyone else’s or a bit dated
StreamElements: The Feature Overload
StreamElements is like Streamlabs’ cousin who went to art school. The designs are a bit more refined, but I find myself hitting that wall again with trying to force a square through a round hole to customize. Plently of options, but sometimes it’s… a lot.
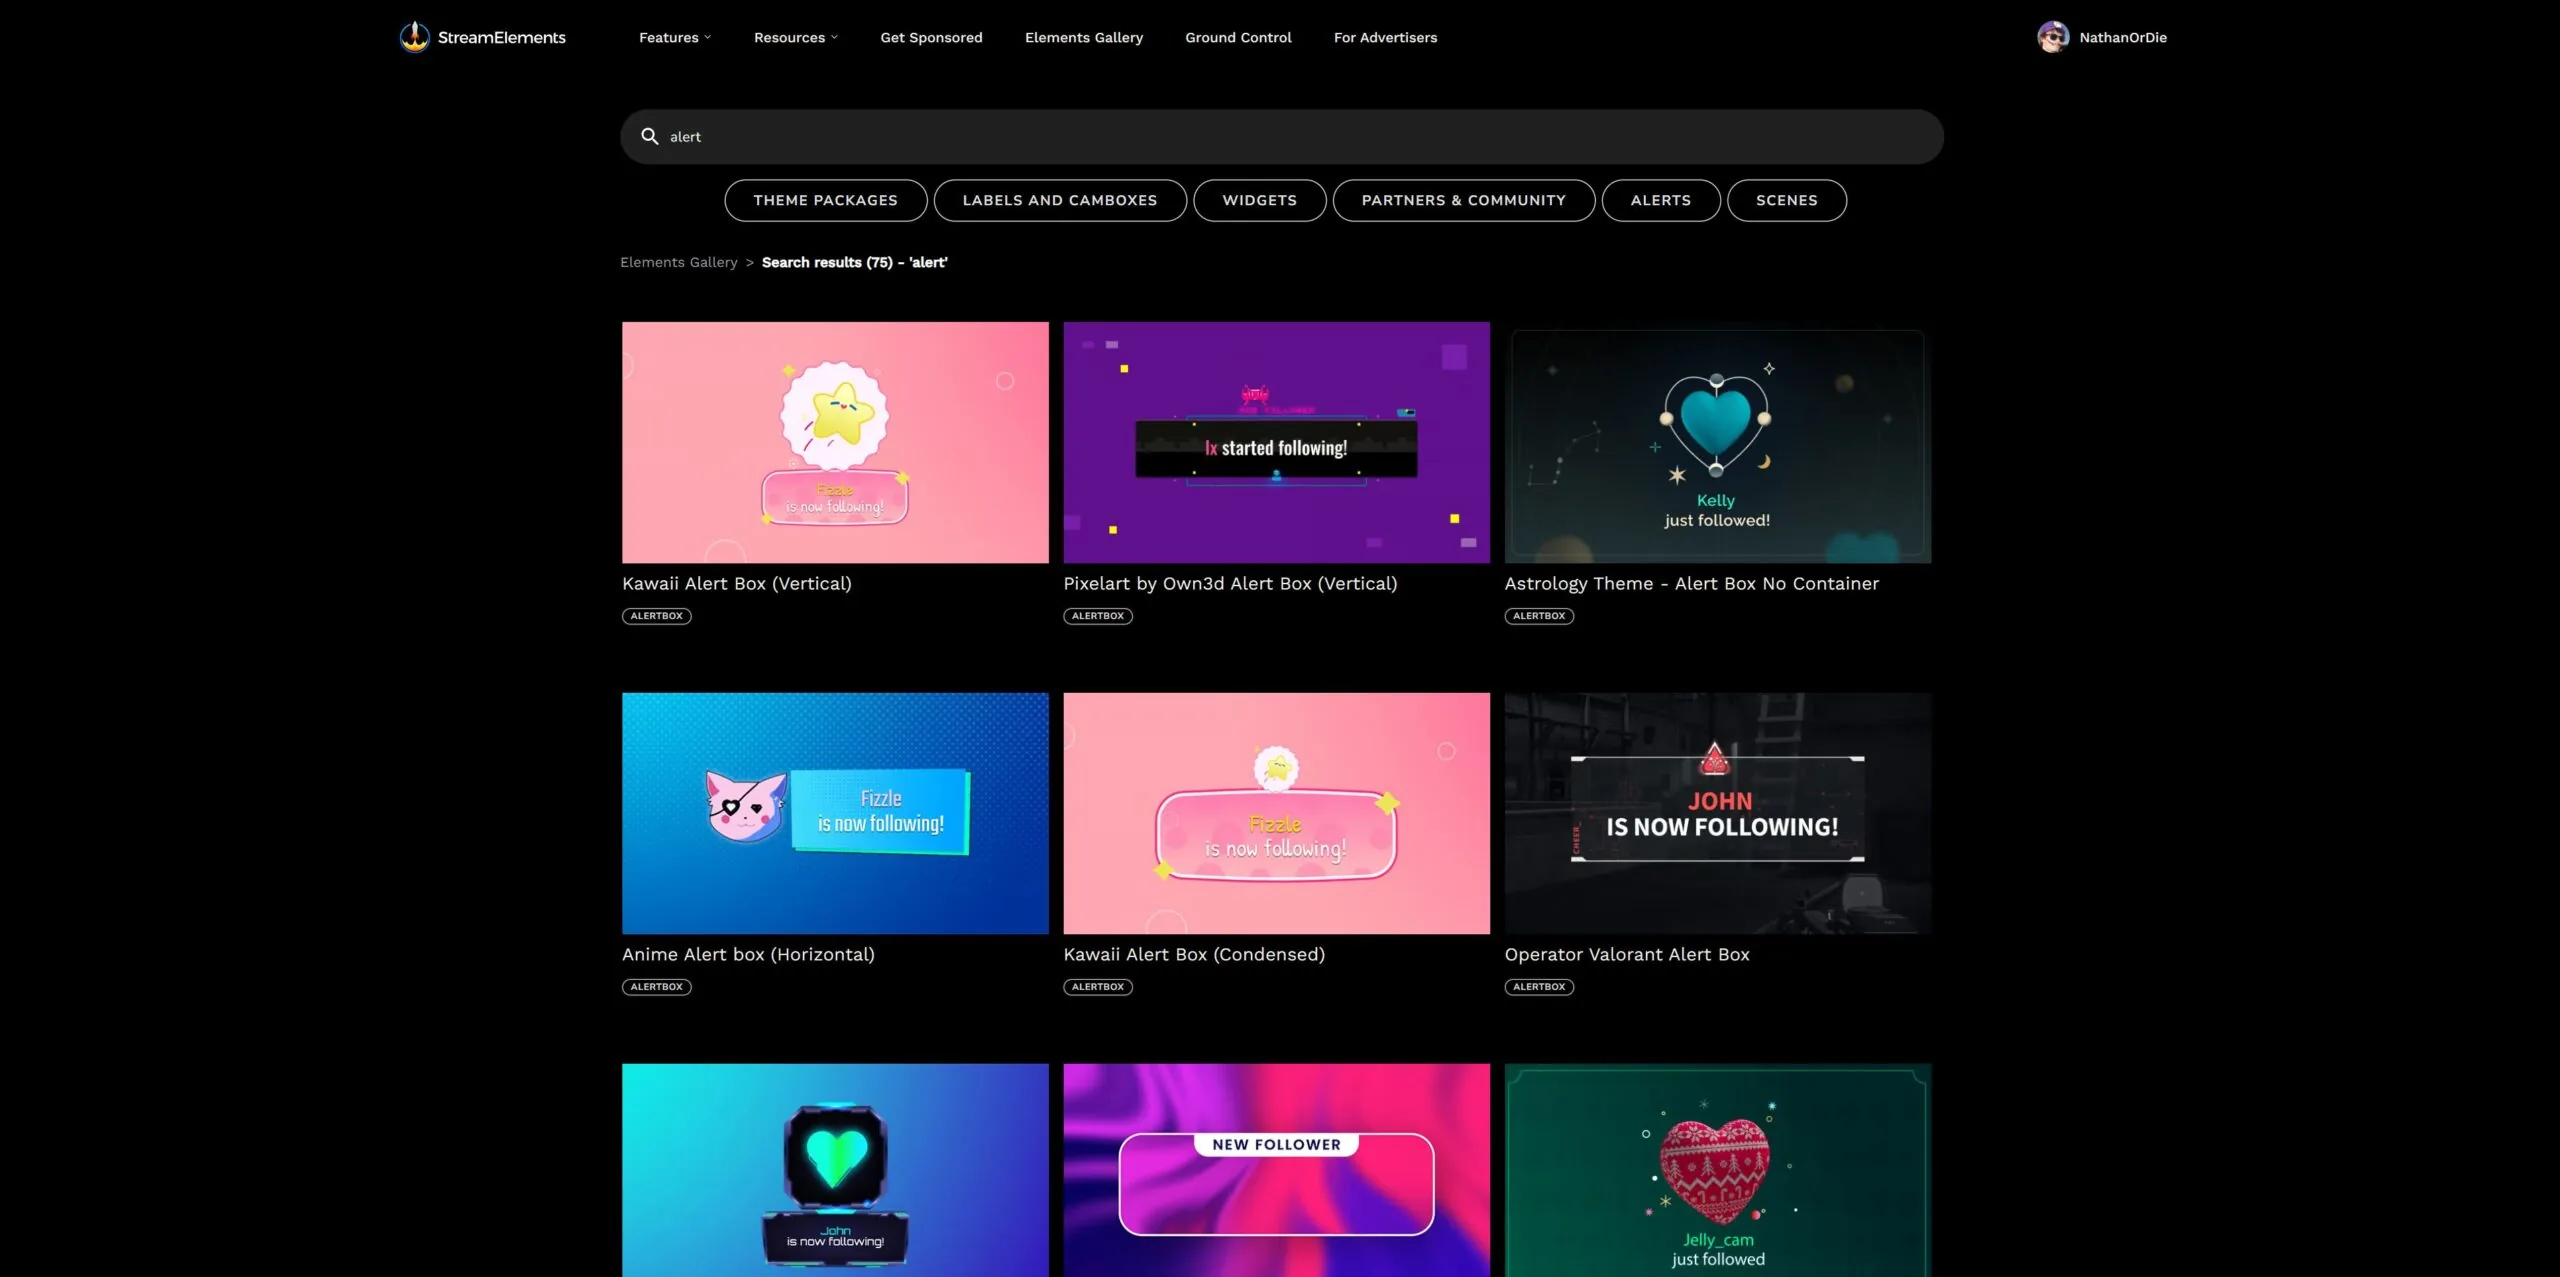
The good:
- More control over how things look
- Some nice modern designs to choose from
The head-scratchers:
- Can be overwhelming
- Difficult to navigate
- Many styles are simply video and text
- Not very intuitive
When You’re Ready for Something Better
Okay, real talk – this is where things get good (and super bias). Nerd Or Die have been making their own Twitch Alerts for a long long time – over 10 years. Derek (founder of Nerd Or Die) was tired of having the same alerts as everyone else and wanted to be special. So he started creating his own custom alerts on an alert service called Muxy (which have now pivoted) .
Eventually, the Nerd Or Die blog, became a resource for Twitch tools, alerts and eventually overlays too. With his expertise of being a streamer and struggling with creating his own alerts, he decided to work on creating alerts with a difference. The alerts he created work with both Streamlabs and StreamElements as the service of choice, but they add additional customization options and in my opinion are easier to work with. Think of it like this: The basic alerts are like using preset filters on your photos. They work, but you and everyone else can tell it’s a filter. Nerd Or Die alerts are more like having professional presets that you can actually adjust to match your style.
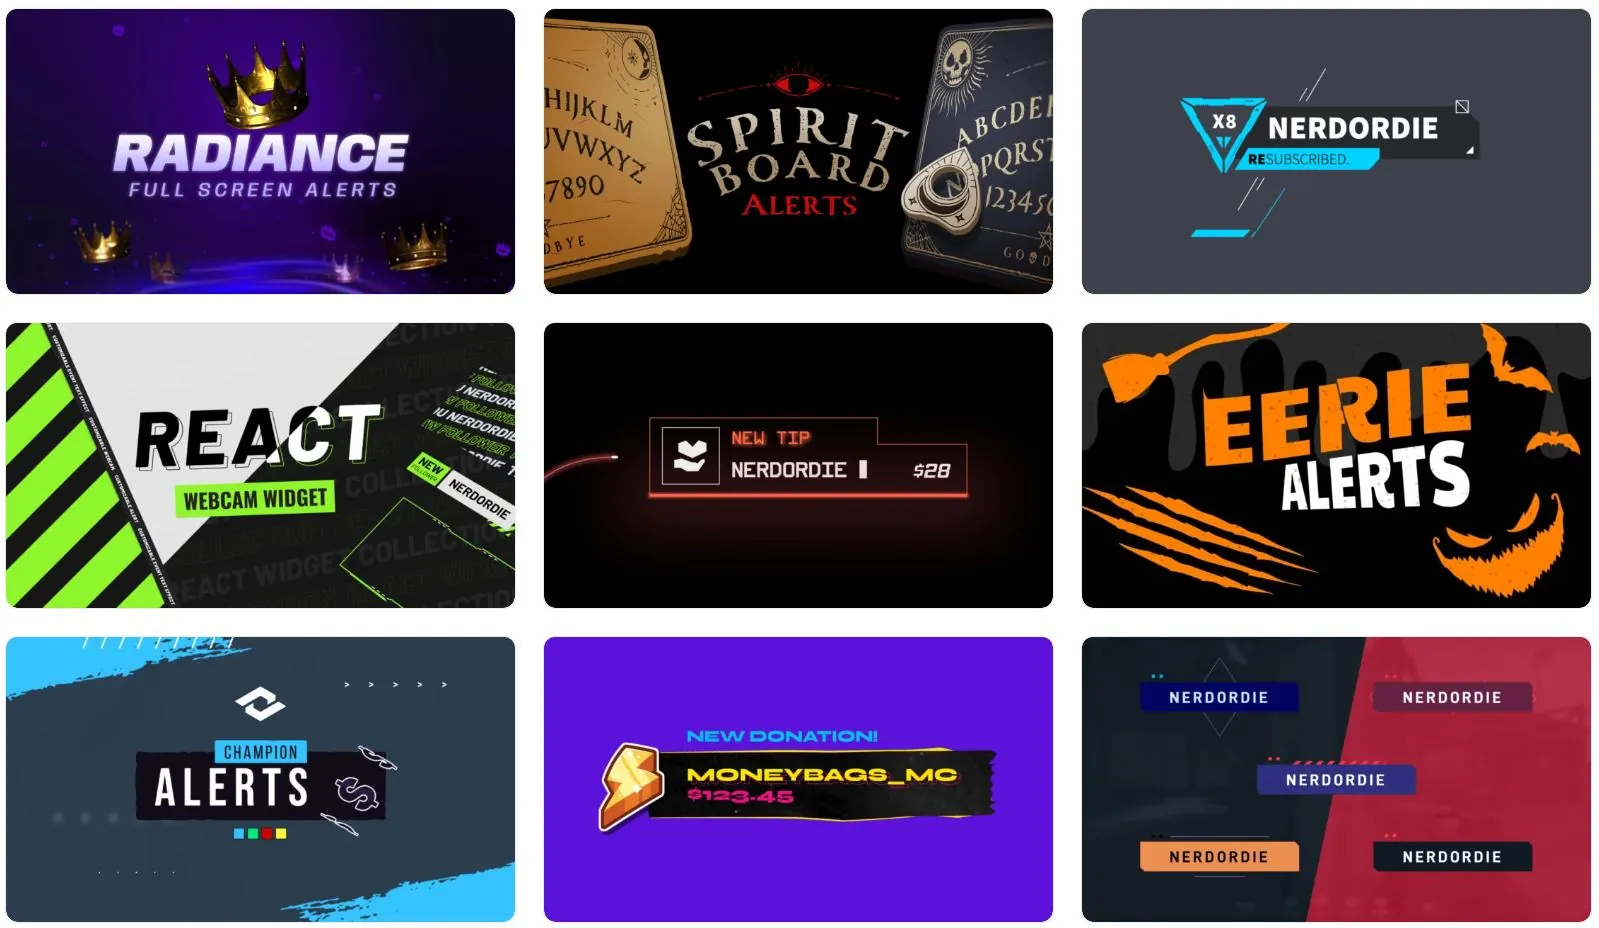
What makes them different:
- Good designs to choose from
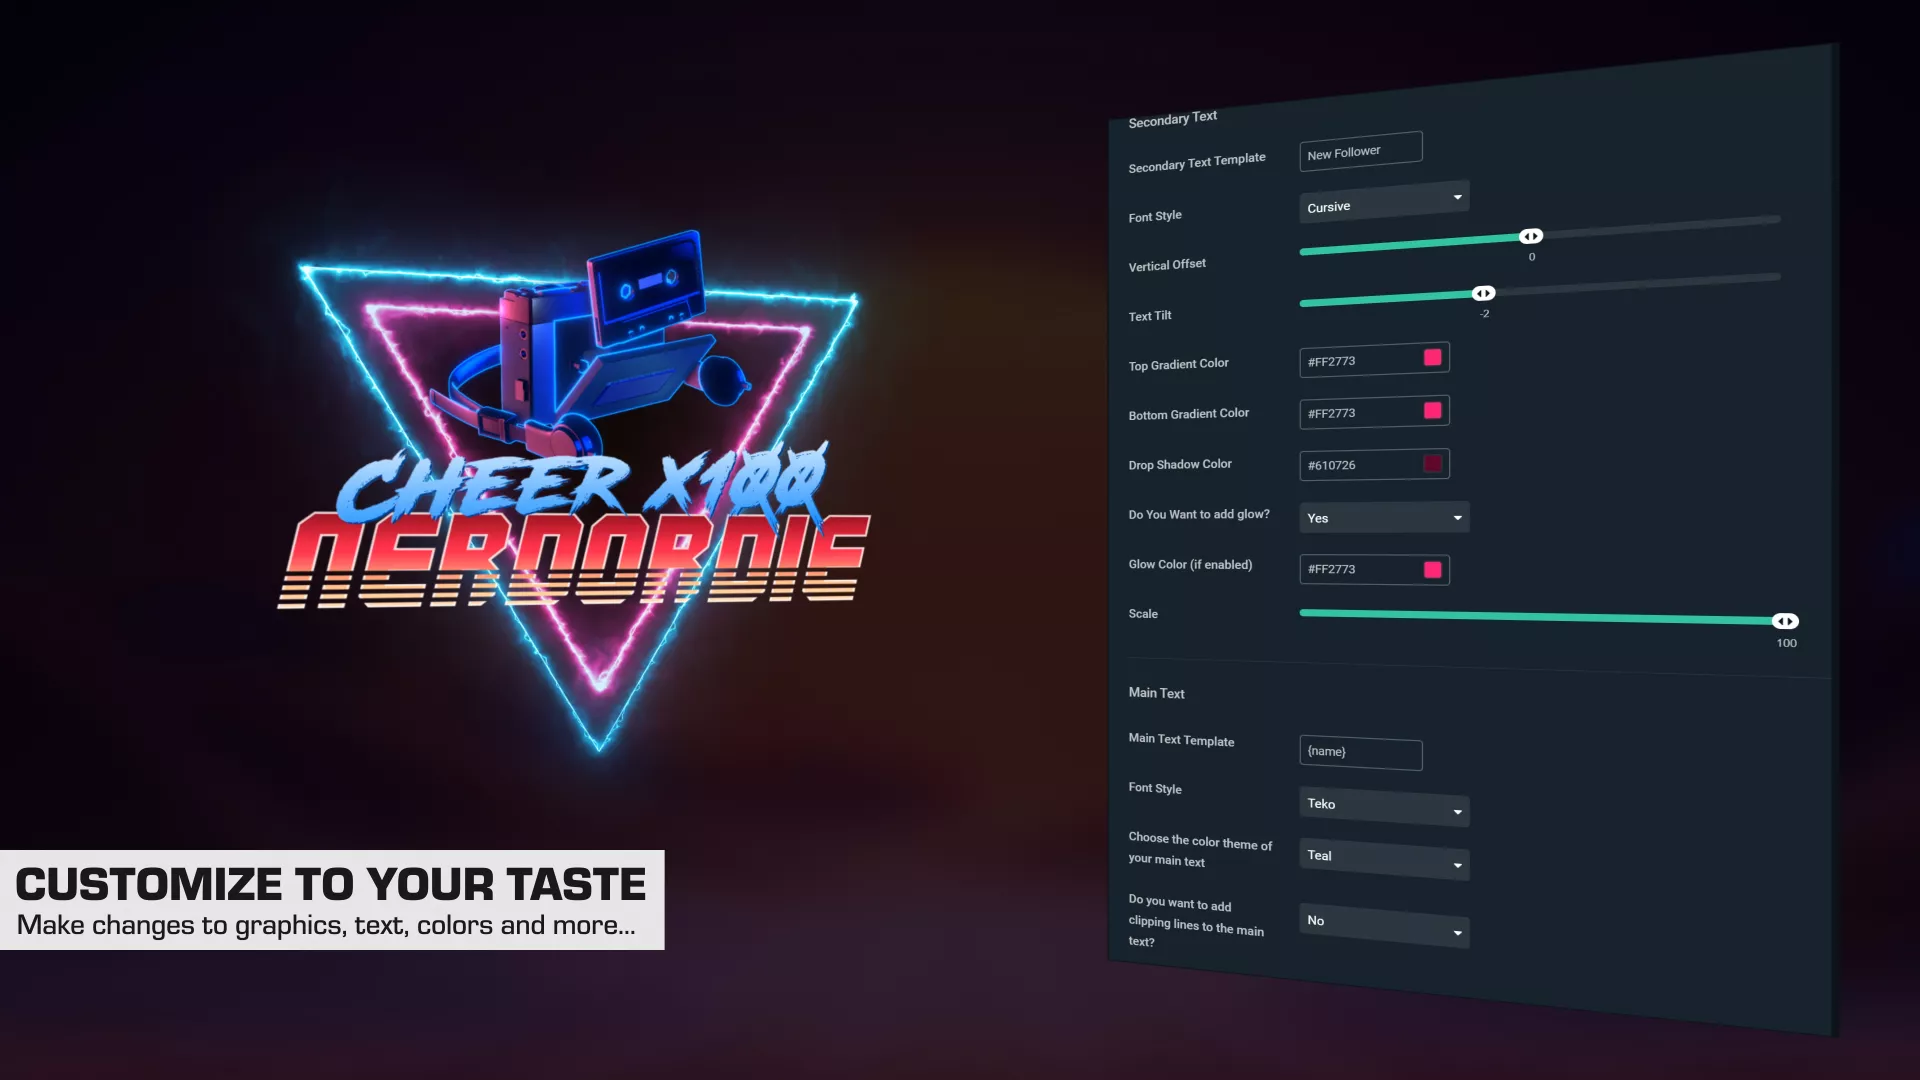
- Tons of customization options that make sense
- Doesn’t feel like everyone else’s stream
- Really smooth animations (no janky stuff)
The setup is pretty straightforward too. You download an alert package you like, click the quick installation link (for Streamlabs or StreamElements) and then you’ve got all these options to make it yours. Colors, timing, fonts, animations – you can tweak pretty much everything without needing to know code.
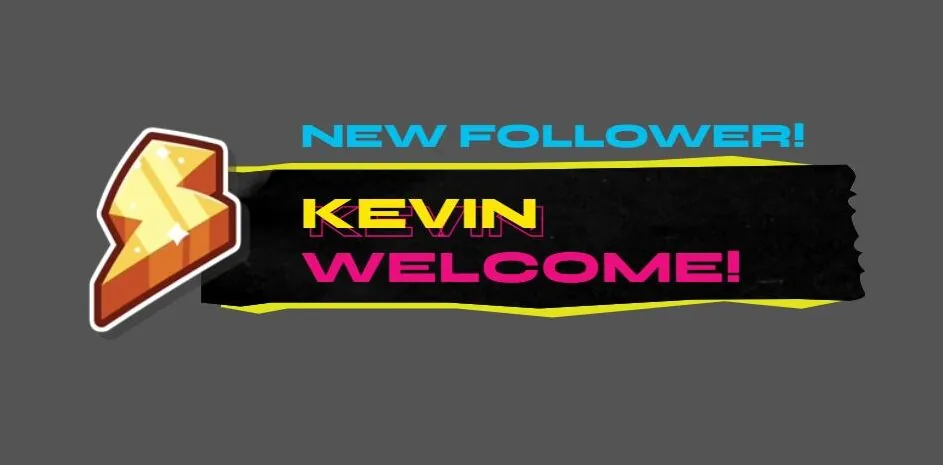
Quick example: I was setting up alerts for a friend’s channel last week. They wanted something that matched their anime-themed branding. After browsing the store, they liked the look of the StickerBomb alert package. We imported them to Streamlabs and within 30 minutes had it matching their colors, style, and vibe perfectly. Try doing that with standard templates!

How to Set Up Alerts on Twitch
Alright. Hopefully you’ve been able to make a decision on which one you want to use. Regardless, I’ll walk you through how to set up alerts on Twitch using their native tools, Streamlabs, StreamElements, and if you’re a little bit fancy, the Nerd Or Die alerts option.
Setting Up Twitch’s Native Alerts
As discussed, Twitch has built-in alerts. Here’s how to set them up:
- Go to Your Creator Dashboard:
- Log into Twitch and click on your profile picture in the top-right corner.
- Select “Creator Dashboard.”
- Access Alerts:
- Navigate to the “Extensions” section in the left-hand menu.
- Search for and install the “Viewer Engagement” extension (or a similar alert extension).
- Enable the Extension:
- Activate the extension by assigning it to a panel or overlay slot.
- Customize Alerts:
- Depending on the extension, you can customize the alert sound, message, and appearance.
- Test Your Alerts:
- Use the “Test Alert” feature to ensure everything is working.
Setting Up Alerts with Streamlabs
Here’s how to set up Alerts on Twitch using Streamlabs:
- Log In to Streamlabs:
- Go to Streamlabs and log in with your Twitch account.
- Set Up Alerts:
- Navigate to the “Alert Box” tab on the left-hand menu.
- Customize Your Alerts:
- Choose from categories like Followers, Subscribers, Donations, etc.
- Customize each alert’s appearance, animation, and sound.
- Add the Alert Box to Your Streaming Software:
- Copy the provided “Widget URL.”
- Open your streaming software (OBS Studio or Streamlabs Desktop).
- Add a “Browser Source” and paste the URL.
- Test Alerts:
- Use the “Test Widget” option to see your alerts in action.
Setting Up Alerts with StreamElements
Here’s how to set up Alerts on Twitch using StreamElements:
- Log In to StreamElements:
- Head over to StreamElements and log in with your Twitch account.
- Go to Overlays:
- Click on “Overlays” in the left-hand menu in the Dashboard under “Streaming Tools”.
- Add an Alert Widget:
- Click “New Overlay.”
- Add an “AlertBox” widget from the widget menu.
- Customize Alerts:
- Adjust settings for each alert type, including design, sounds, and behavior.
- Connect to Streaming Software:
- Save your overlay and copy the “Overlay URL.”
- Paste it into your streaming software as a Browser Source.
- Test Alerts:
- Use the “Emulate Alert” feature to preview your settings.
Nerd Or Die Quick Setup Alerts (with Streamlabs)
Here’s how to set up alerts on Twitch (the easy way) using Nerd Or Die’s Streamlabs compatible alerts. In your downloaded files, open up the standard alert folder.
- Click the Alerts Quick Setup link to begin installing these alerts.
- If you’d like, choose “Create Widget Theme” and name it something appropriate such as package name. The import link will only override your alert package. This means you can combine these alerts with any other scene collection/widgets you’ve made in Streamlabs. If you want to save your old alerts, it’s highly recommended to do this in a new profile.
- Select “Use” for the profile you want to import into.
- Navigate to “Alert Box” and copy your unique URL.
- Paste this URL as a “Browser Source” in your streaming software.
Once you’ve added this into your streaming software test the alerts to make sure they’re working properly.
Nerd Or Die Quick Setup Alerts (with StreamElements)
Here’s how to set up alerts on Twitch (the easy way) using Nerd Or Die’s StreamElements compatible alerts. In your downloaded files, open up the Streamelements alert folder.
- Head over to Streamelements.com and ensure you’re logged in.
- Double click the Streamelements Alert set up link from your downloads
- This link will automatically open up the Streamelements website and begin the import.
- You should get a notification at the top of the Streamelements website stating the import was successful
- Head over to “My Overlays”
- You should now find the imported alerts named after the pack they are from.
- Click on the “Launch Overlay” to get the URL for your alerts
- Paste this URL as a “Browser Source” in your streaming software.
*NOTE: The Streamelements links are specific to your platform. You can only use the Twitch link for Twitch, and YouTube for YouTube.
Once you’ve added this into your streaming software, test the widget to make sure they’re working properly.
Bottom Line
Realistically, you can make any of these options work. Twitch’s built-in alerts are fine when you’re starting out. Streamlabs and StreamElements can get you something nice. But if you’re serious about making your stream look professional and uniquely yours, Nerd Or Die alerts are worth checking out. There’s free options plus premium ones worth paying for.
The cool thing about Nerd Or Die alerts is you’re not locked into a rigid template, but you’re also not starting from scratch. It’s like getting the perfect foundation and then having all the tools to make it match your style.
Remember, alerts are part of your stream’s personality. They pop up at moments when viewers are showing support – make them count!
Quick Tips Before You Go
- Start simple, you can always upgrade or tweak them later
- Test your alerts BEFORE you go live (learned that one the hard way)
- Keep backups of your settings
- Don’t be afraid to change things up if they’re not working

Streaming’s supposed to be fun – don’t let alert setup stress you out. Pick something that works for where you are now, knowing you can always change it up later. Trust me, your viewers care more about you acknowledging them than having the fanciest alerts on Twitch.
Now go make your stream look awesome! If you have any more questions about how to set up alerts on Twitch, please reach out. We’d love to chat!
New Posts
Hardware Acceleration for Live Streamers
July 30, 2025
If you're a streamer using OBS Studio, Streamlabs, or StreamElements overlays,…
0 Comments4 Minutes
How to Boost Engagement as a New Streamer (Across All Platforms)
June 17, 2025
Streaming to an empty chat room? Been there. The good news: building engagement…
0 Comments5 Minutes
Best Stream Settings for OBS Studio in 2025
June 11, 2025
Bitrates, encoders, frame rates and scaling filters are all part of finding the…
0 Comments15 Minutes
