- Home
- Blog
- Tutorials & Guides
- Going Live Template – Figma Tutorial
Going Live Template – Figma Tutorial
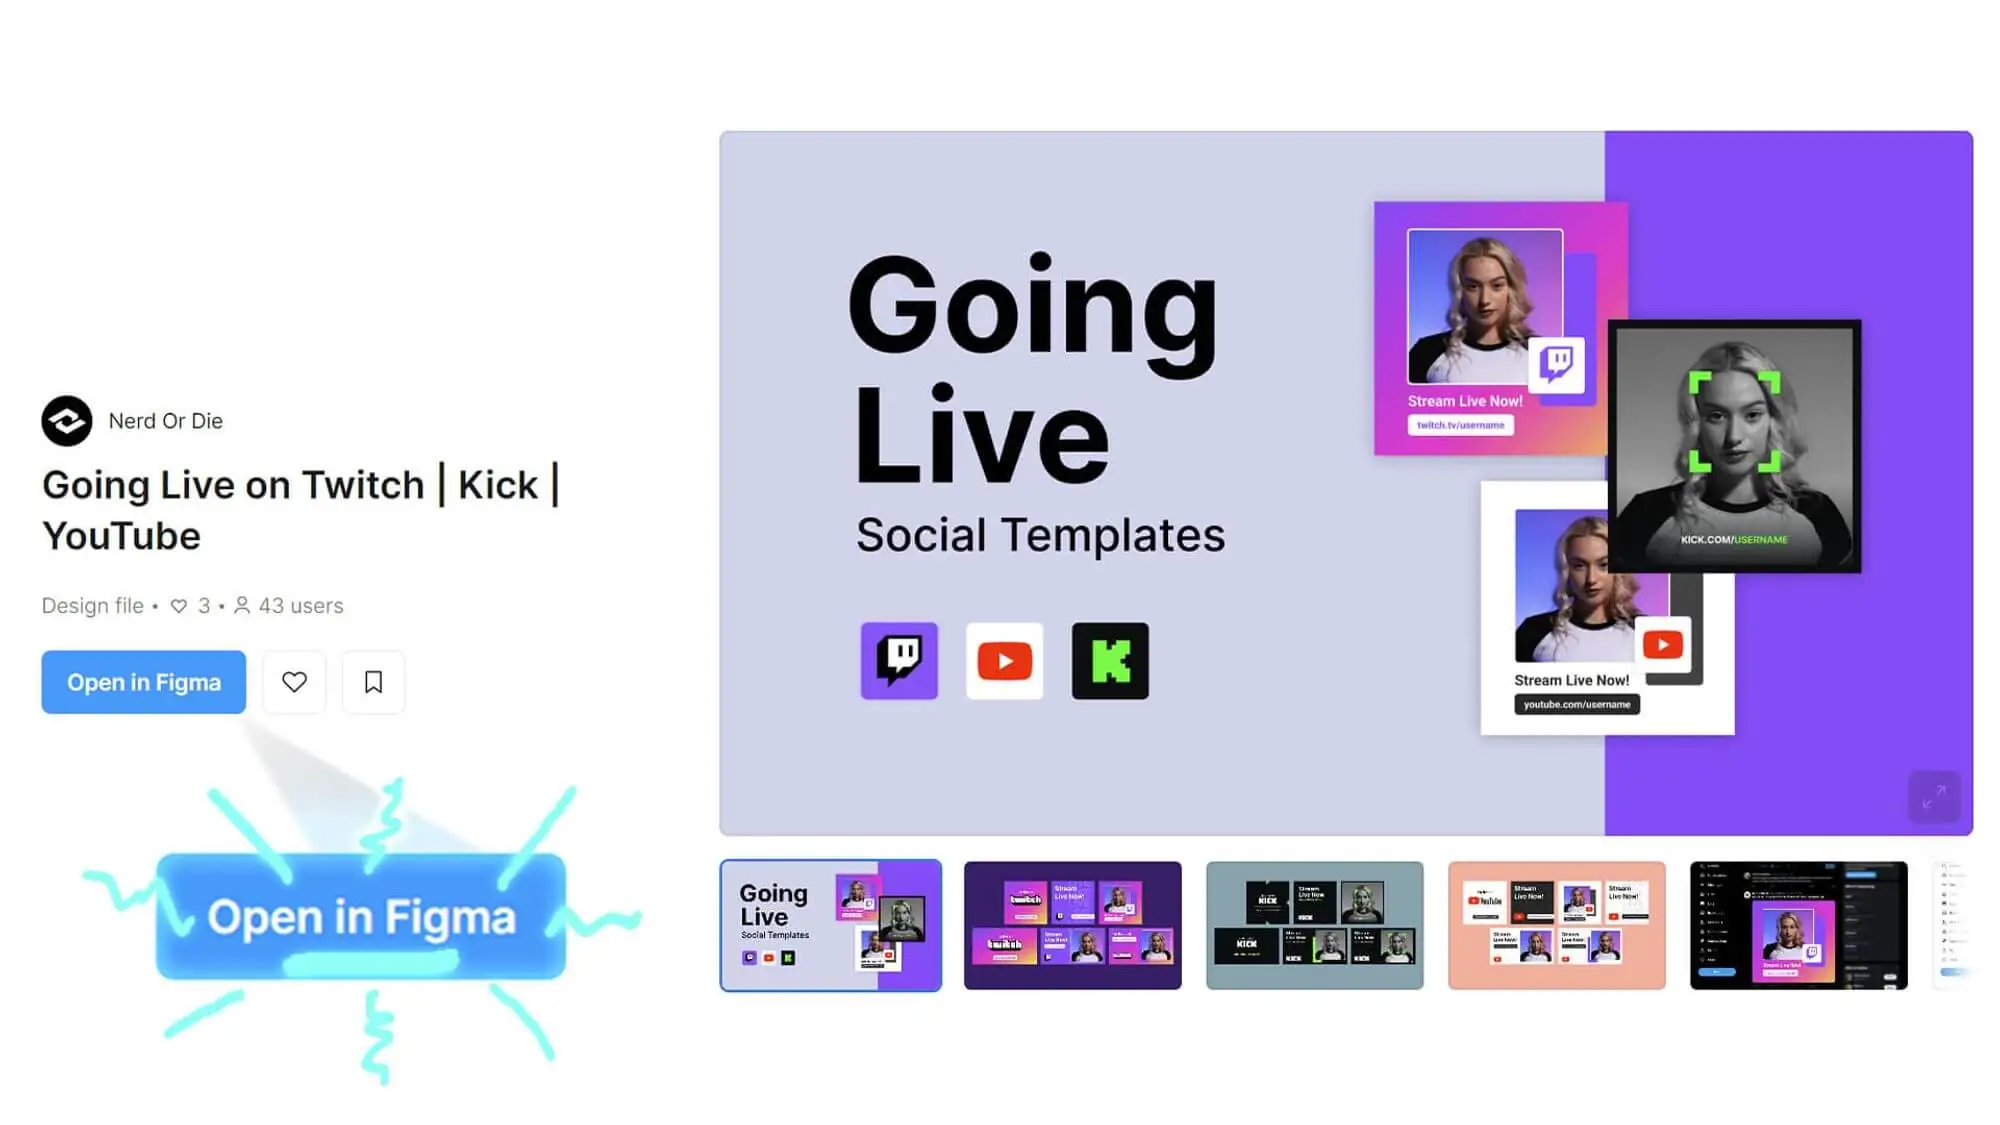
Using Figma, we've created a Going Live template for your socials. Designs for Twitch, Kick or YouTube.
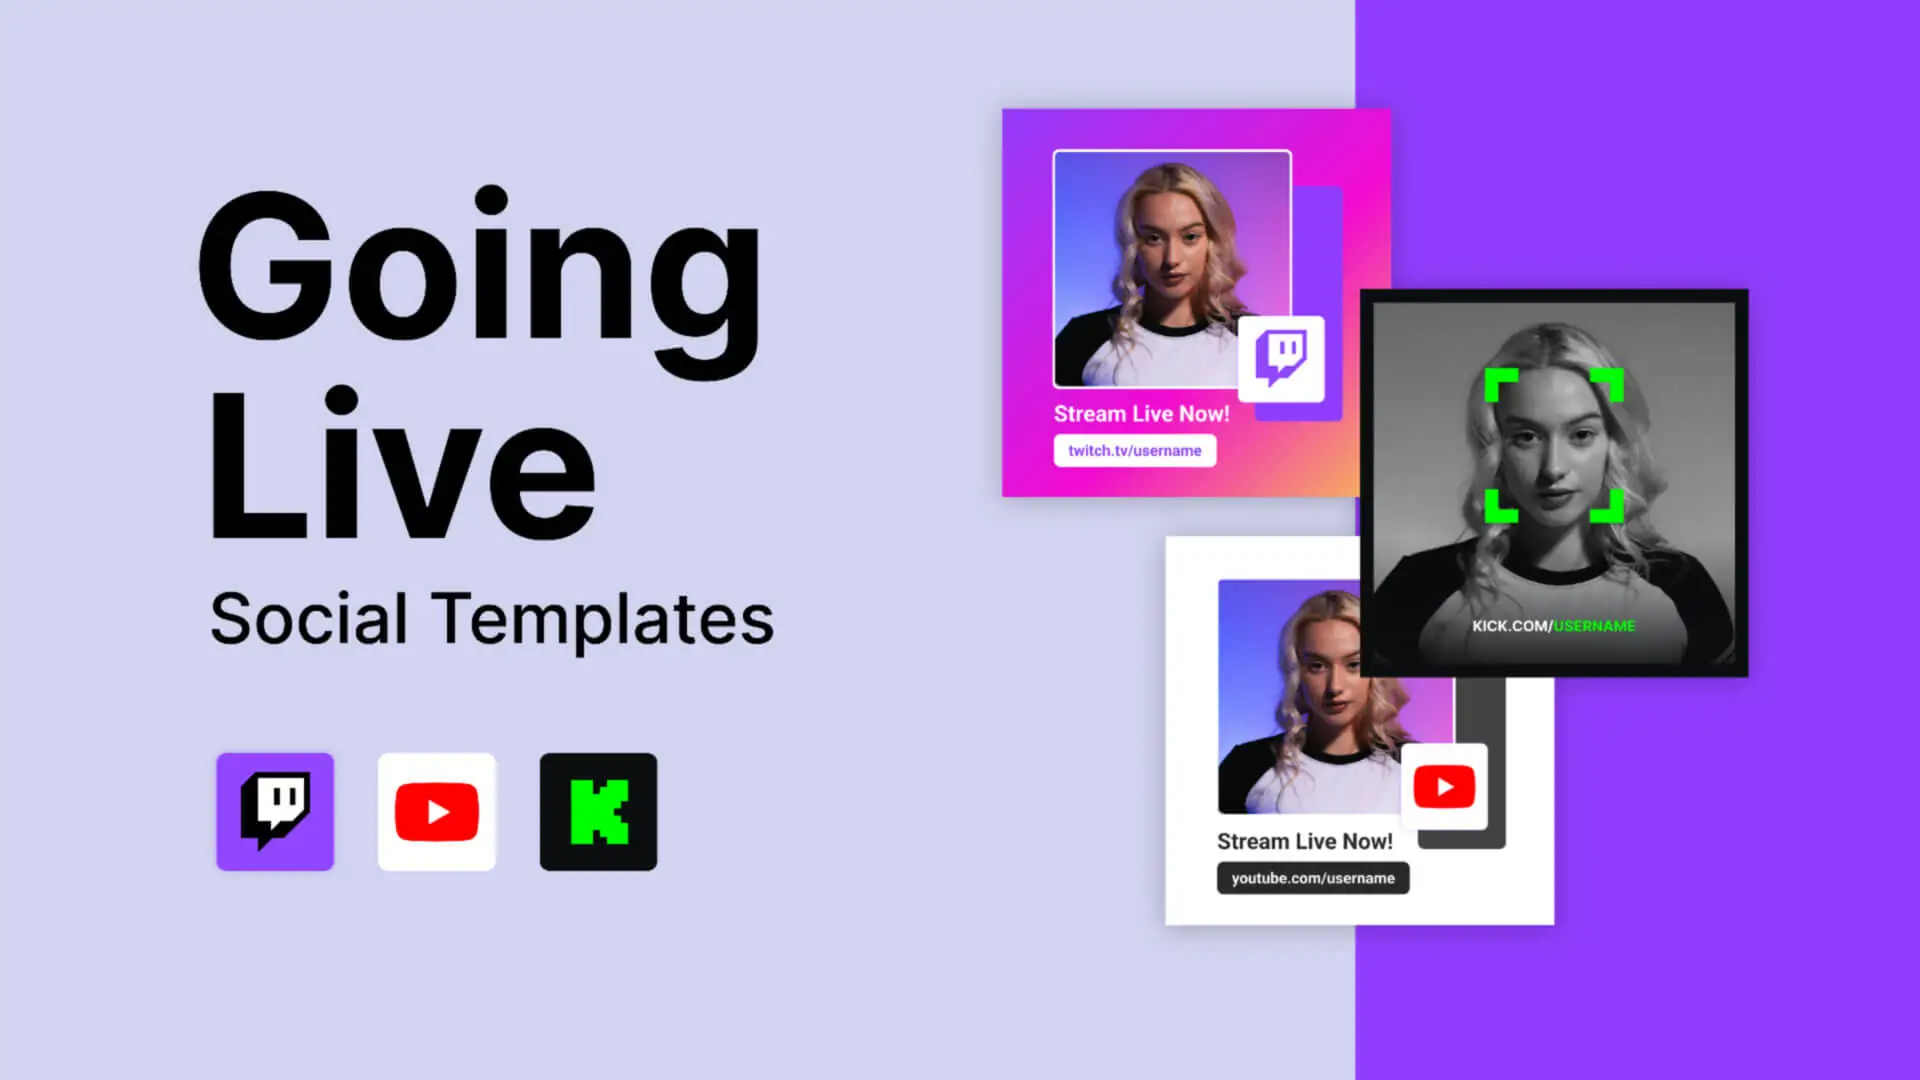
Table of Contents
“Going Live” is boring? Solution!
When you’re posting about going live on your various socials, it can be a bit of a ‘meh’ experience. You either have to pair your post with an eye catching clip, or graphic, or a thousand emojis, and a lot of us just don’t have easy access to something that looks super great right out of the box. Wouldn’t it be nice to have a Going Live template that looks high quality and is customised to reflect your personality and your stream? Of course it would!
Well, good news – because today I’m going to show you how to set up going live imagery for your socials, for Twitch, Kick or YouTube (more coming if there’s interest!). I’m using a program called Figma to customise these, and all you need to do, is sign up for a free account. No strings attached. Just free things and good vibraphones.
Using a Going Live Template in Figma
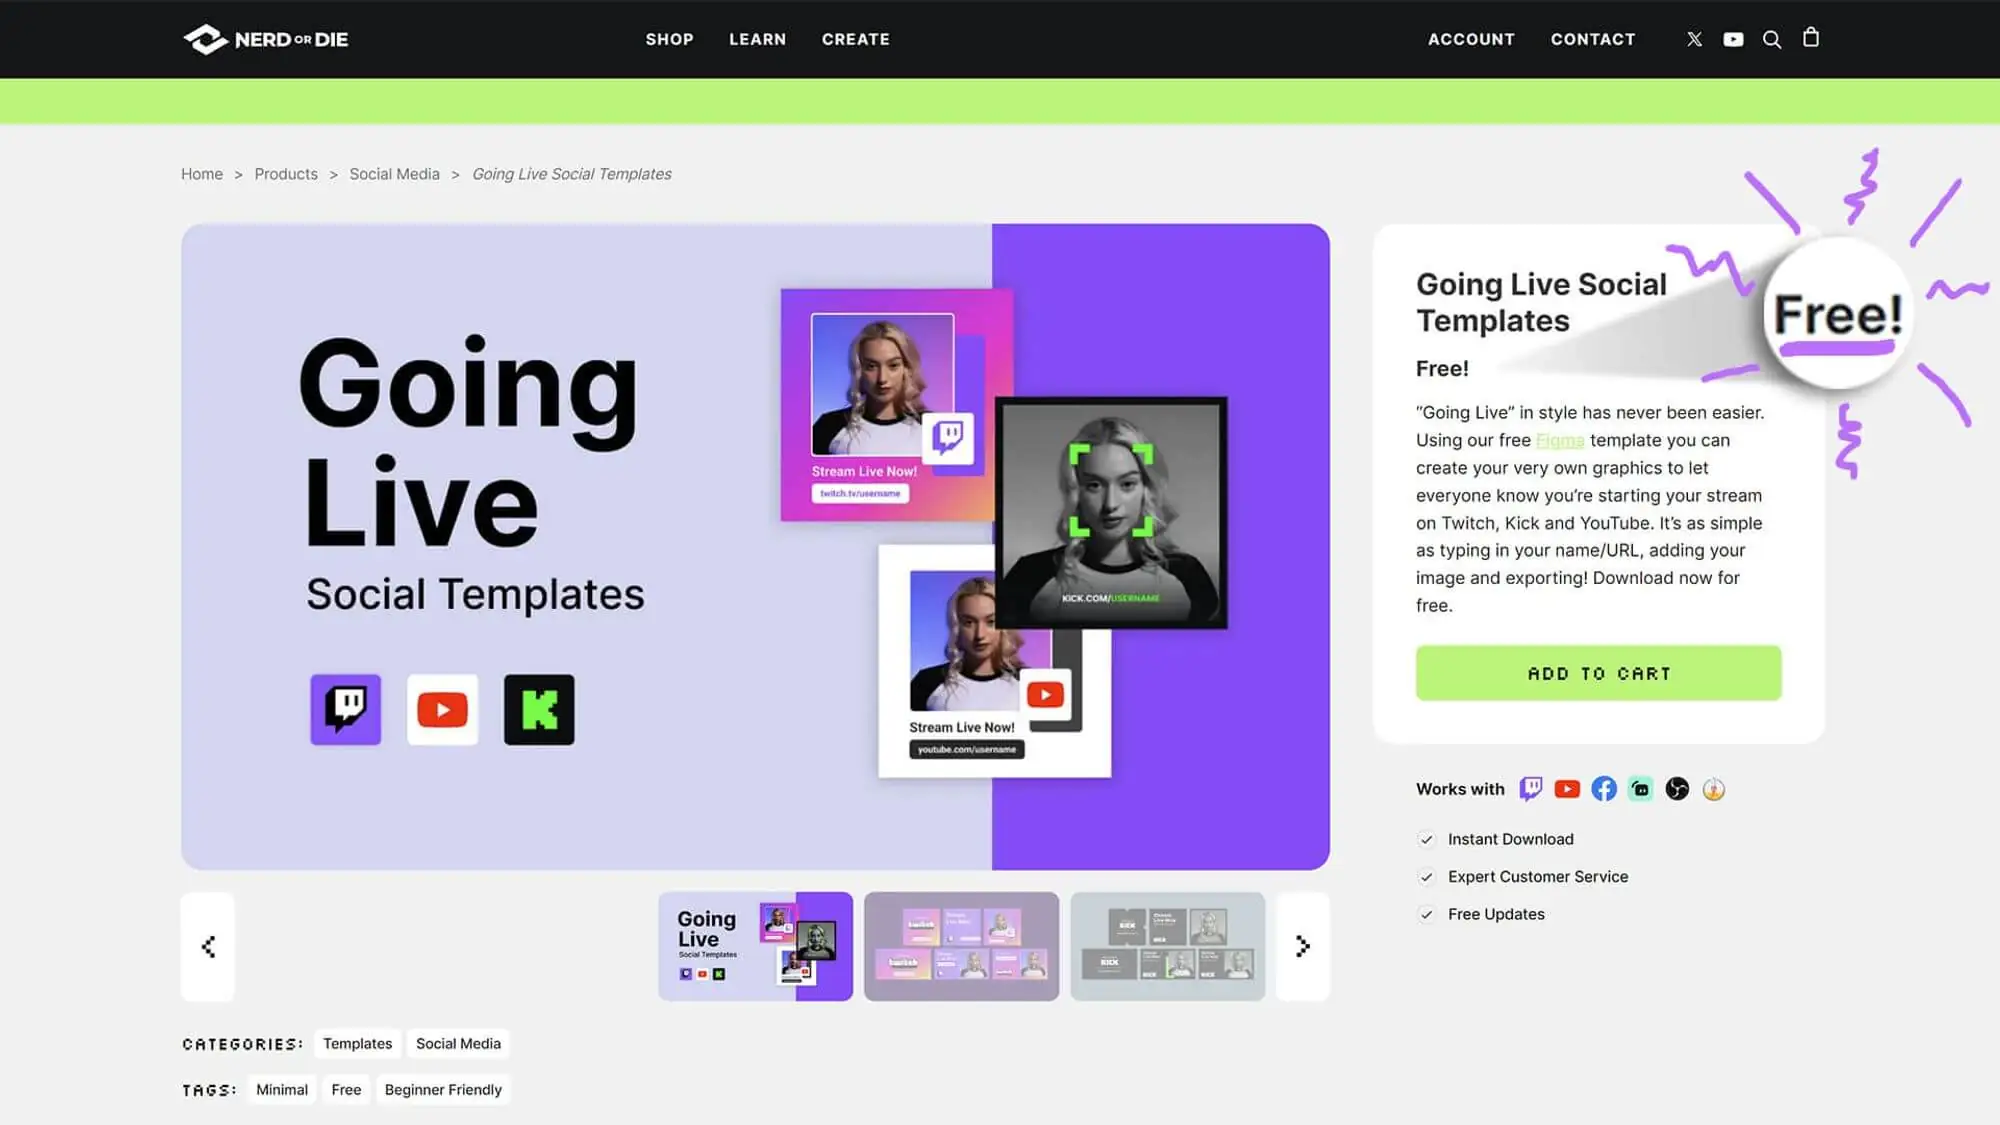
First of all, head here to grab our free going live template. Simply add to cart, head to checkout (it’s FREE), then download and unzip the files into a folder. Simple as that.
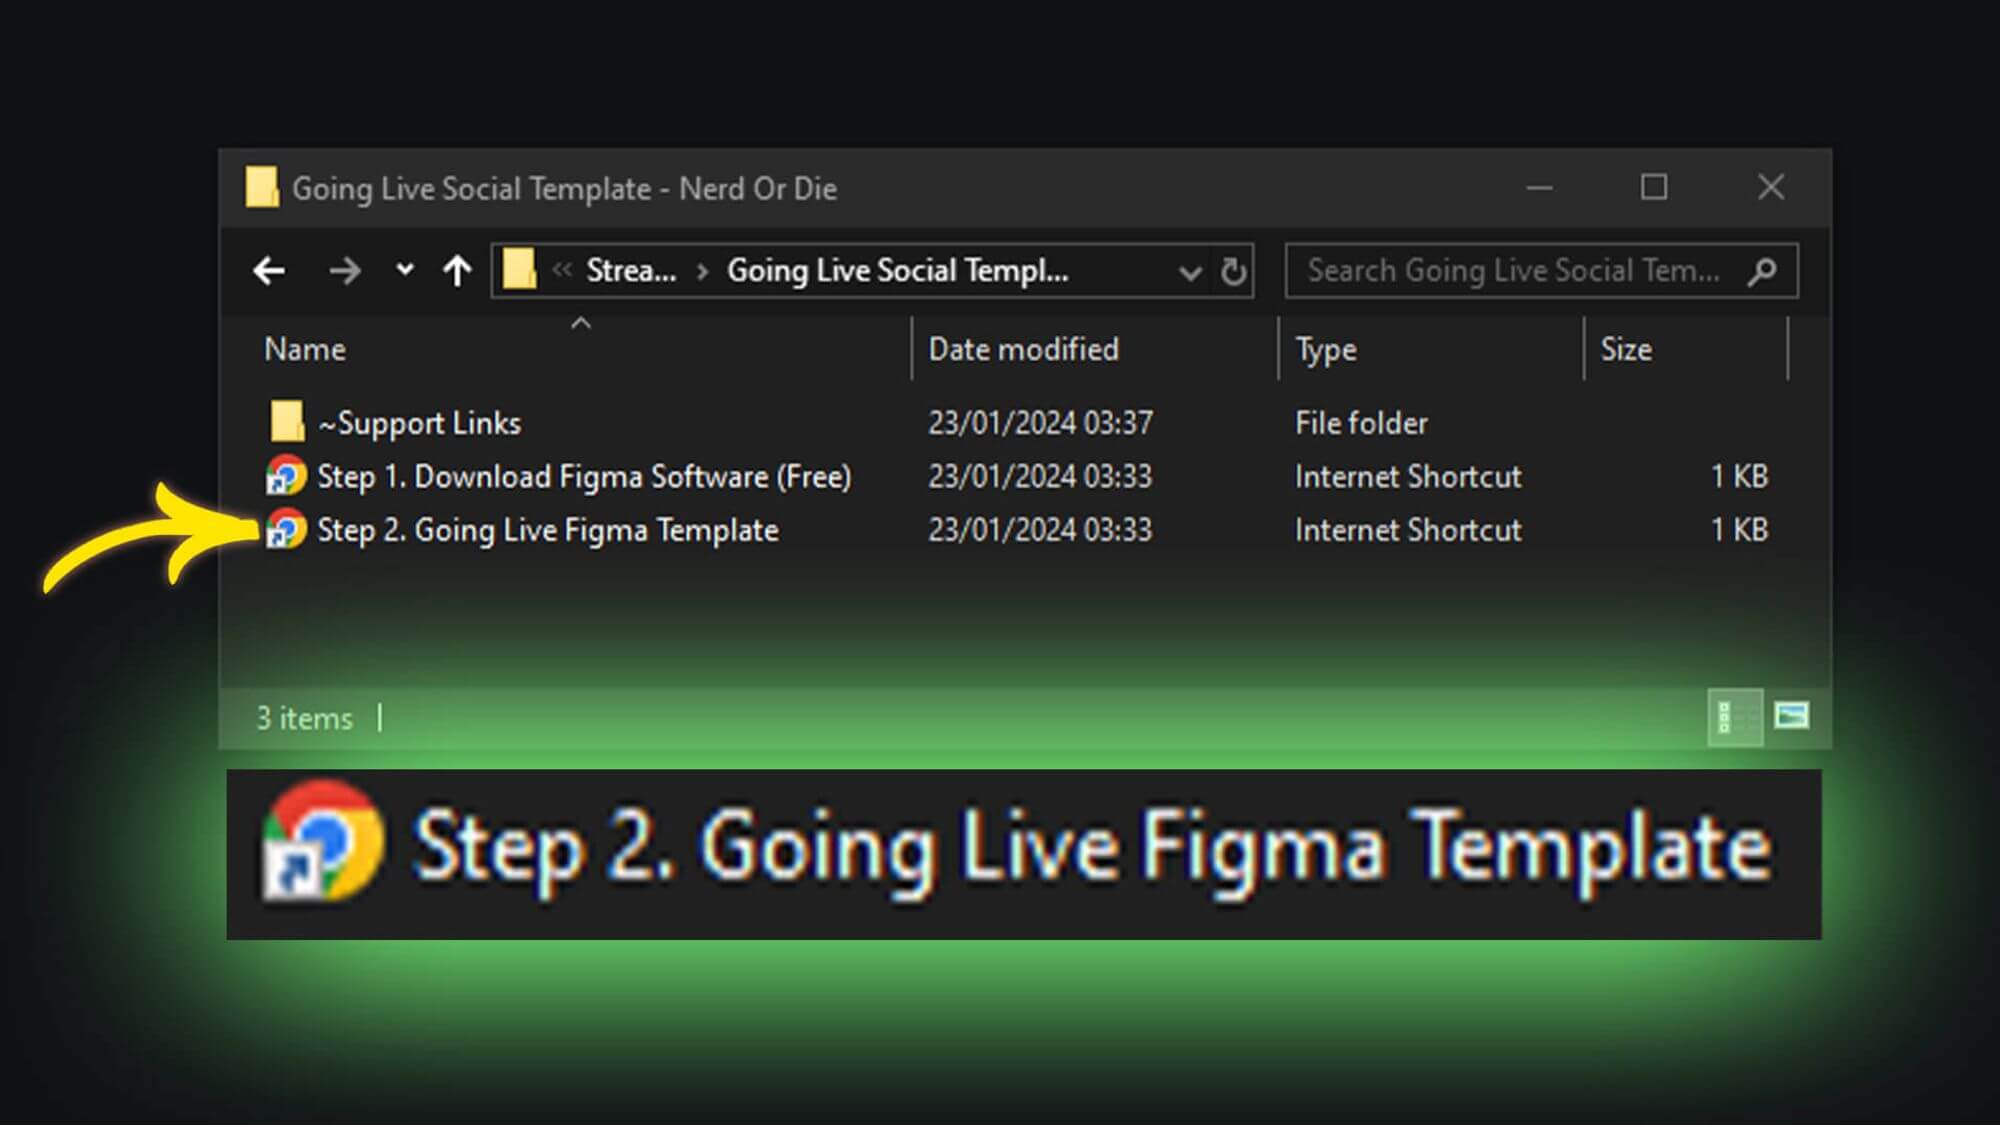
Once you’ve downloaded and extracted the files, you can open the Step 1. link, and it will take you to Figma to download the software. Once Figma is installed, click on Step 2. to open the Going Live Template.
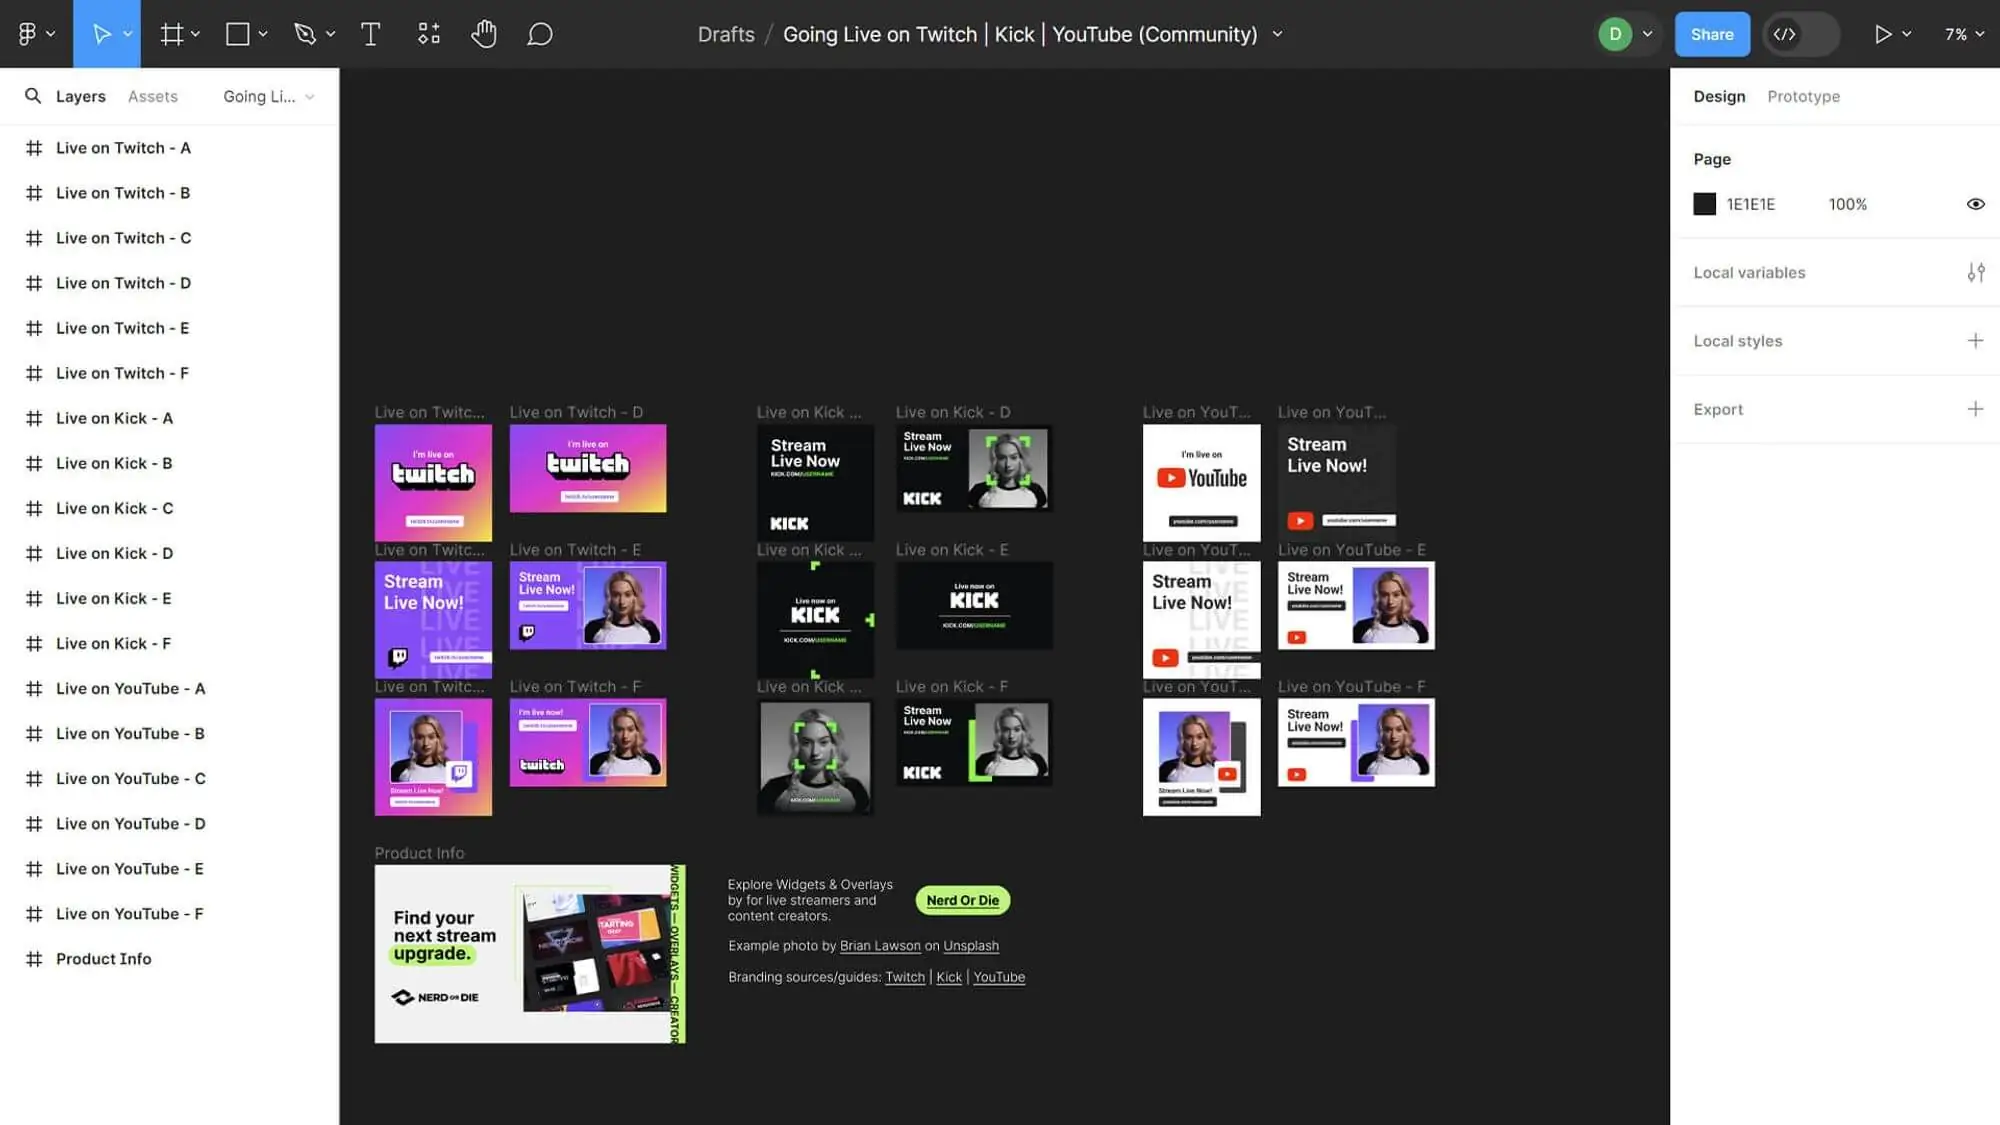
Assuming you’re already logged into your free Figma account, you will see this layout then pop up, and yeah – there’s a lot going on! But don’t worry, I had never used Figma before writing this guide, and upon opening the Going Live template, it didn’t take too long to figure everything out, so, I’m going to guide you through everything you need to know.
Useful commands and controls
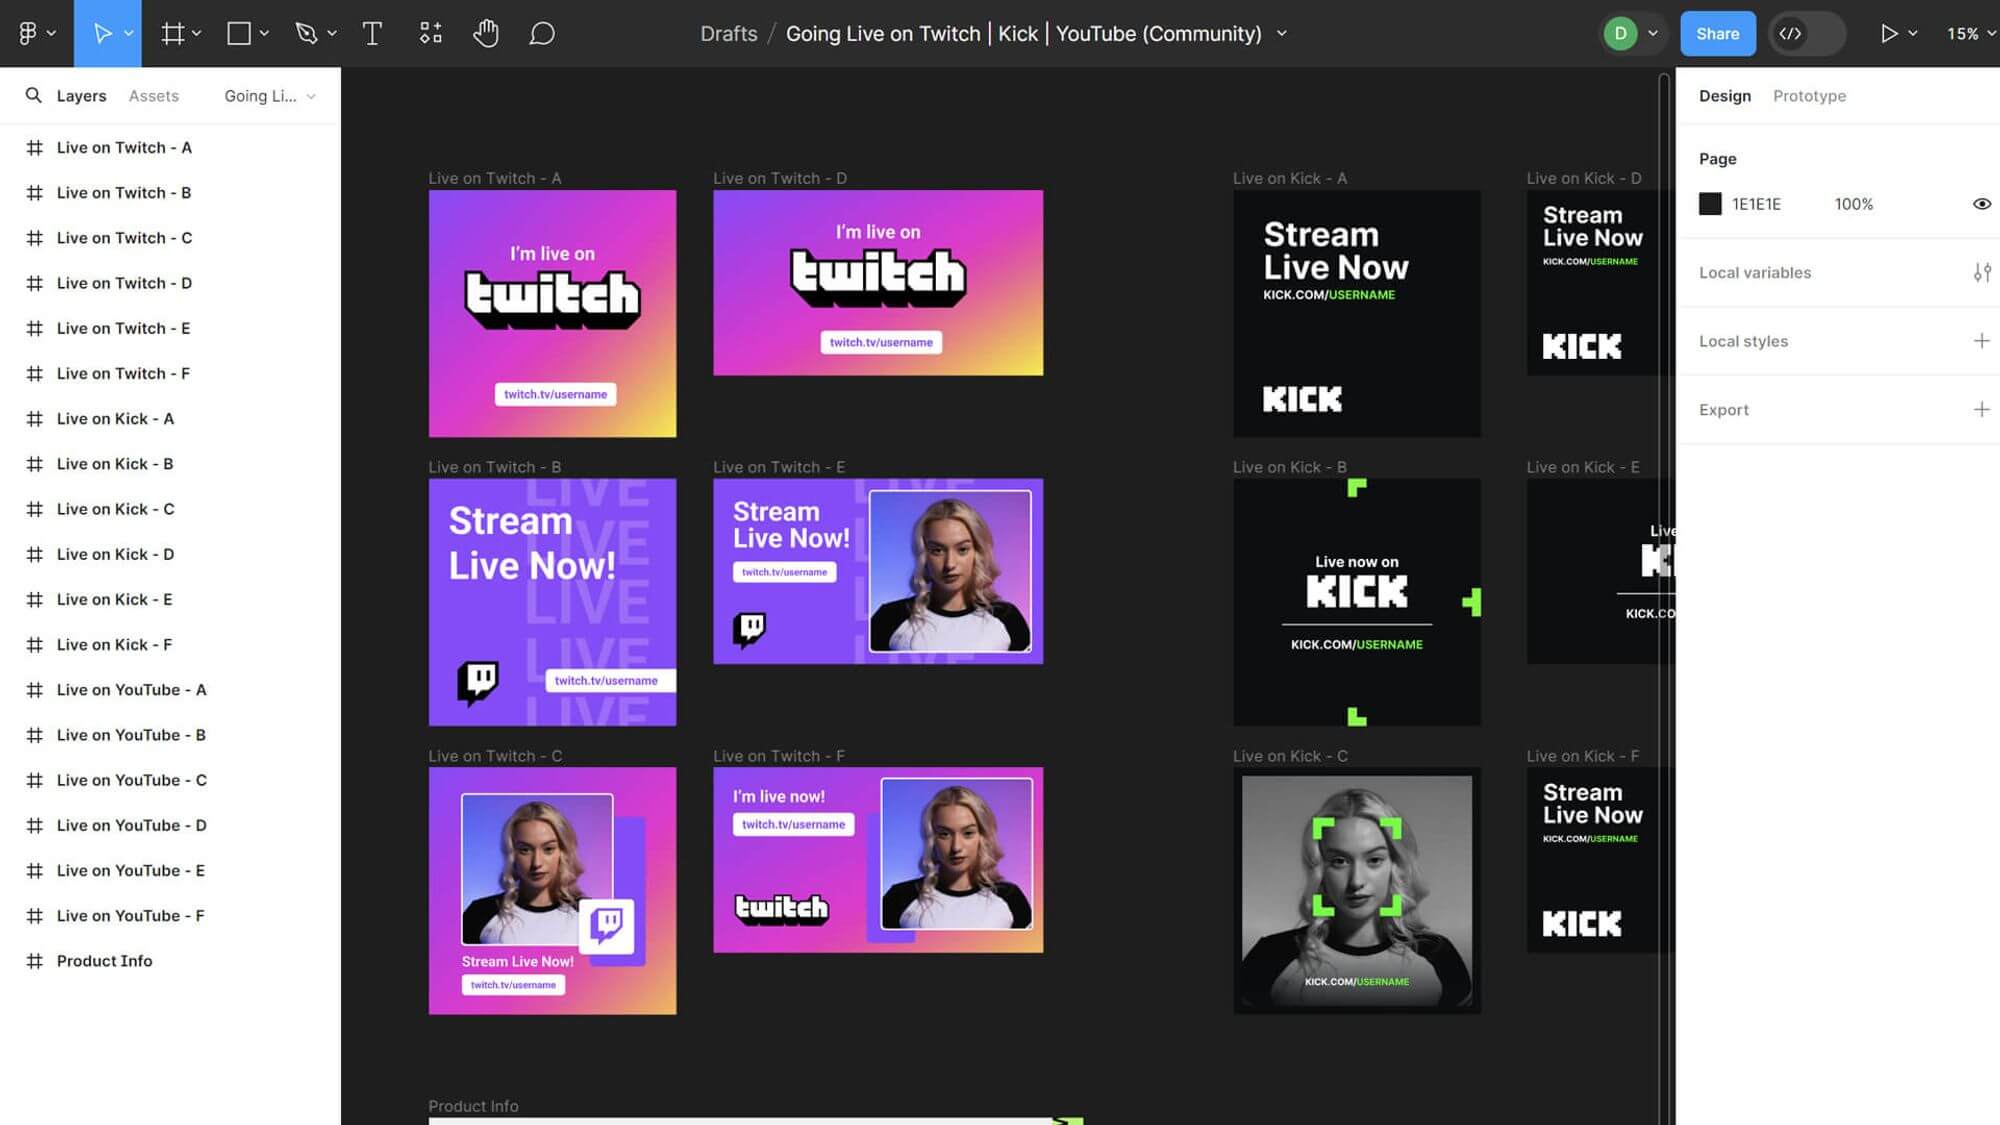
First off, if it all seems like it’s in a galaxy, far, far away, just hold Ctrl or Cmd, and mouse wheel scroll in to zoom closer. Alternatively you can use Ctrl or Cmd with the + button to zoom in, and Ctrl or Cmd with the – button to zoom out. Clicking with mouse wheel on the canvas and dragging will also let you move around easily, but you have scroll bars at the bottom and side as well for the very same thing.
Customising a layout, fonts & colors
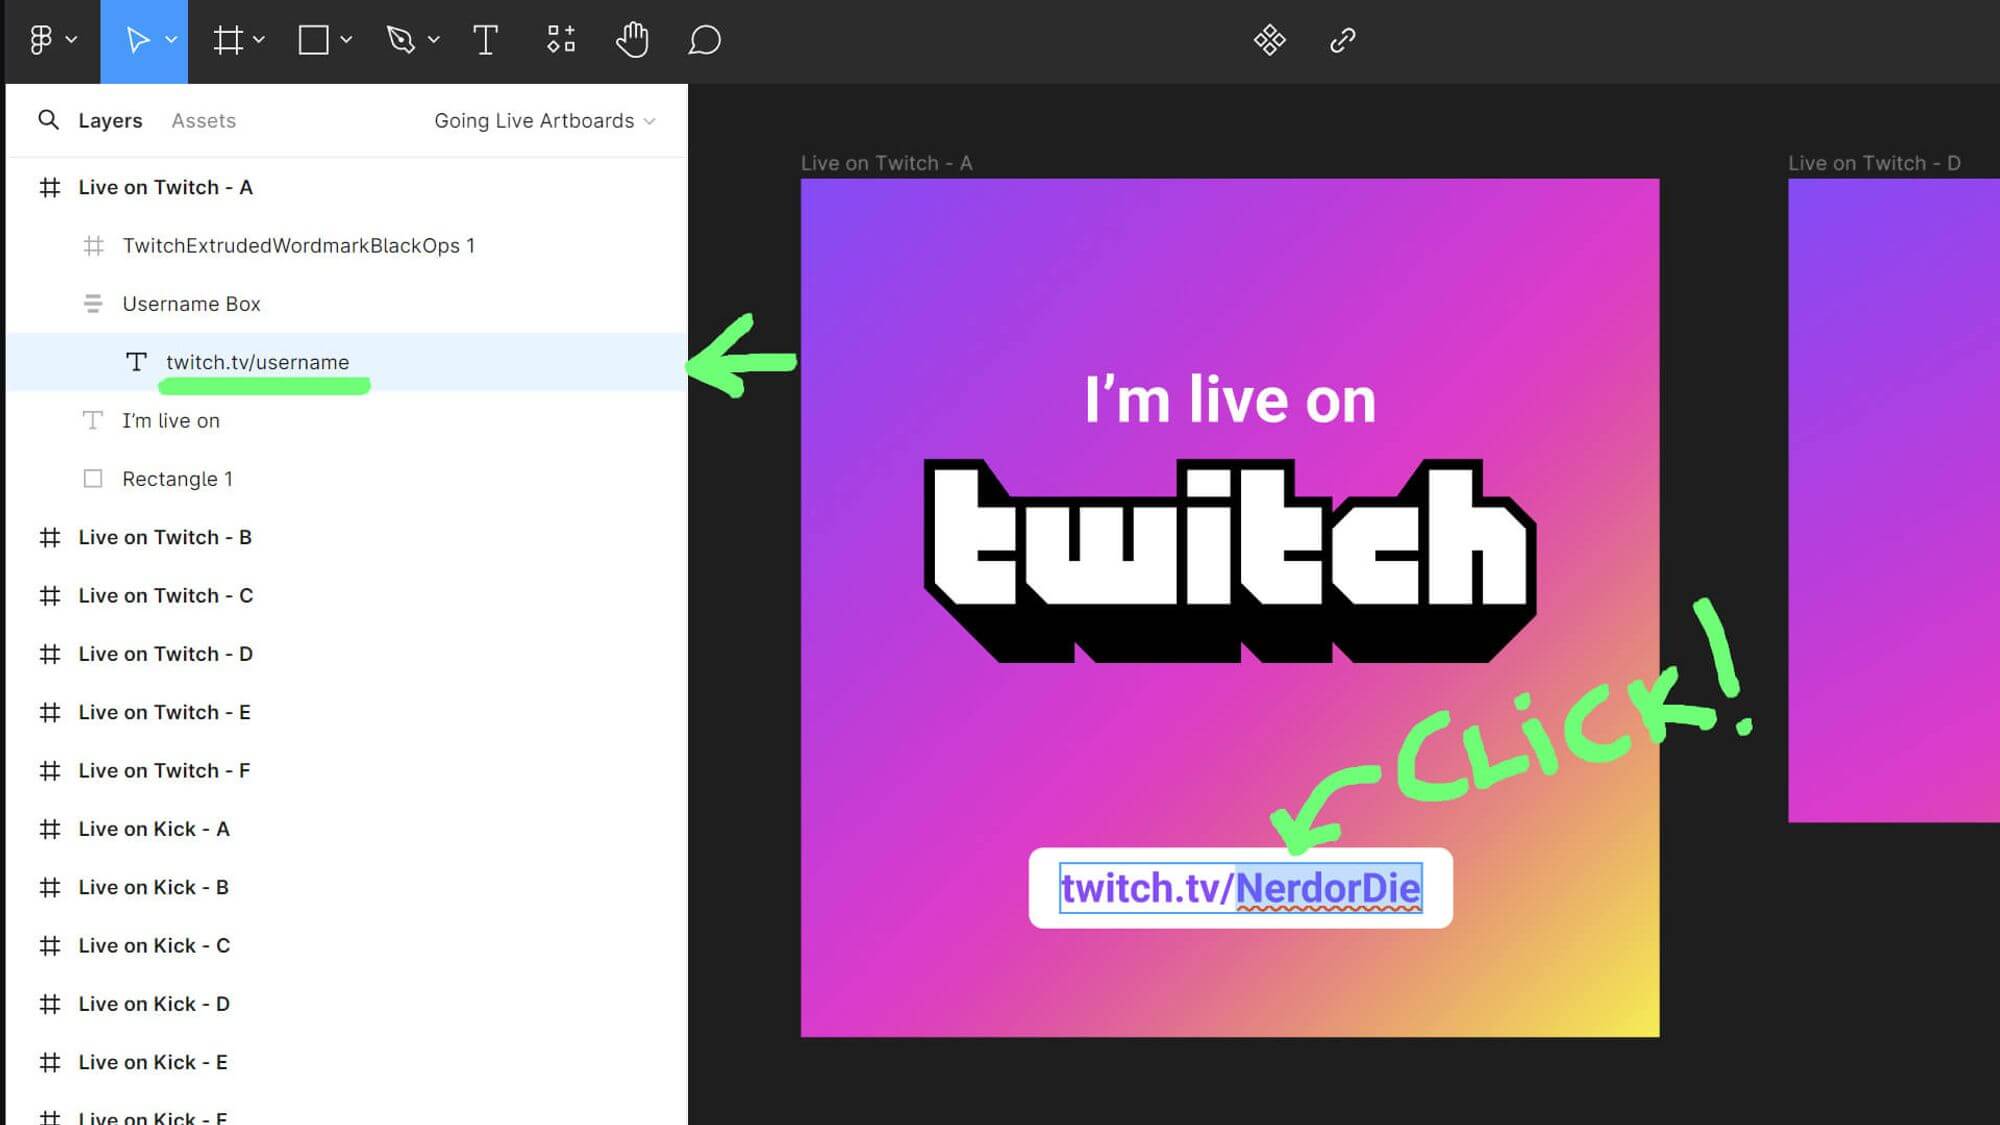
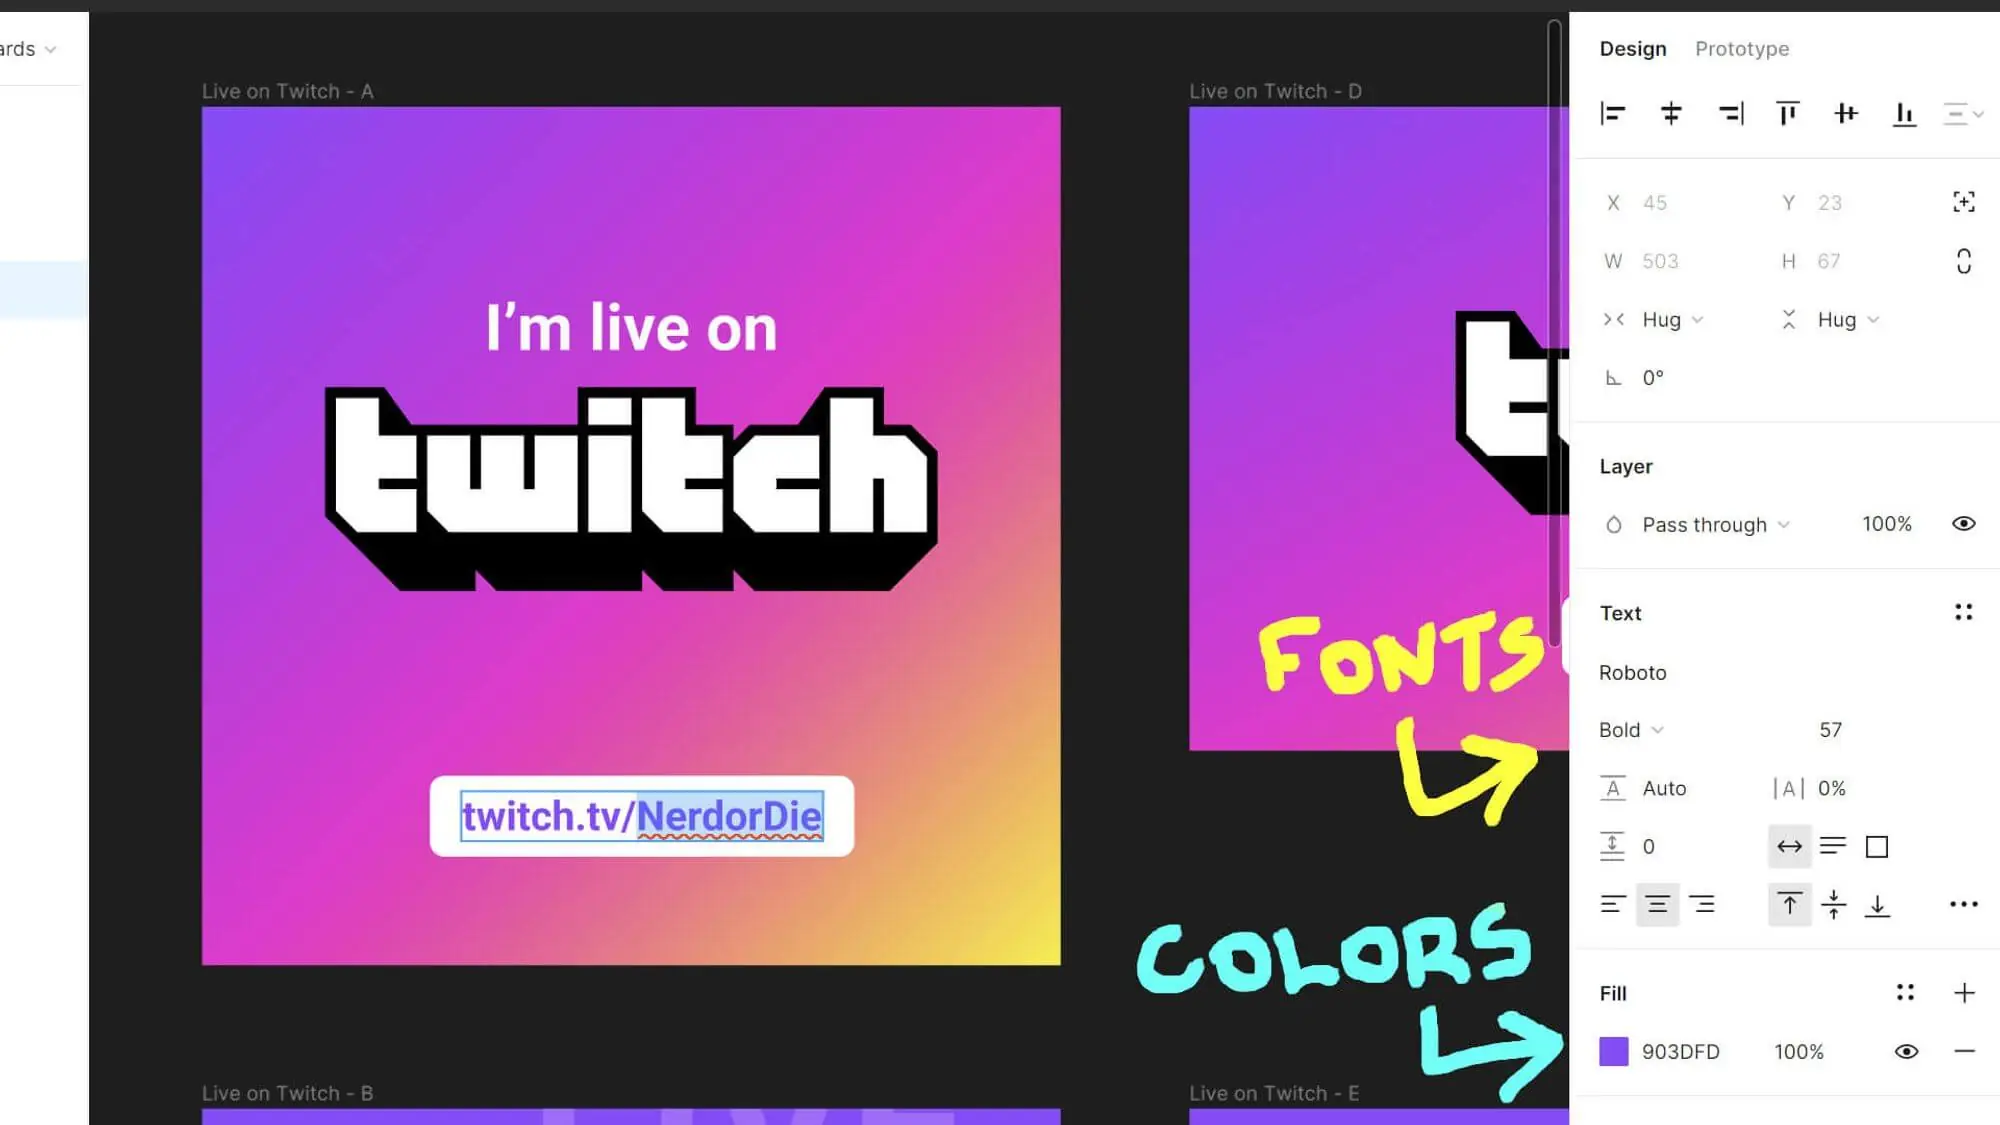
In any of the Twitch layouts, you can double click an element and customise the field. For the most part, you will be customising the URL field, however there are opportunities to put in profile pictures, logos, or whatever you feel, on some of the layout templates here. Once you double click, you’ll see the layers list on the left identify what layer you’re selecting, you may need to double click the text field again to edit it, if so, do that and type in your own URL.
If you want to change the font choices, or font colors – it’s an easy thing to do. Simply click on the text you want to alter as you would to change the URL for example, and head to the right hand panels on Figma. Scrolling down the design tab, you’ll see a Text section and a Fill section.
The Text section lets you change the font choice, as well as the weight, alignment, spacing and any other usual details you might want to alter with your text.
The Fill section lets you adjust the colour of your font, remove the color, or make the fill invisible entirely. Pretty easy stuff!
Exporting a layout
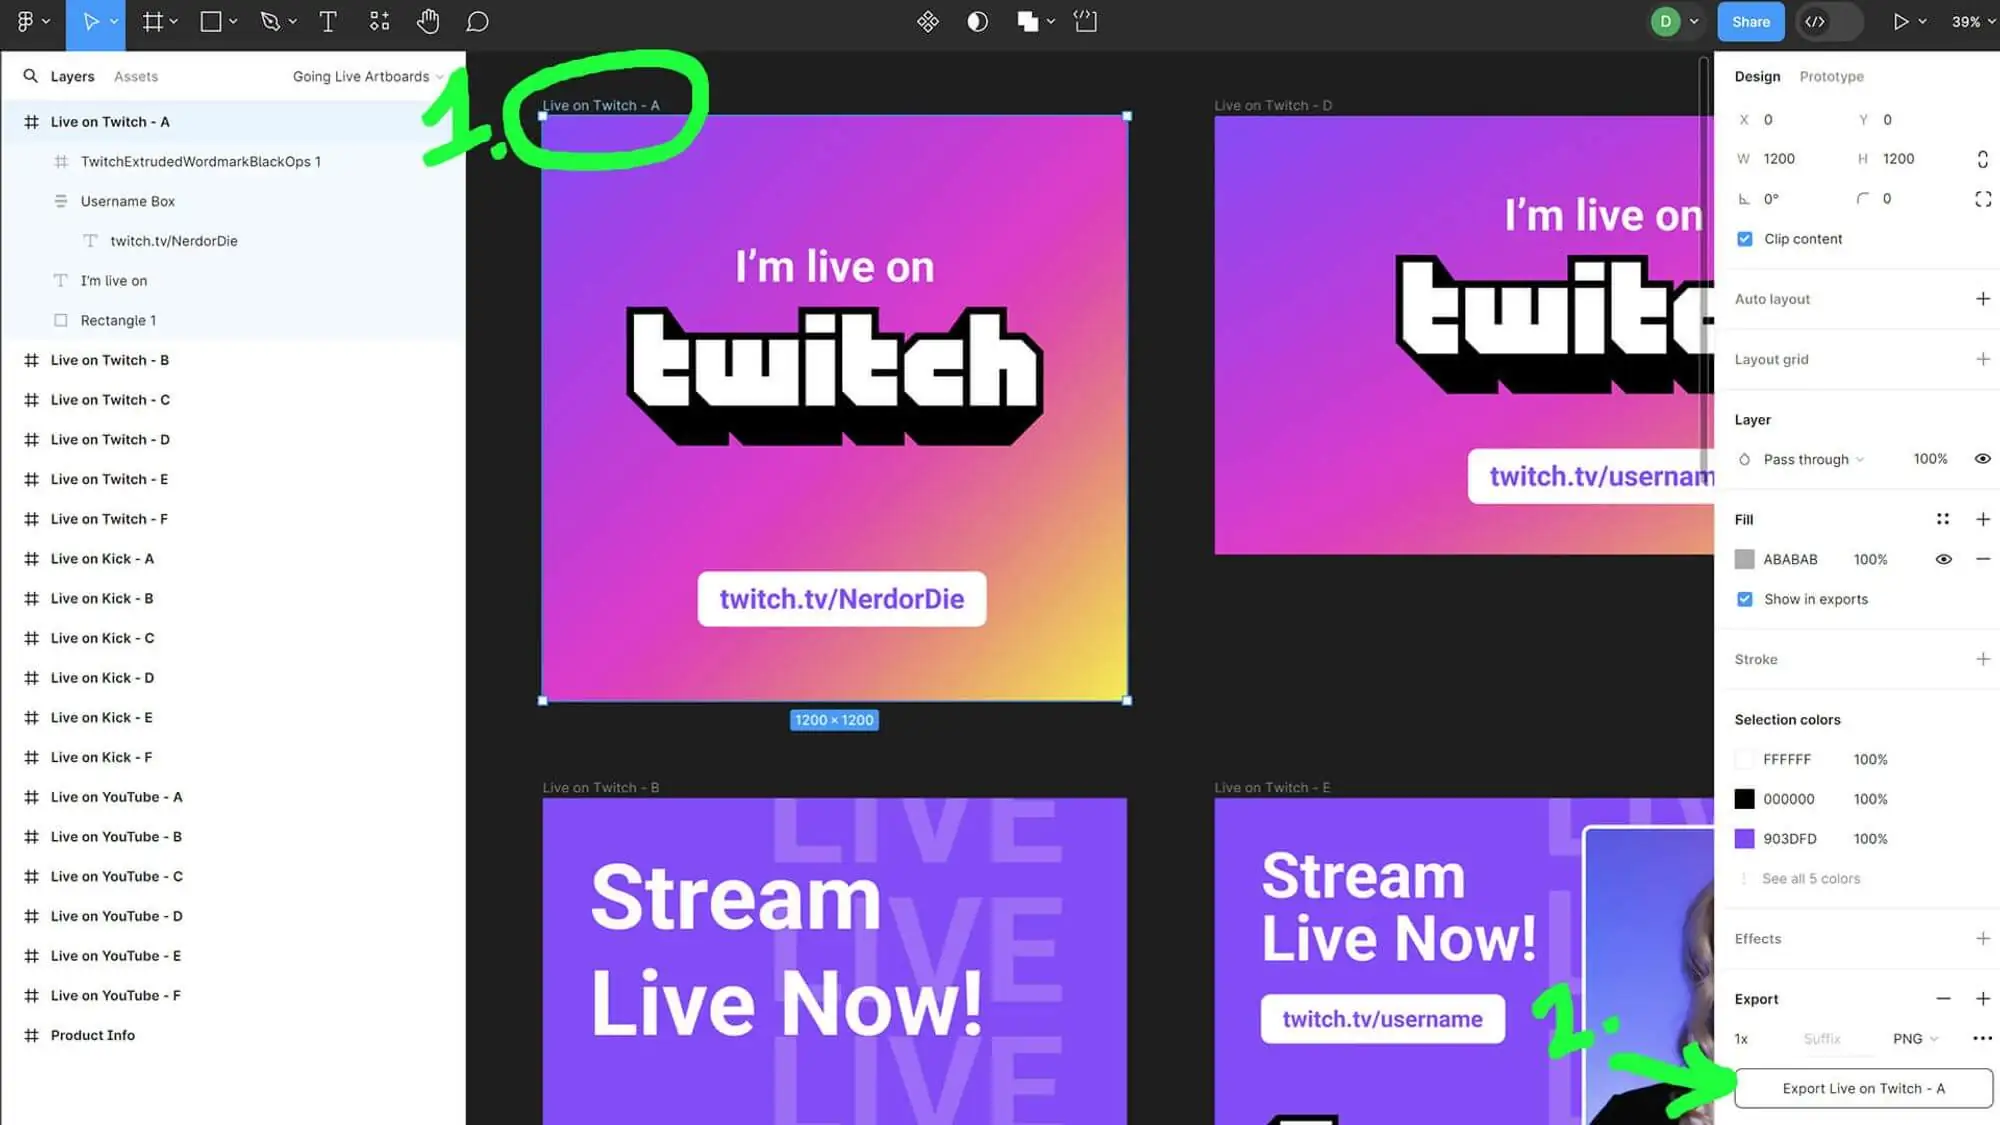
For the top left layout, Live on Twitch – A, all I need to do is enter my URL and I’m good to export this. So, to export this going live image, I can click on the layer header just above our layout, which in this case is labelled Live on Twitch – A. Once I’ve done that, I can go to the far right column and at the very bottom, I will see a button that says Export Live on Twitch – A. Clicking that will download a PNG file to my computer, and that’s that!
Changing an image
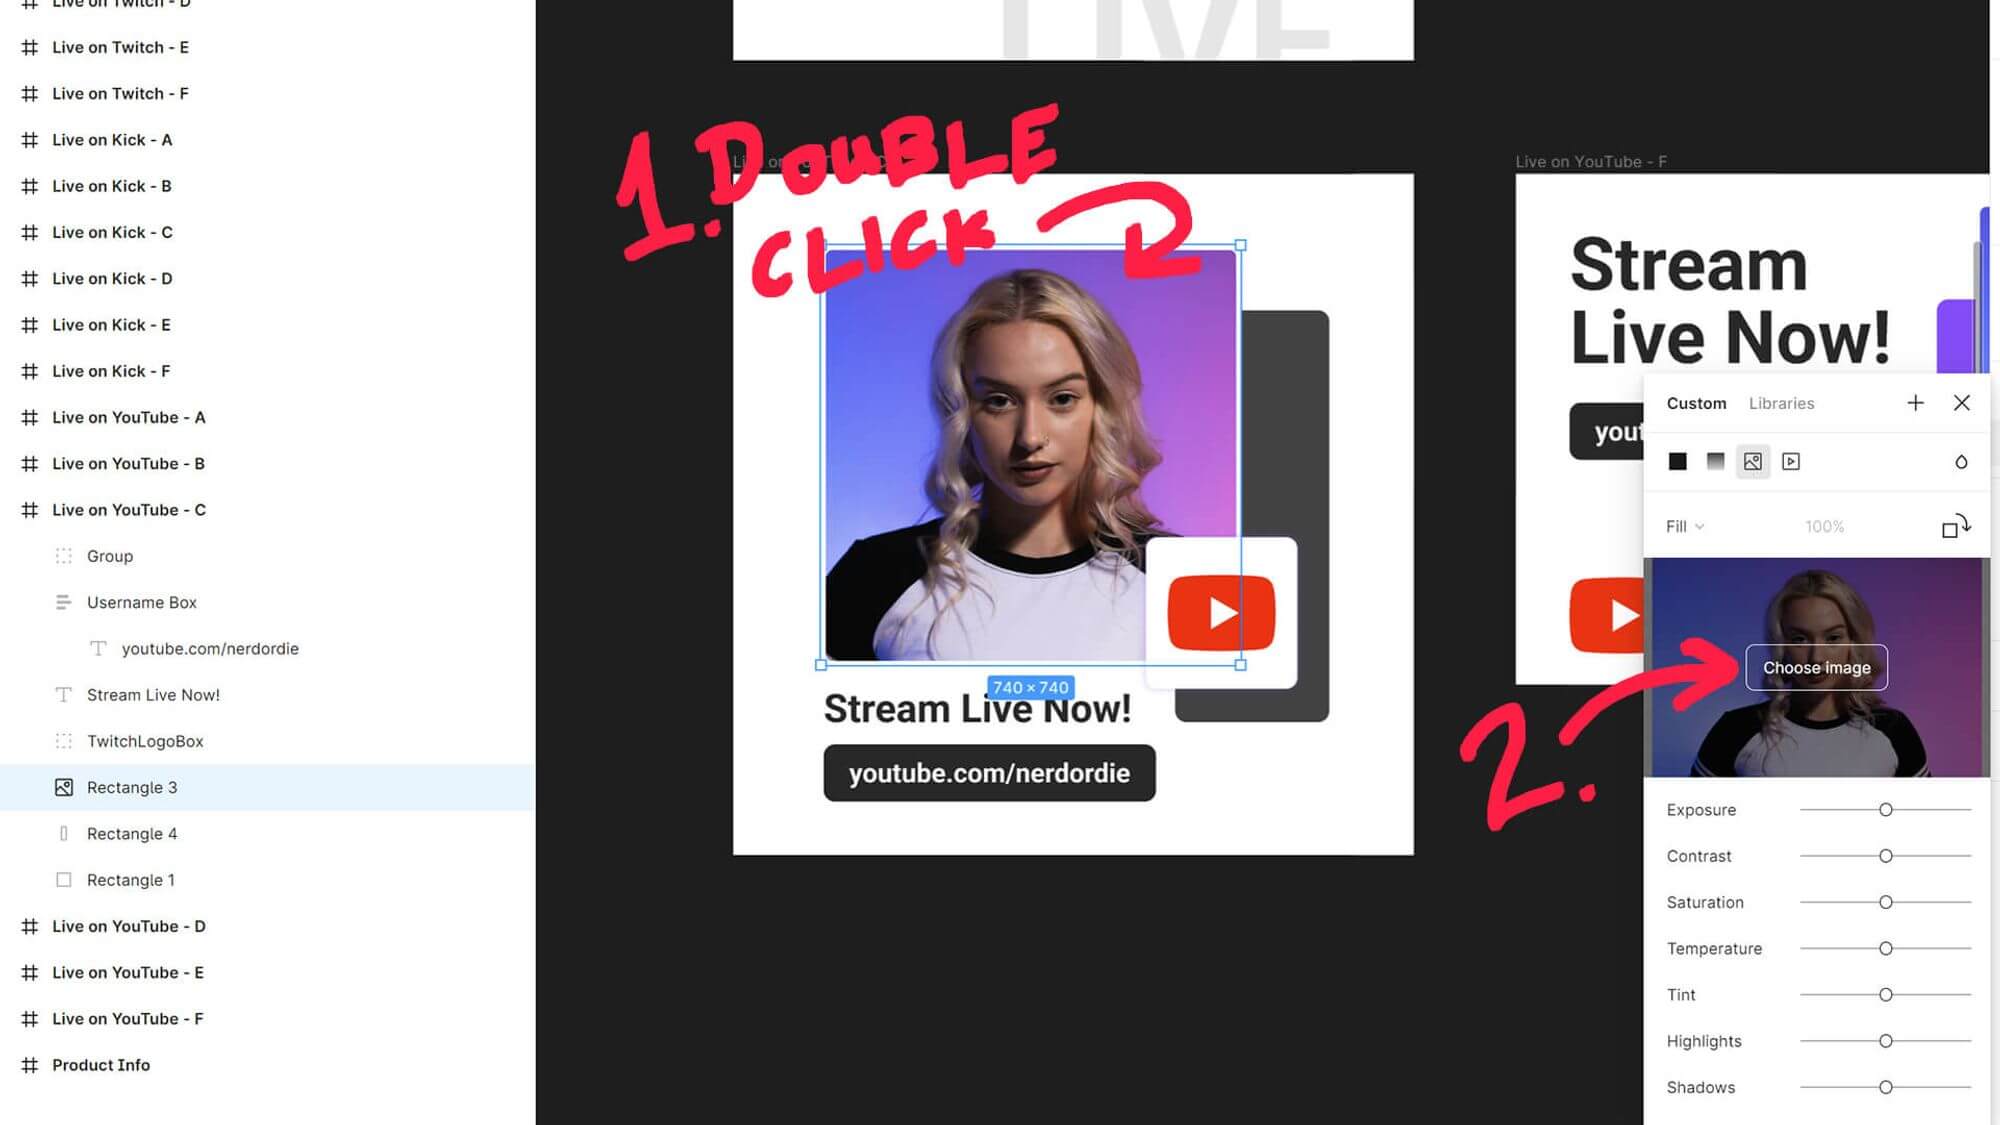
Now that we’ve done this for Twitch with just text, let’s try another platform, but this time, we’ll add an image! I’m going to use Live on YouTube – C, which has an image we can place into it. Double clicking the image will bring up this menu, where you can see by hovering over the image, you’ve an option to Choose Image, thereby replacing this with whatever image you want.
Just above the image is a dropdown menu, this has options for your image, to either fill the space, fit to the space, be cropped in the space, or tile the space with that image. Usually the default settings are fine, but good to know this if you have bigger images and want to resize or crop them for a template.
Advanced image options
If your image is too massive, the default Fill option will likely give you a nice centred option to use in your going live layout, however if you’re not happy with that, you can always change the Fill option to Crop. Doing so will show you the full extent of your image, and if you hover over it, you can move it around. Furthermore, if you hover near the edges of the image, you can scale it up and down.
Since the layouts already have a good crop template in place, you really just have to decide how to scale and position your image so you’re happy with it. Be sure to hold shift while click dragging the corners to scale your image, so that it maintains it’s aspect ratio and doesn’t go all weird and stretchy. Unless that’s what you’re into. Each to their own!
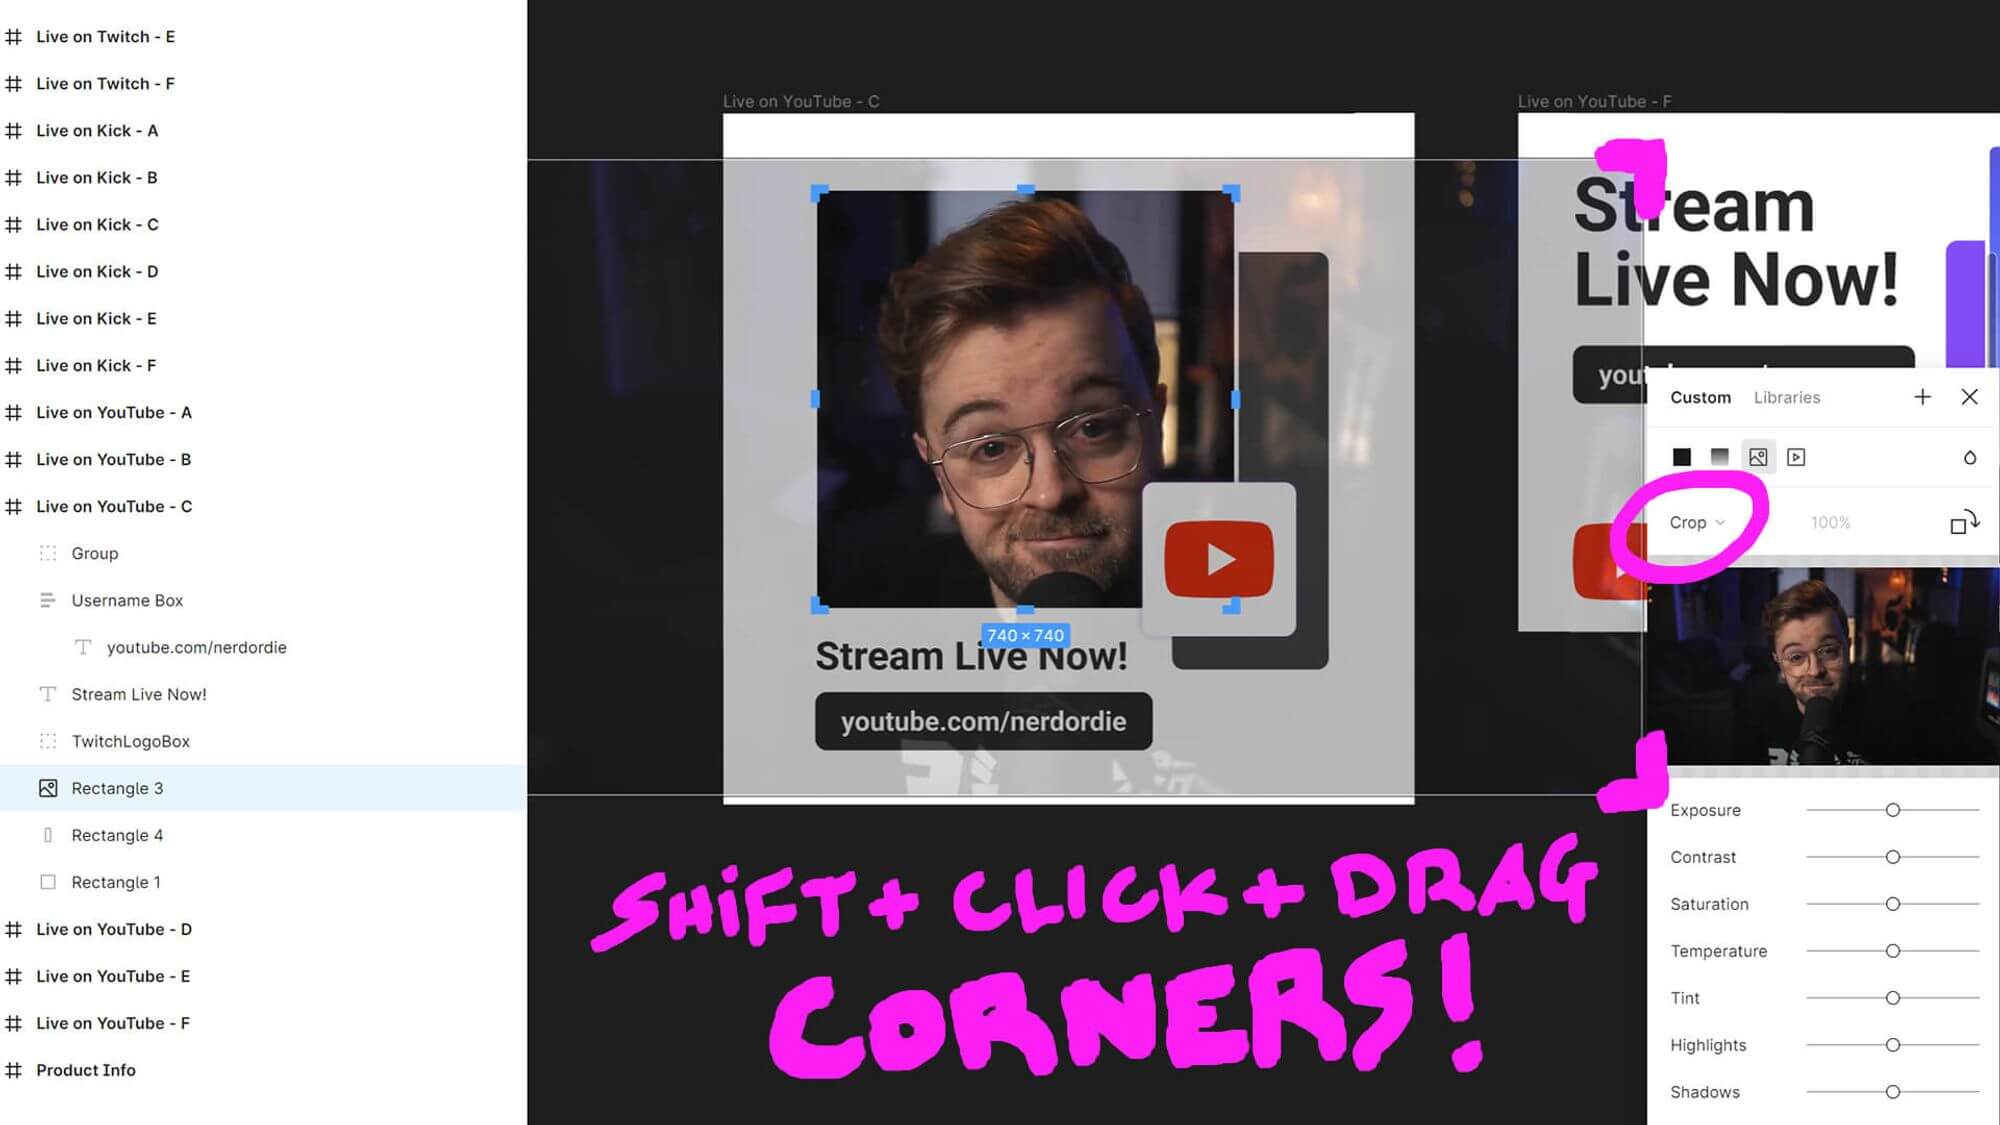
When you’re good with the results, simply click away from the image, select the group by clicking the text above your layout, and hit the export on the right hand side.
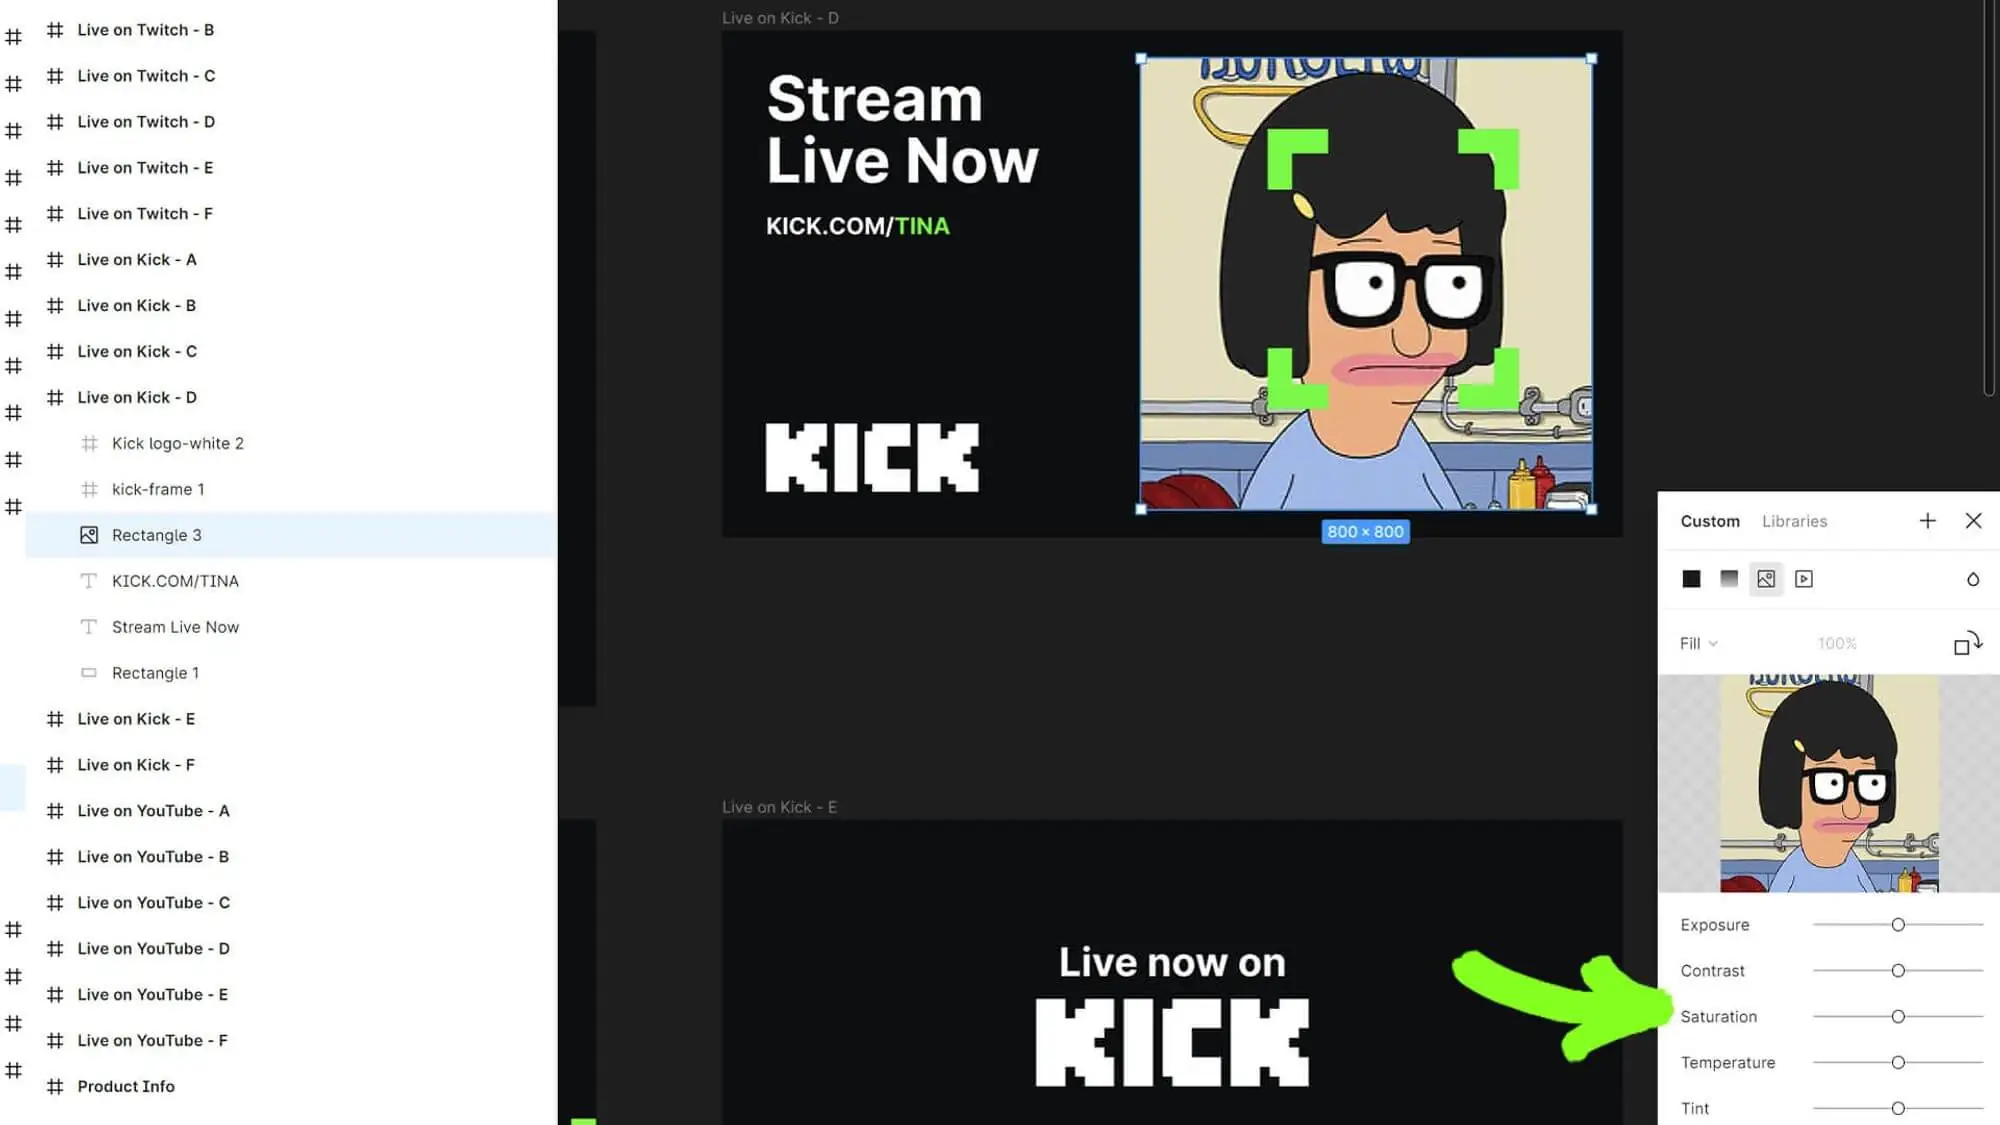
Now, you know how Kick profiles always have a desaturated image that is usually black and white with accents of green? Well, if you want to do this for your own going live layout on Kick, that’s an easy ask. With your image already in place and selected, you can see the menu we were just looking at, has a good few options below it.
The most important one we want to look at here is the Saturation setting, simply drag this meter all the way to the left, and it will make your image grayscale, or black and white. Once you’re happy with these settings, select the group (remember that hash on the left hand side for your group name, which is above each layout!), then export button on the far right, and you’re good to go!
Conclusion
At Nerd Or Die our goal is to create products, designs, and free resources for content creators across the world. Our goal with this template is to make it easier for creative people to create. We hope we achieved this and it helps you go live faster!
As always, if you’ve any suggestions or ideas to further improve this, let us know in our Discord.
New Posts
Free Christmas Overlays & Widgets (2025 Update) – New Snow Blaster and More
December 11, 2025
Our gift to you is to give you some of the best and free Christmas Overlays for…
0 Comments9 Minutes
Haunt Your Stream with Free Halloween Overlays and Widgets (2025 Update)
September 11, 2025
The spooky times are upon us, and to celebrate Halloween, we’d like to release…
0 Comments8 Minutes
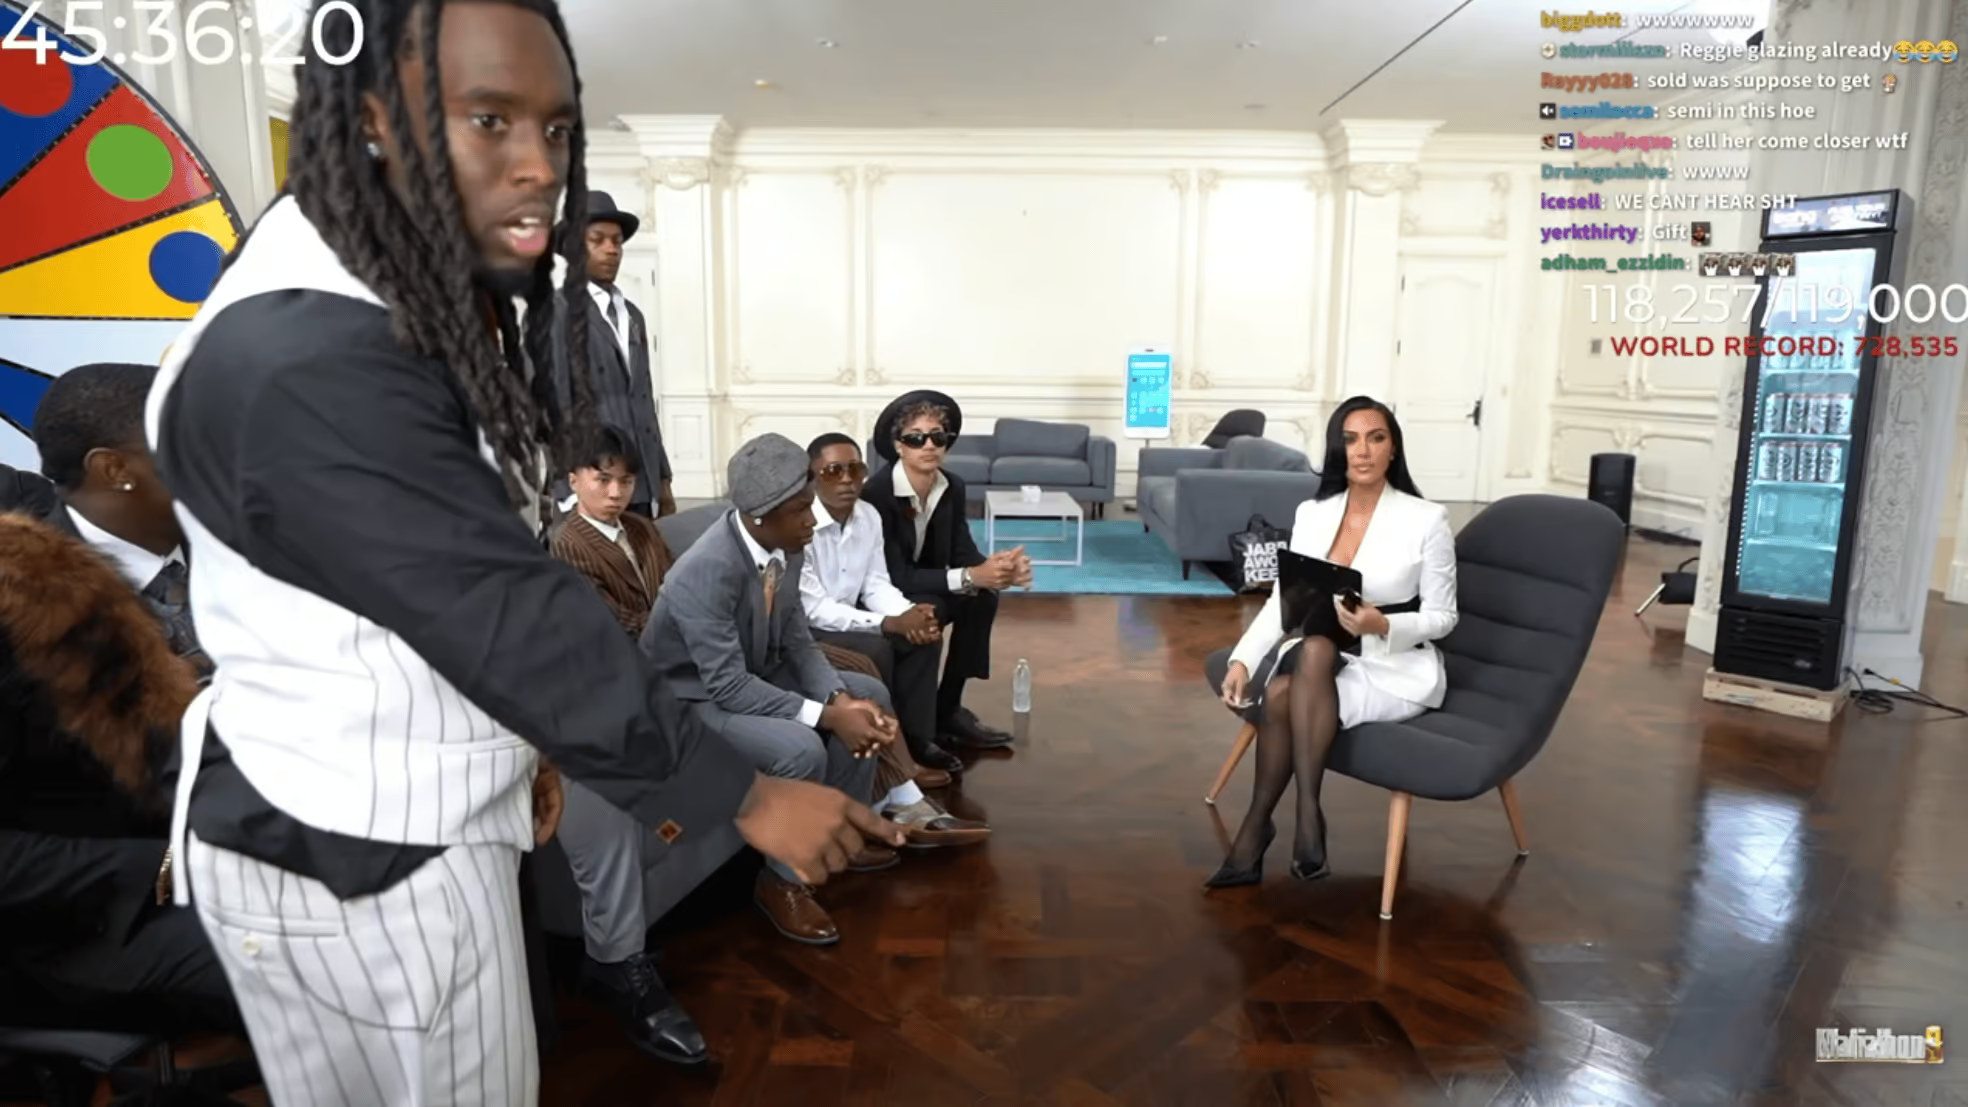
Kai Cenat’s Mafiathon 3: Chaos, Celebs, and the Quest for 1 Million Subs
September 10, 2025
If you’ve been anywhere near Twitch lately, you’ve probably seen the absolute…
0 Comments8 Minutes
New Streamer Products
