


How to Clip on Discord
Discord's latest clip feature allows users to capture clips while streaming in channels or direct message.
Updated August 2026, tested in the current Discord app.
Discord clipping saves the last 30 seconds to 2 minutes of a stream to your own PC, and it works more like NVIDIA Shadowplay than Twitch clips. You press a hotkey, and the clip lands on your drive. Here’s how to turn clipping on, clip a stream, and find the files afterward.

How to turn on clipping in Discord
Clipping is off by default for most accounts, and turning it on takes about ten seconds.
- Open User Settings (the gear icon next to your name).
- Go to Clips.
- Toggle Enable Clips on.
That’s the whole setup. You’ll see a Save Clip button the next time you’re in a stream.
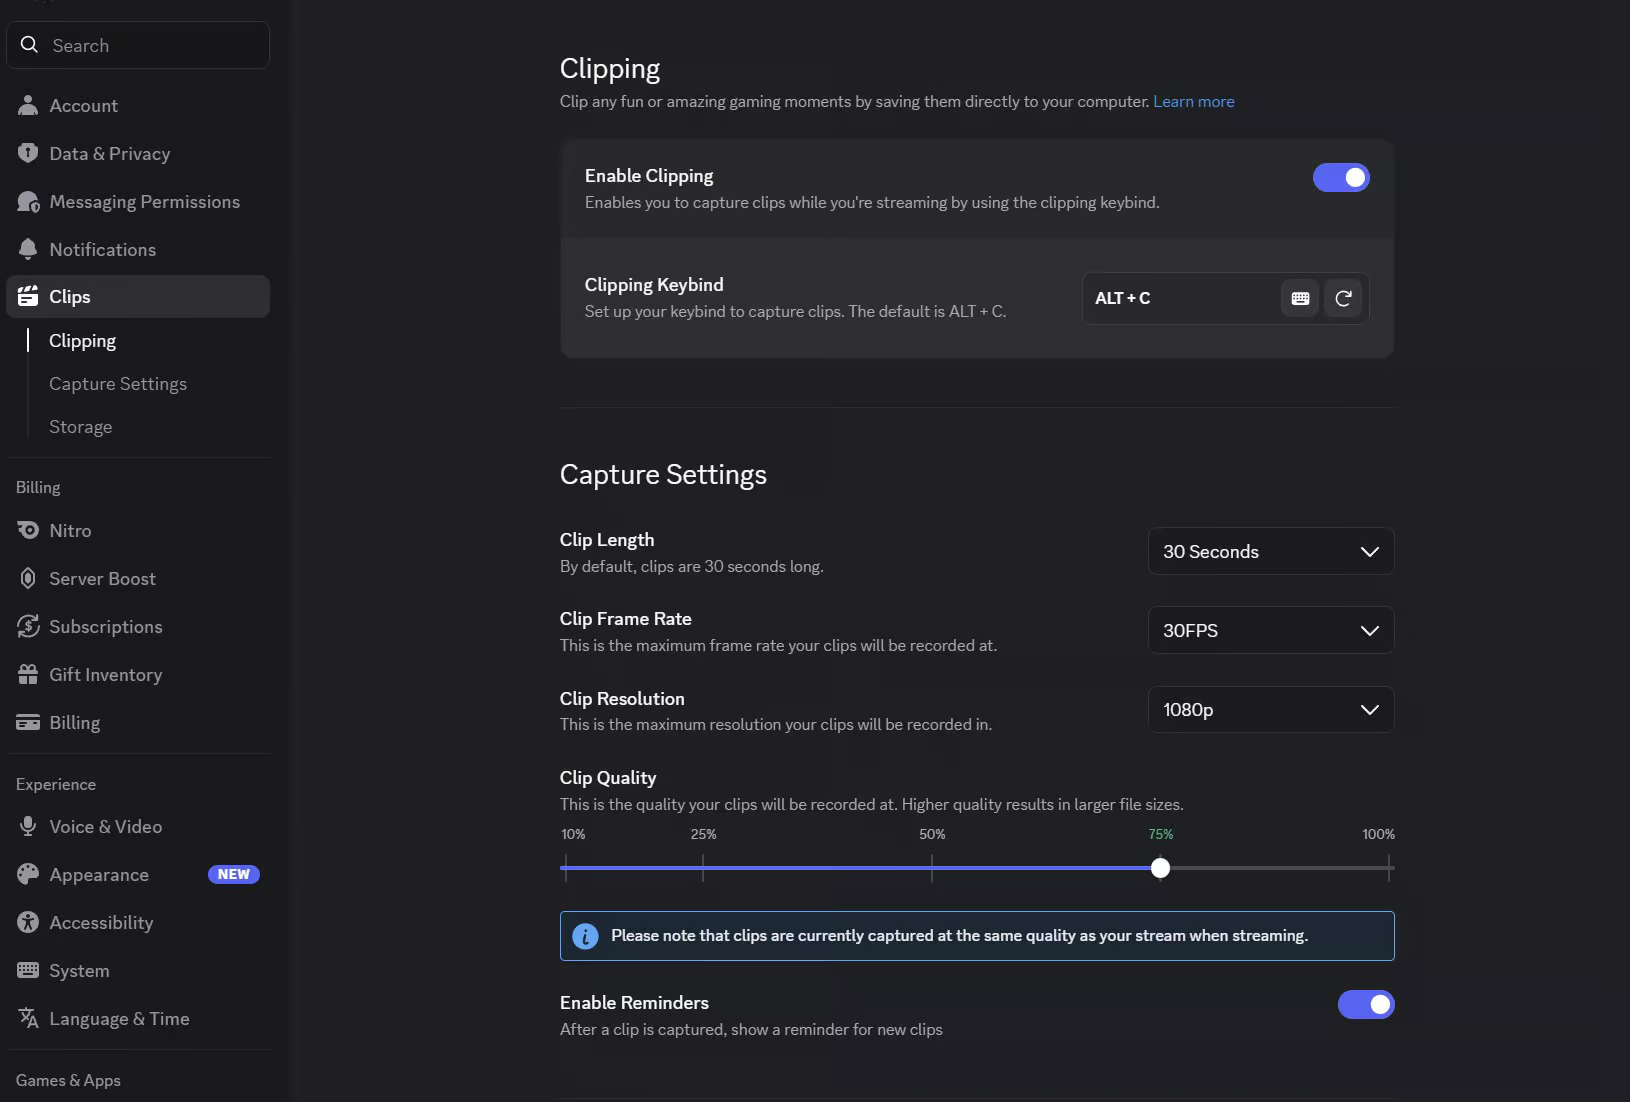
While you’re in that menu, four settings are worth a look:
- Keybind: ALT+C by default, and you can change it to anything that doesn’t clash with your game.
- Clip length: 30 seconds, 60 seconds, or 2 minutes. Longer clips mean bigger files.
- Hardware encoding: leave this on if your GPU supports it. Your clips compress better and your frame rate takes less of a hit.
- Storage: clips save to your computer, so point this at a drive with room to spare.
How to clip a stream on Discord
Clipping only works on live streams, so you need to be in a voice or video channel where someone is sharing their screen, or be the one sharing.
- Start or join a stream in a direct message or a voice channel. If you’re the one streaming, application capture keeps your game audio cleanest.
- Press your keybind (ALT+C by default
- Discord saves the seconds that already happened, so you clip right after the moment, not during it.
That backwards timing trips people up at first. If you wait for the play to finish and then hit the keybind, you get the play. If you hit it as the play starts, you get whatever happened before it.
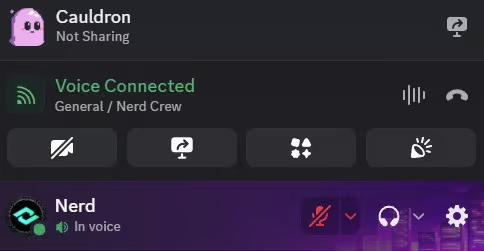
At the time of this update the clip button was removed from the Discord UI. Using a keybind is the only way to save your clips.
Where do Discord clips save?
On your own computer, not on Discord’s servers. The exact folder is listed under User Settings > Clips in the Storage section, and you can change it whenever you want. For me, it defaulted into my Documents folder.
So if a clip seems to have vanished, open that setting and check the path first. Nine times out of ten the clip is fine and the folder just isn’t where you assumed. Because they’re normal video files sitting on your drive, you can edit them in anything, upload them anywhere, or reuse them on stream.
How to share a Discord clip
- Go to the text channel where you want to post it.
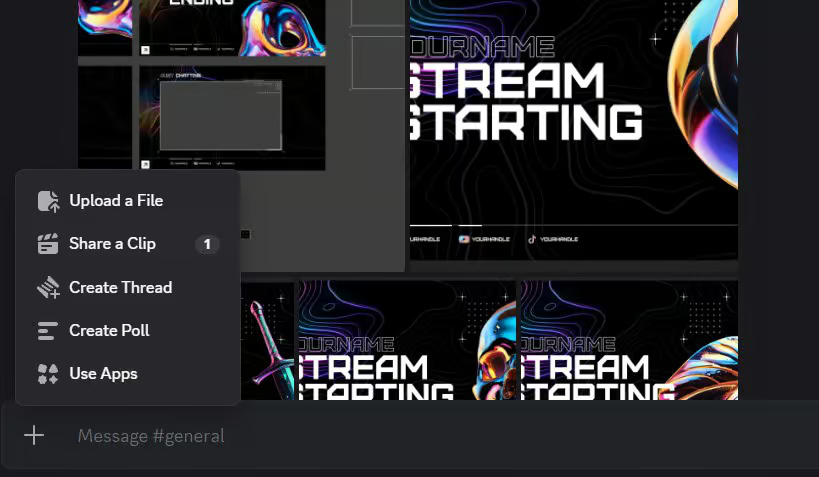
- Click the [+] icon near the message box, then Share a Clip.
- Hover the clip you want, then click Share Clip.
How to edit or delete a clip
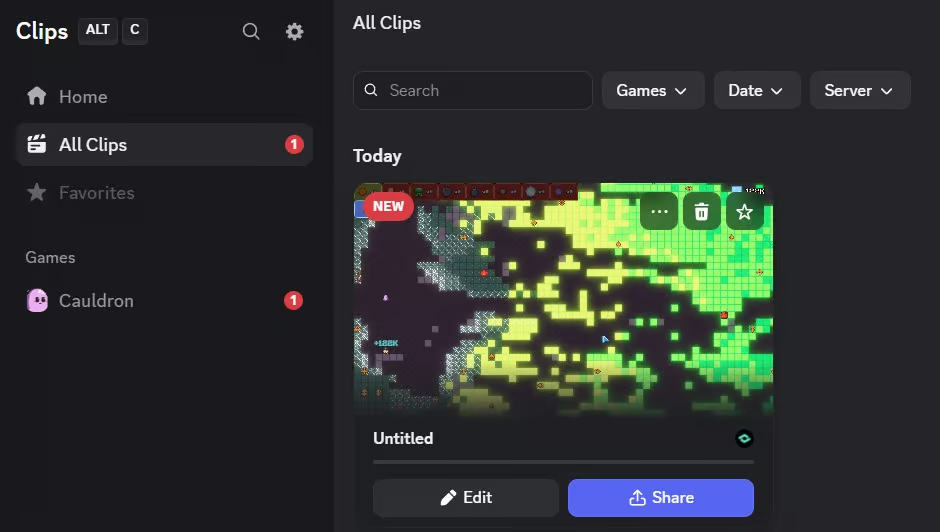
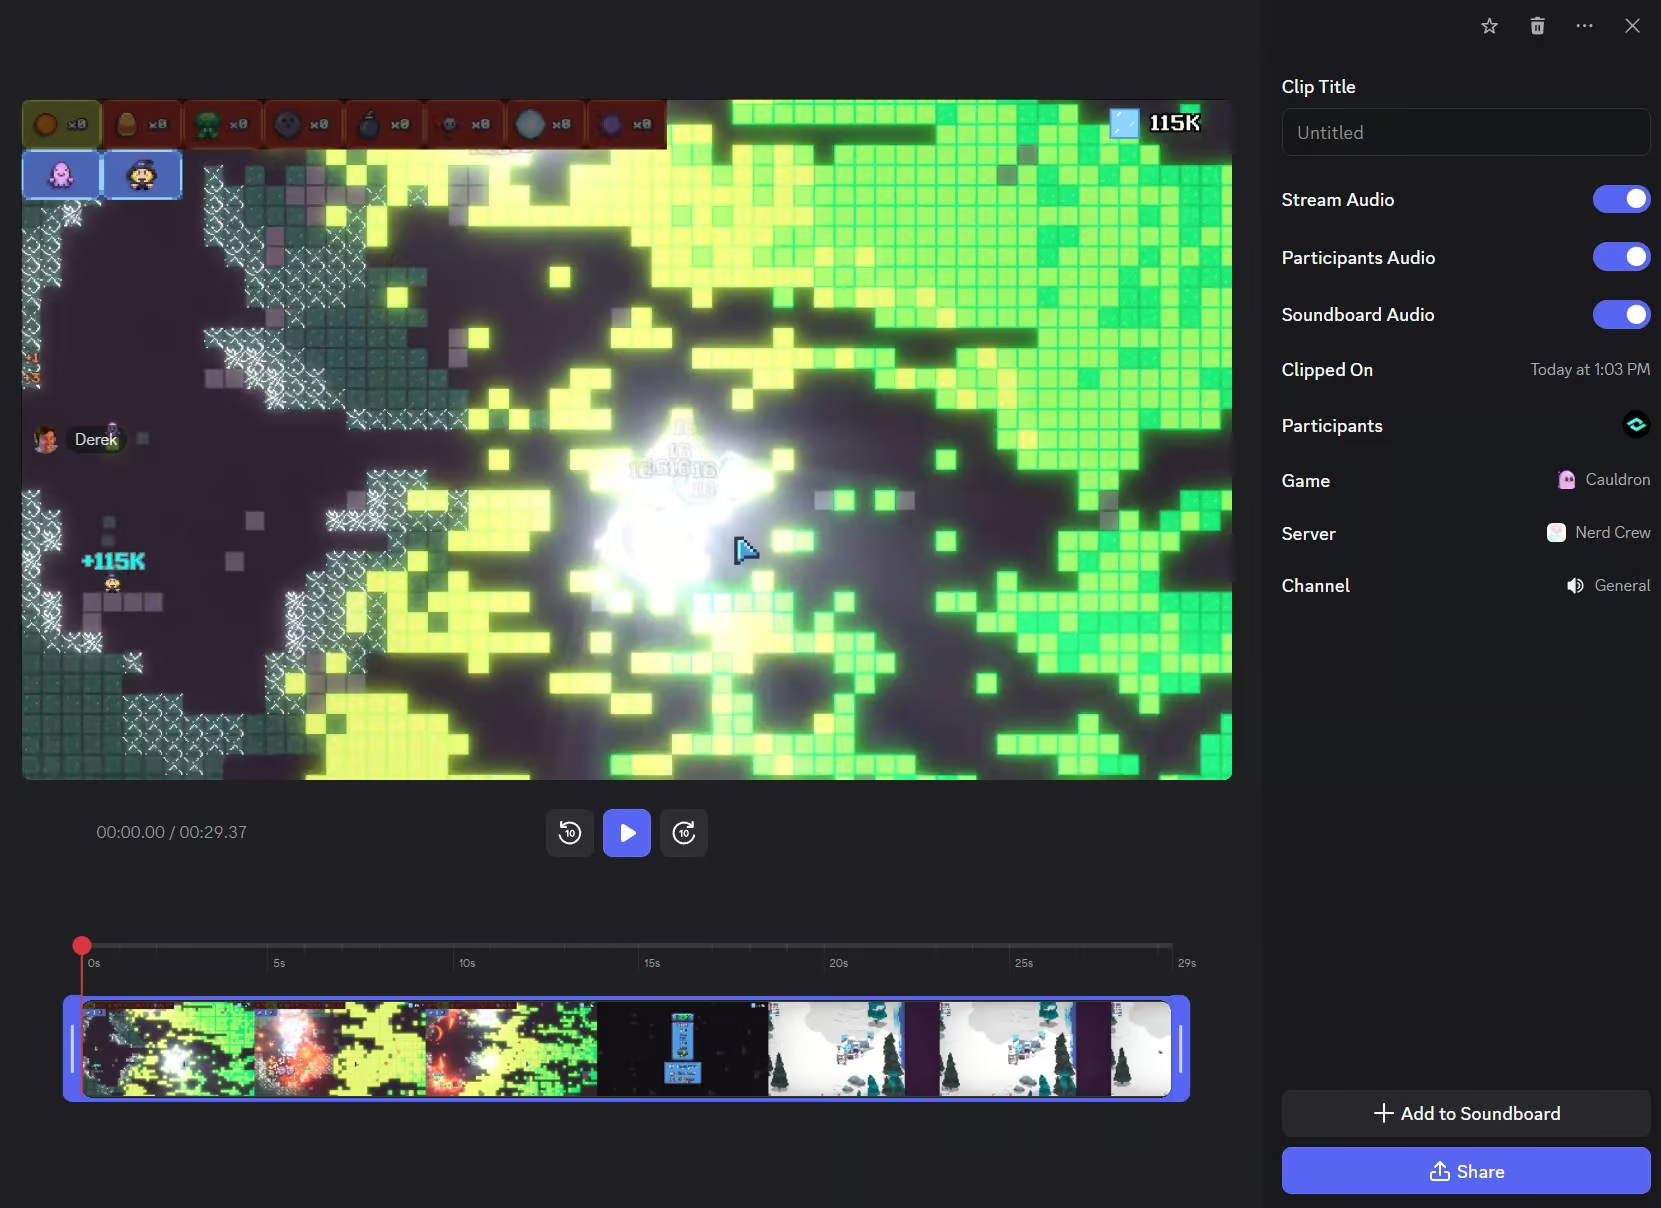
Discord has a small editor built into that same window, which is enough for trimming dead air off the front and back.
- Hover a clip and click the Edit icon.
- Drag the blue bars in from either side to cut the parts you don’t want.
- On the right you can rename the clip, mute your own audio, or mute everyone else’s.
- Then share it, save your changes, or download the edited file.
- To delete one, click the trashcan icon in the Share a Clip window. Deleted clips don’t come back.
What “a participant in the call has clipping enabled” means
You’ll see that notice when someone in the call has clipping turned on, which means the stream can be captured to their computer. It isn’t a warning that you’re being recorded right now, just that someone in there is able to.
If that bothers you, the honest fix is to ask. Discord doesn’t give you a way to block clipping for other people in the call.
Clipping not showing up?
A few reasons the option might be missing:
- You’re not on Windows. Clips are a Windows feature, so the setting won’t appear on Mac.
- Your GPU is below the requirement. Discord asks for roughly a GTX 900 series or newer, an RTX card, or an AMD Radeon RX 500 or newer.
- Nobody’s actually streaming. Clipping needs a live stream in the channel, not just a voice call.
- Your app is out of date. Restart Discord so it picks up the latest update, then check the setting again.
Turning clips into stream content
Here’s where this gets useful beyond the group chat. Your clips are plain video files, so they’re raw material for your stream, not just something to laugh at once and forget.
A funny 20 second clip makes a solid BRB loop. A clean gameplay moment works as background footage on a starting soon screen. And if the format fights you, both fixes are free in your browser: the MOV to WebM Converter gets a clip into a format OBS likes, and the Media Looper turns a short one into a loop that repeats without a visible jump. Both are on our free streamer tools page, no download and no signup.
If you’re building out the rest of your setup while you’re at it, our free overlays and alerts are a decent place to start.
A bit of background
Discord rolled clips out in late 2023, starting with Nitro members before opening up more widely. The design choice that stuck: clipping is controlled by the person capturing, and the files live on their machine instead of a public page. It’s built for streaming to friends rather than to an audience, which is exactly the kind of stream Discord is best at.
New Posts


Free Christmas Overlays & Widgets (2025 Update) – New Snow Blaster and More
Our gift to you is to give you some of the best and free Christmas Overlays for…

0 Comments9 Minutes
Haunt Your Stream with Free Halloween Overlays and Widgets (2025 Update)
The spooky times are upon us, and to celebrate Halloween, we’d like to release…
0 Comments8 Minutes
New Streamer Products
Exodus – Stream Pack
Price range: $20.00 through $30.00
Relay – Stream Pack
$30.00 or Free Option