Here is all you need to know for setting up Twitch Studio Overlays and settings for live streaming and content creation! It’s been out for a while now, but with more and more updates coming to Twitch Studio, it seems like there’s no better time to jump in and try it out if you’re a streamer making content on Twitch.tv.
Table of Contents
Download and install Twitch Studio
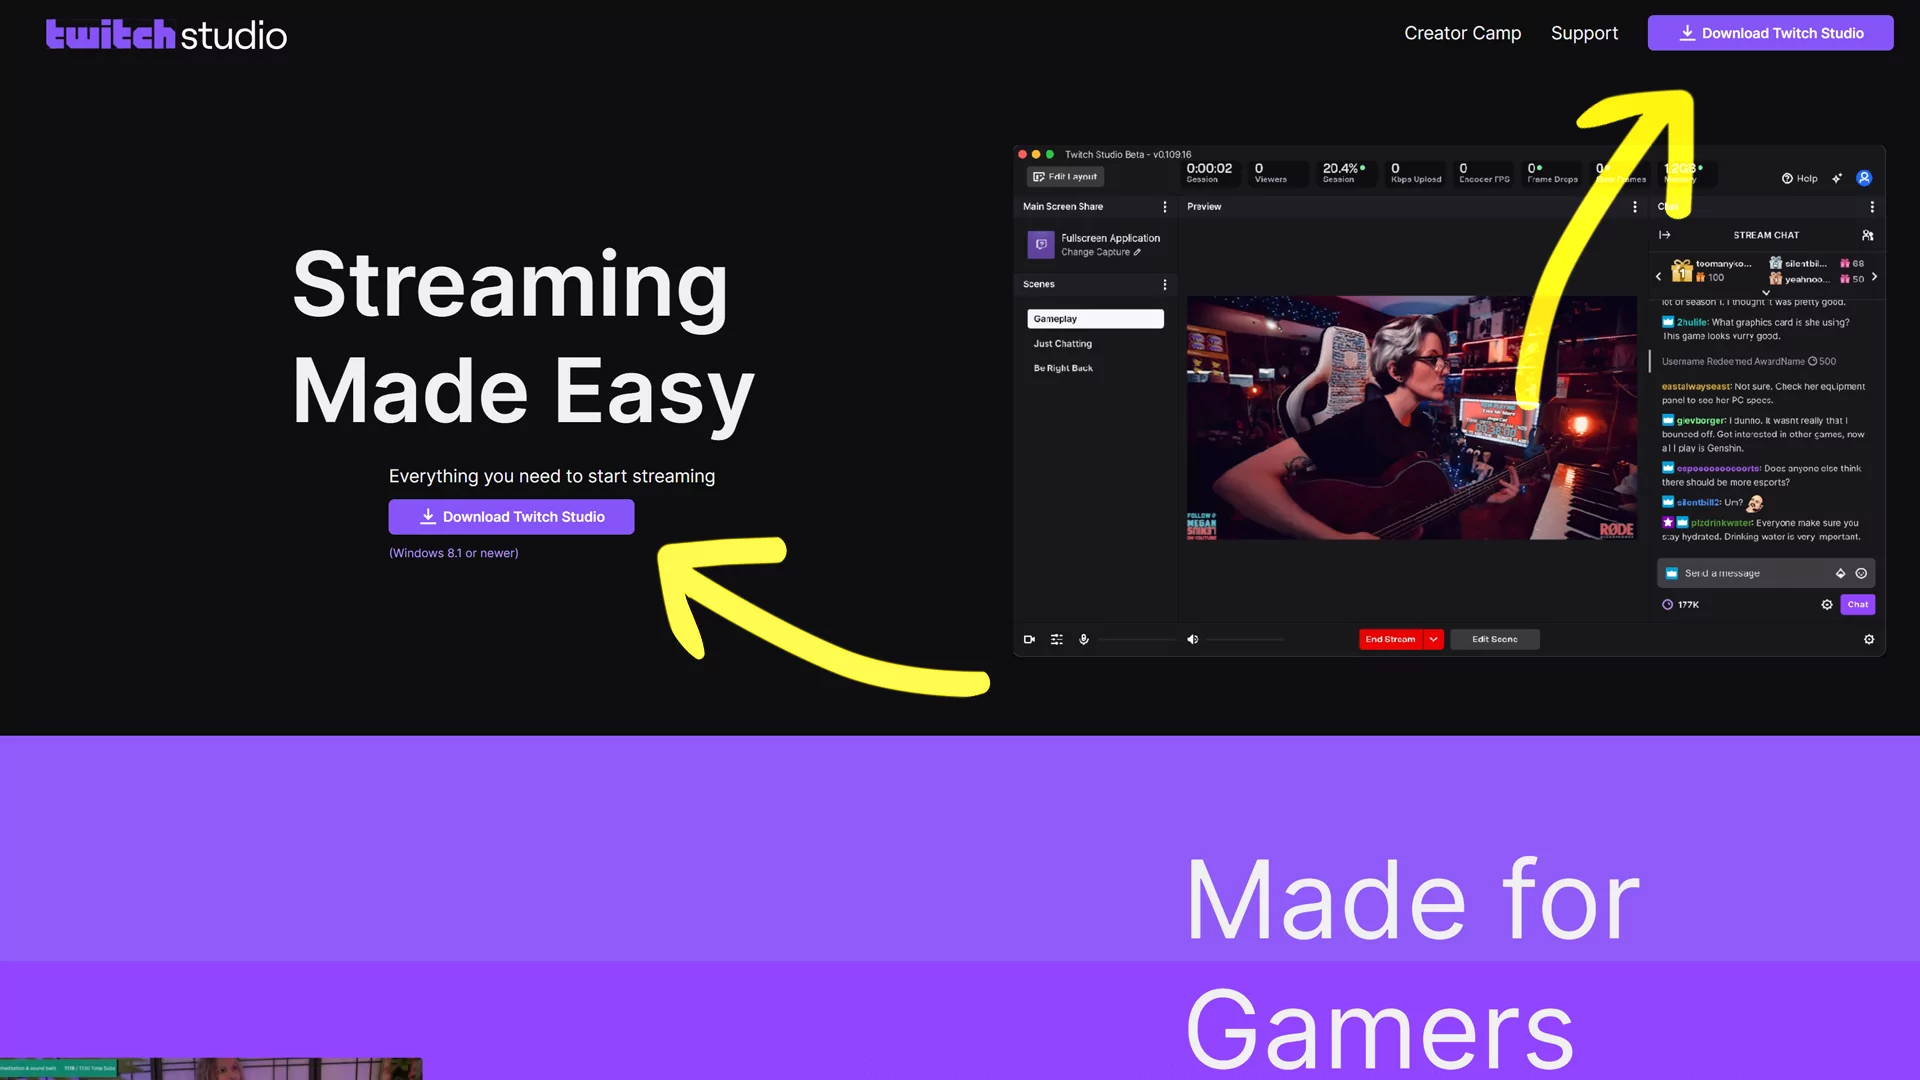
An obvious start, if you’ve not already done this of course. Head to twitch.tv/broadcast/studio and click the Download Twitch Studio button to get started. Once downloaded, open up the .exe and let’s get set up!
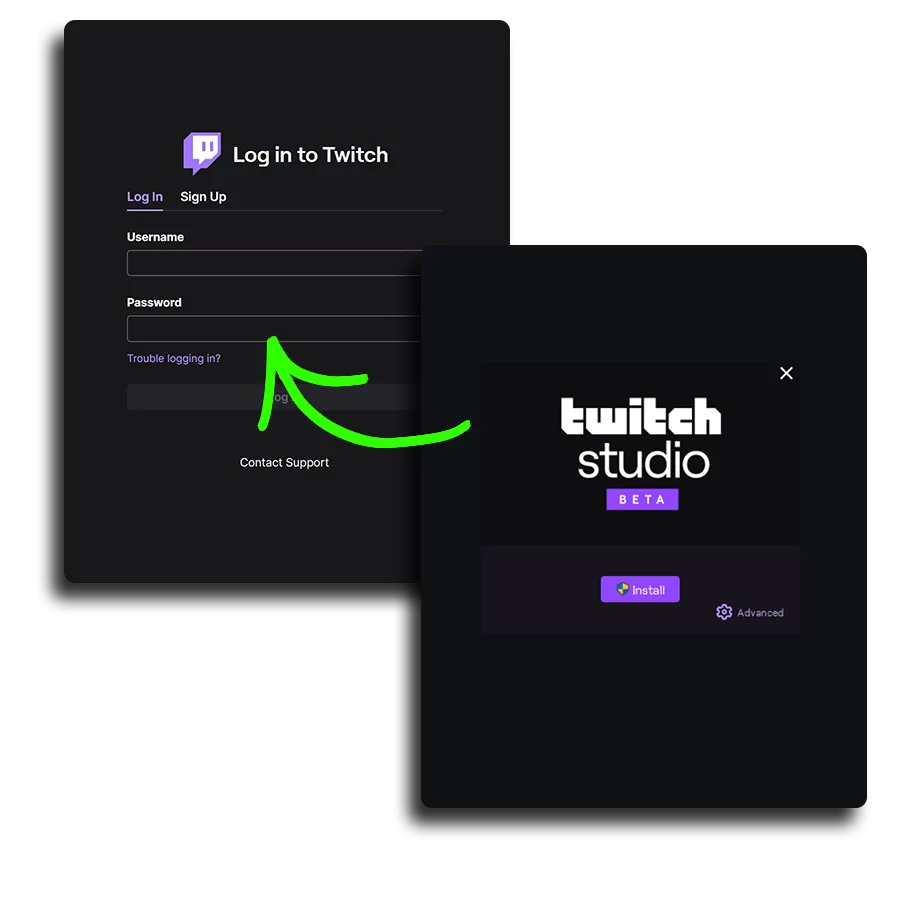
With Twitch Studio installed, log in with your Twitch account, so we can get setup, configure your Twitch Studio Overlays and get live streaming!
Set up your microphone and webcam
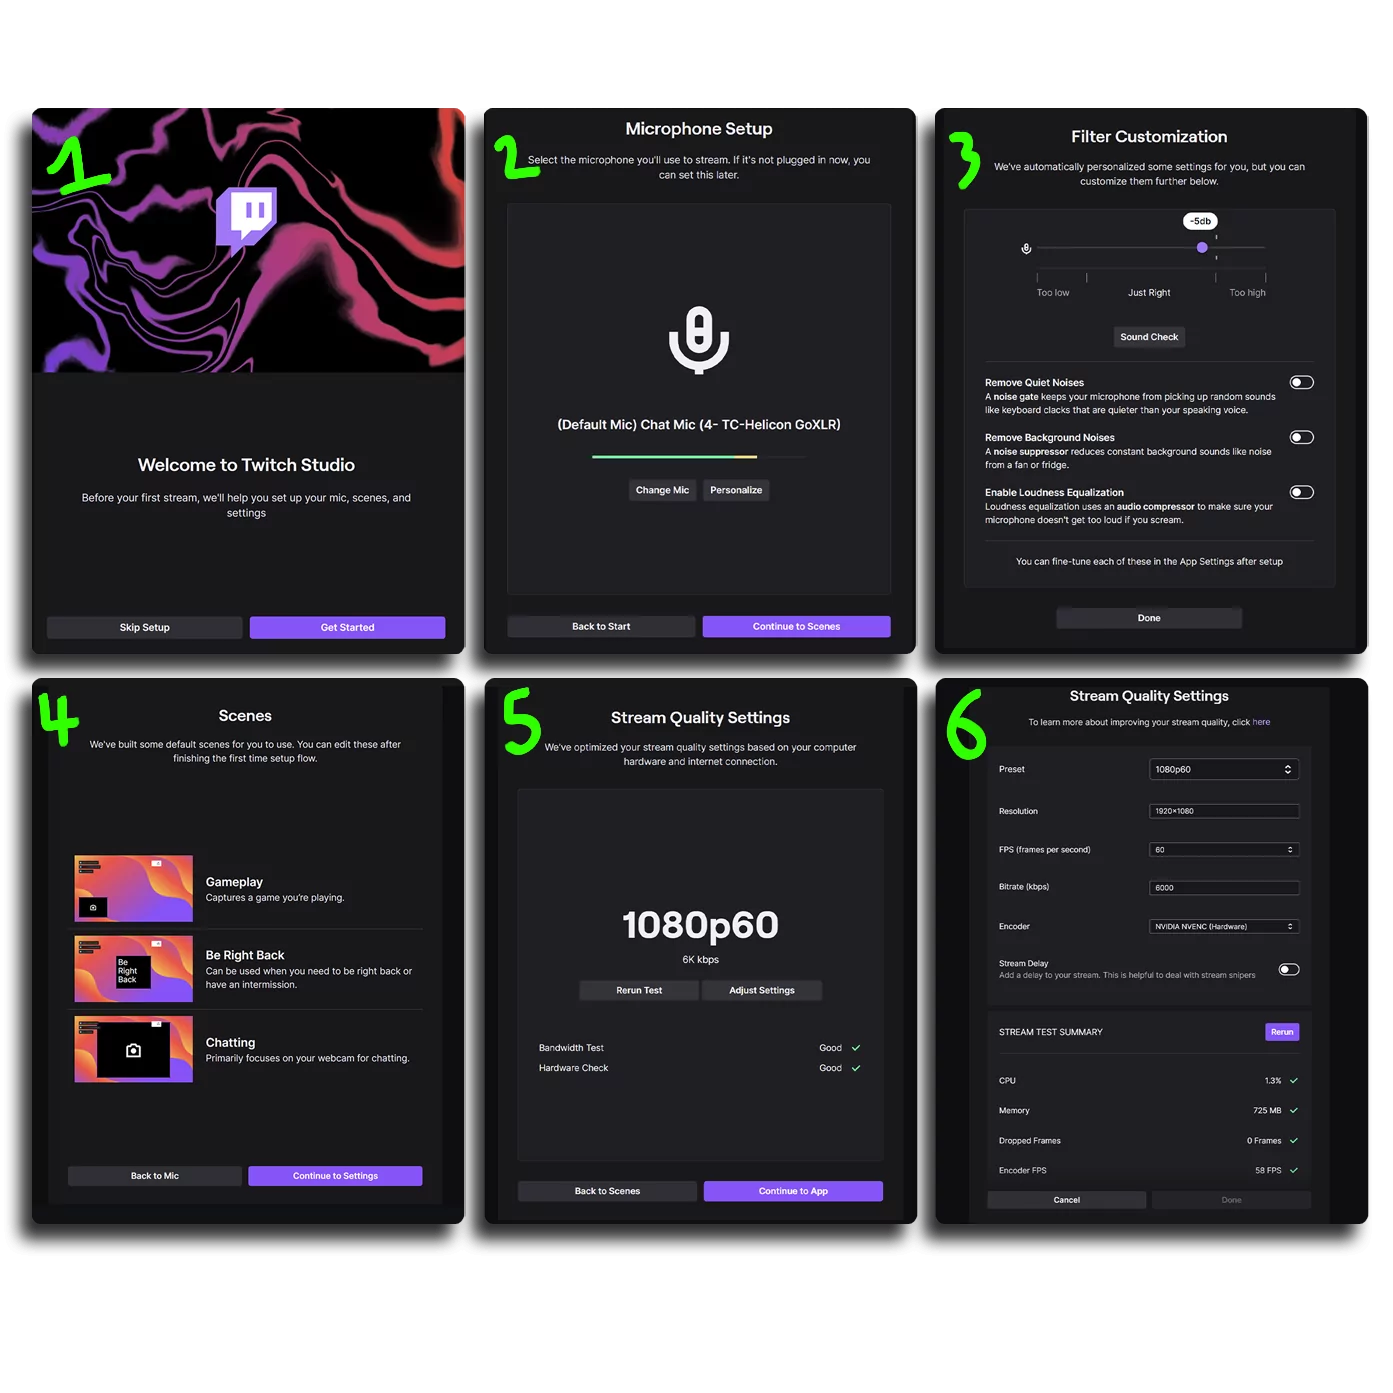
Setting up your microphone and webcam (if you have one) is handled in the initial steps of installing Twitch Studio, with options to adjust your mic level, as well as adding filters to reduce or remove quiet noises, remove background noises, and even enable loudness equalisation, which uses an audio compressor to make sure your microphone doesn’t get too loud if you begin screaming, which if you’re playing Don’t Look Up, is inevitable.
Importing and Using Quick Install Twitch Studio Overlays
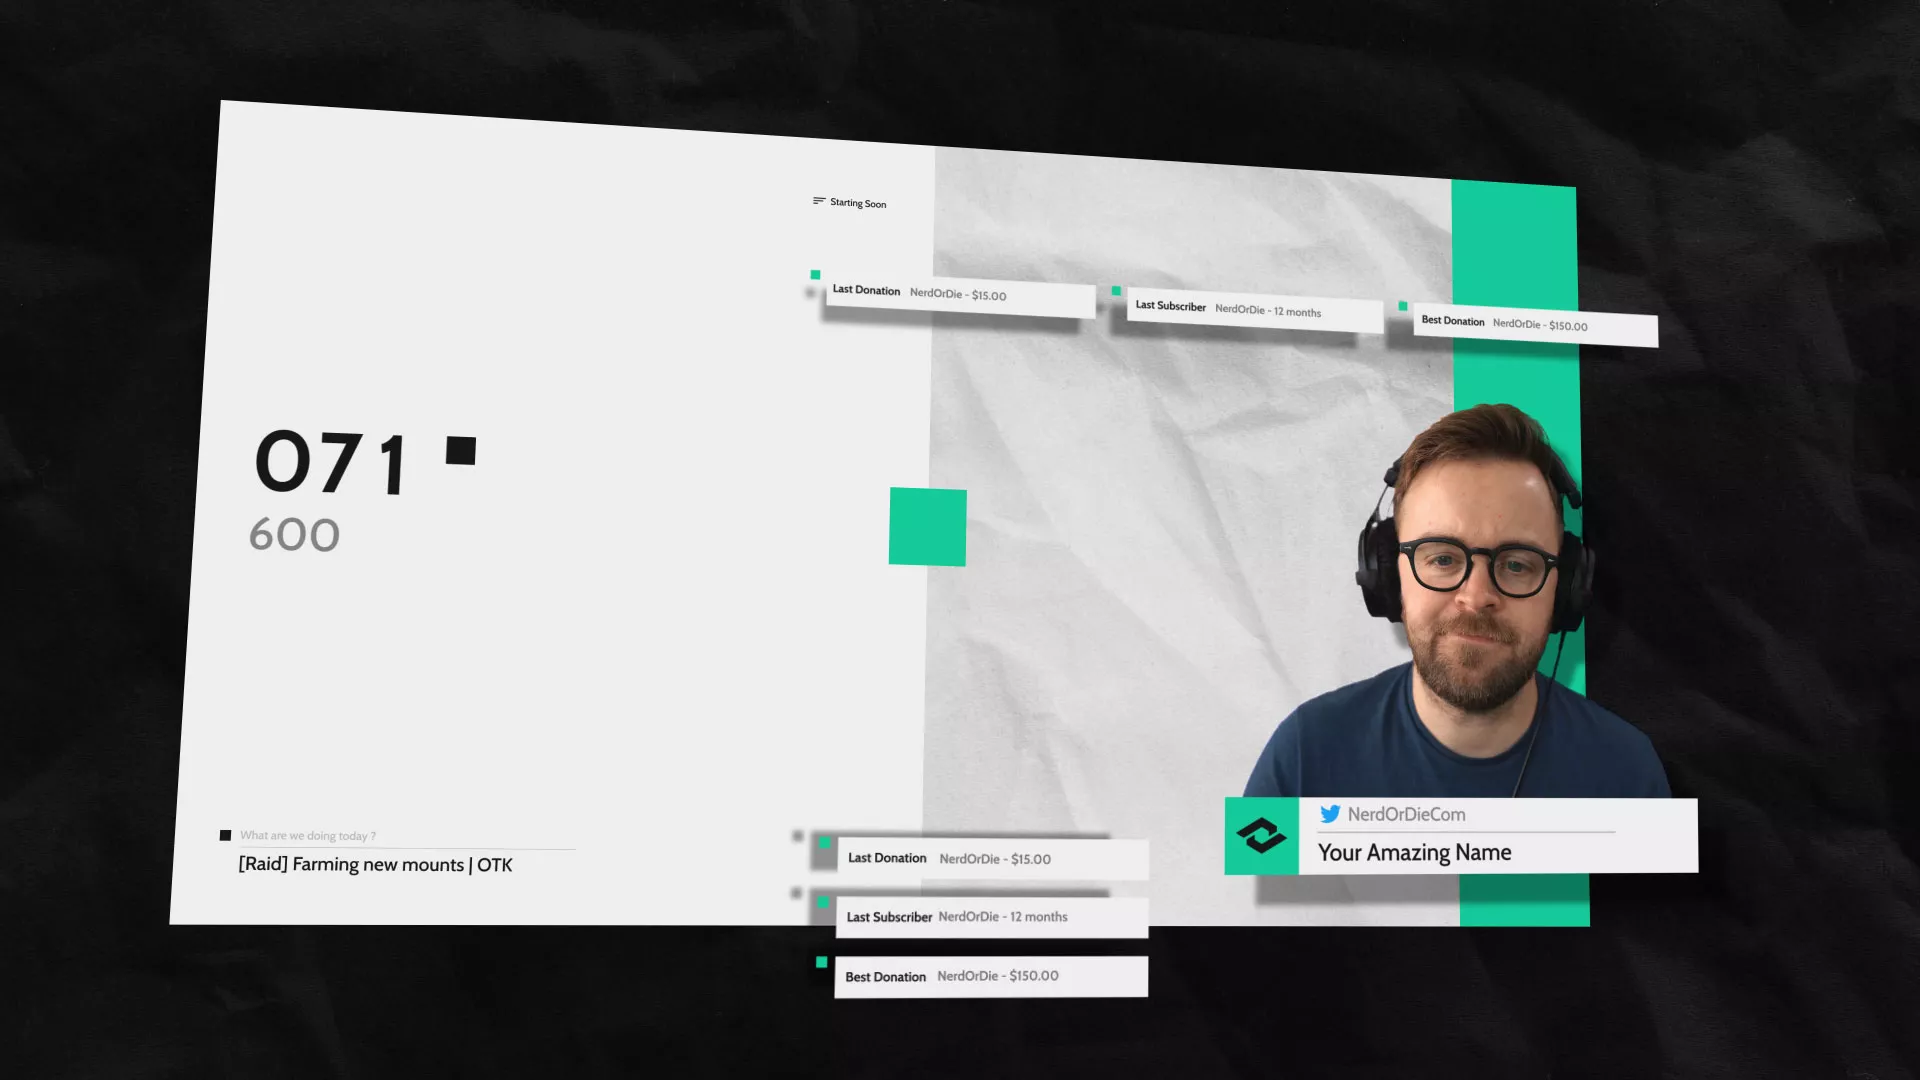
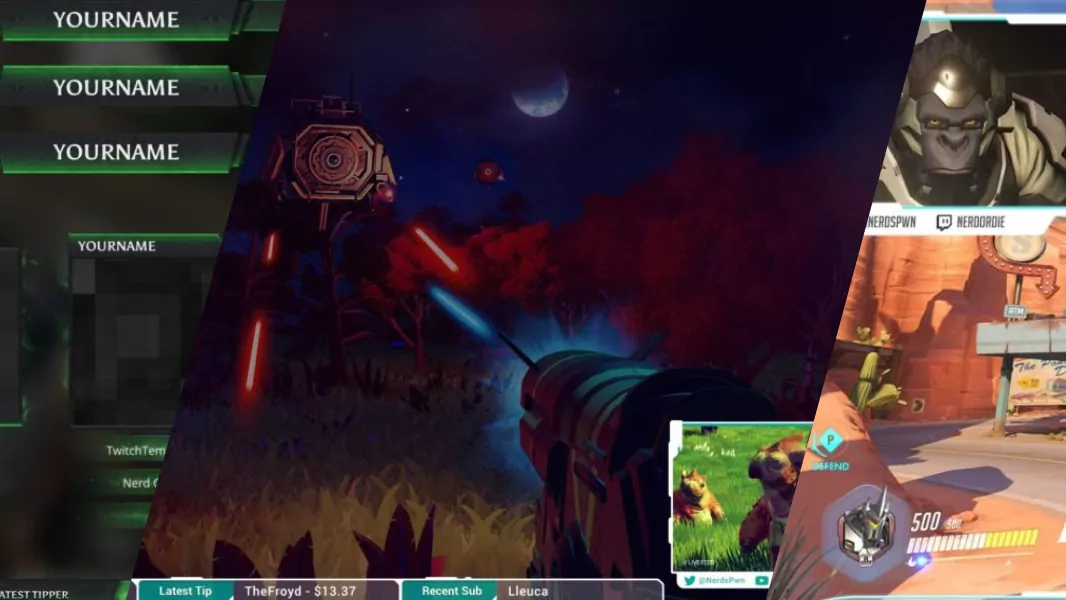
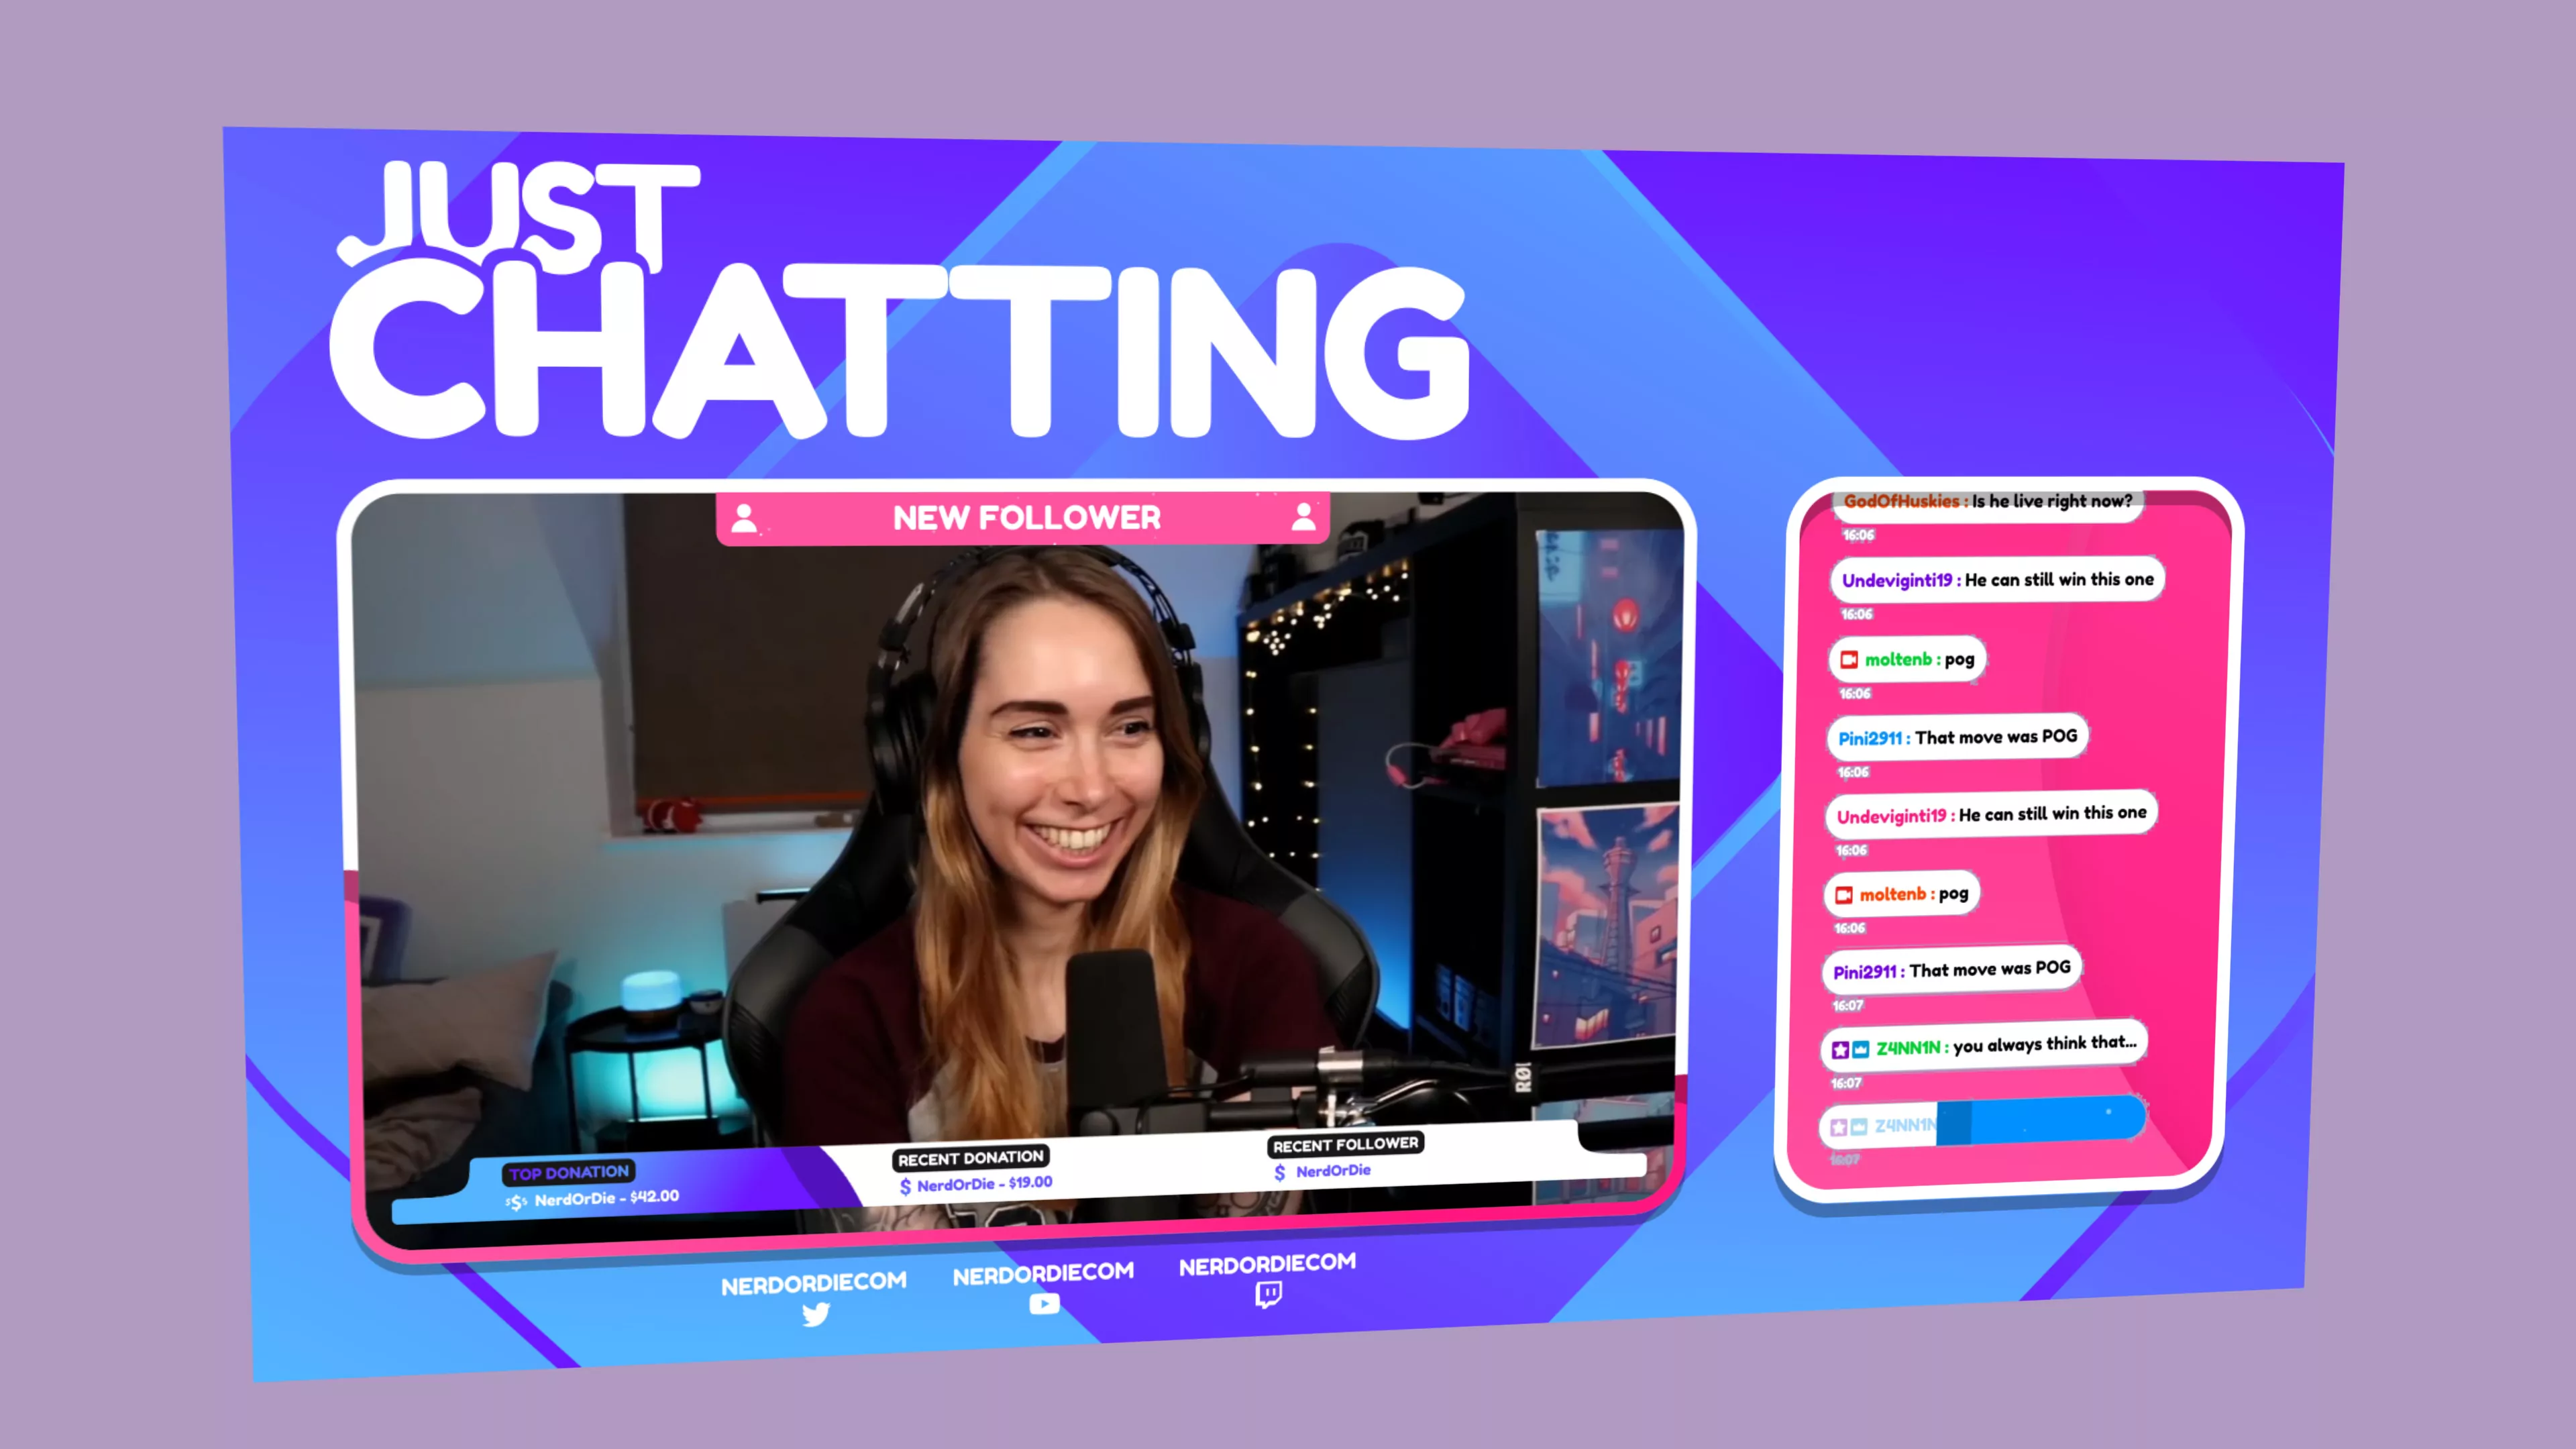
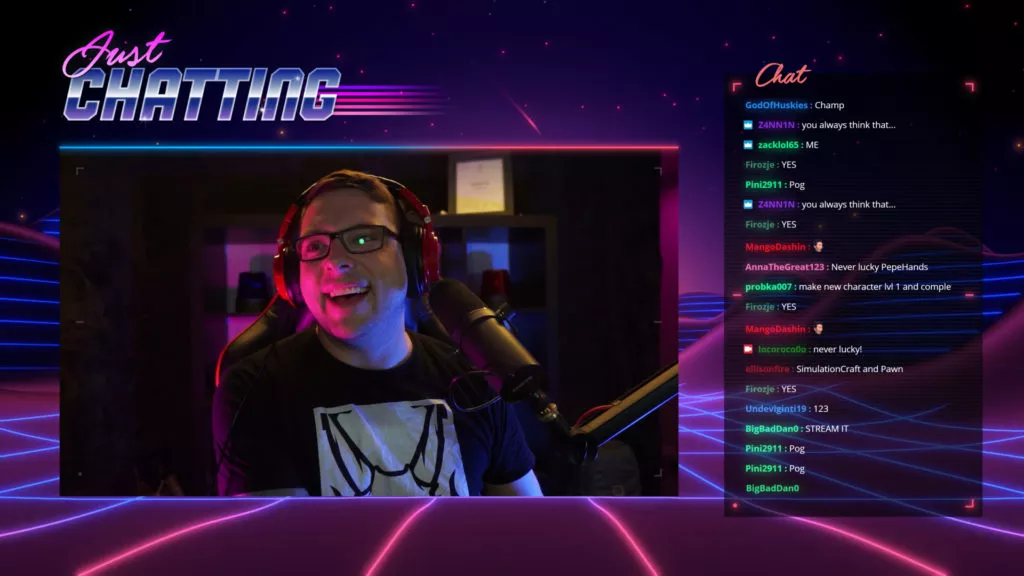
If you prefer to manually set up all your scenes and layers, you can skip this section, but if you’re like me you’ll want to get set up and streaming fast. Fortunately we’ve developed Twitch overlay packs to work with Twitch Studio. Assuming you’ve already downloaded and unzipped one of our free or premium Twitch Studio Overlays, we’ll get straight into it.
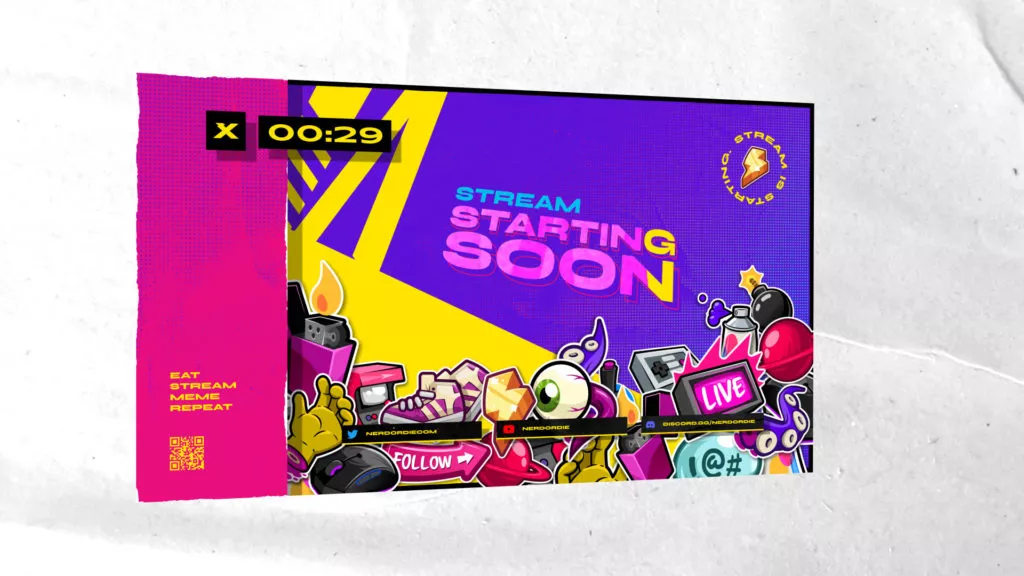
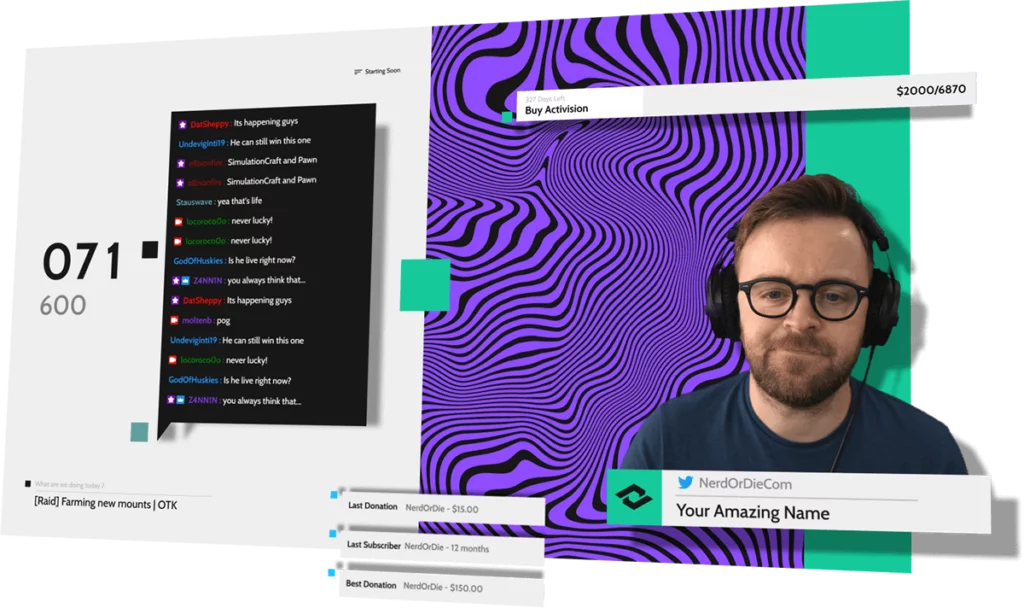
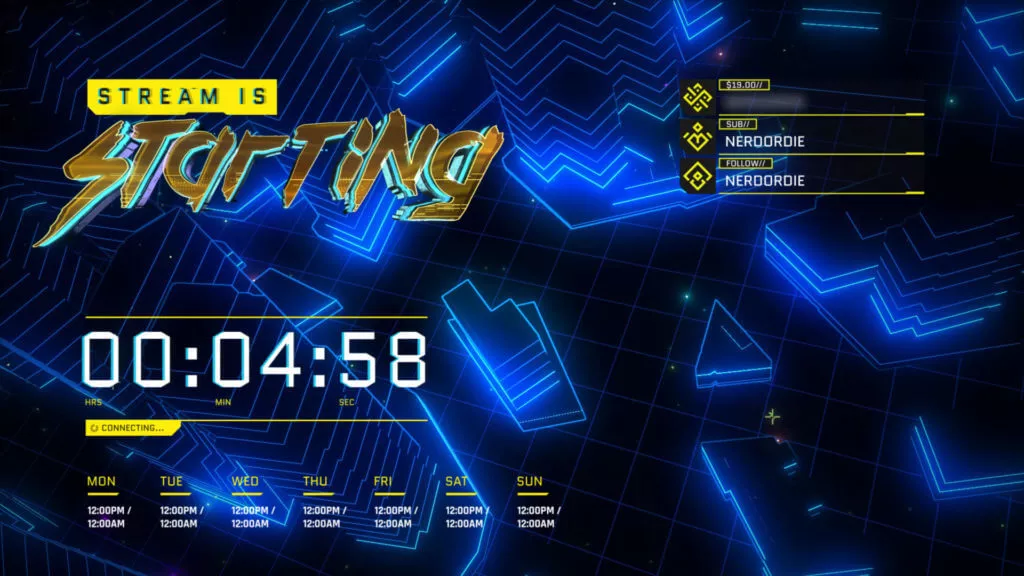
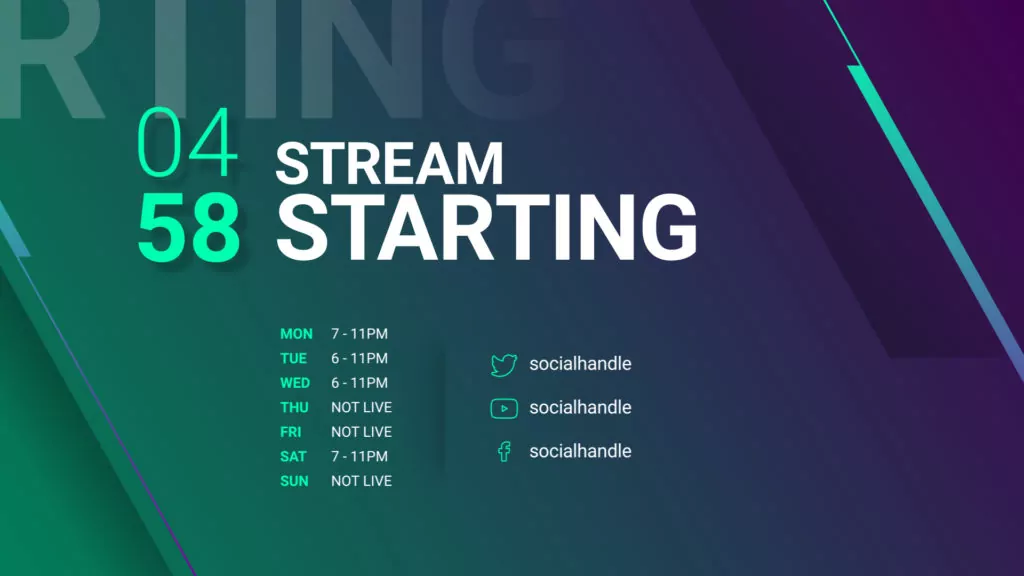
Importing your Twitch Studio Overlay file (.overlay)
This is the easiest way to import a Twitch Studio overlay. On the left hand side toward the bottom of Twitch Studio you will see a button labelled “Add Scene”. Clicking this will open up a dialogue box where you’re presented with the option of using one of their default layouts, or “Import”. Clicking this tab will allow you to “Browse for File”.
Navigate to where you’ve saved and unzipped your overlay package. Within the Overlays folders you should see another folder labelled something along the lines of “Streamlabs Desktop Quick Import”. This is where we have included the .overlay import file. Select your .overlay file and click “Open”, then “Import File”.
It should start importing each of the scenes and their sources. It will verify what sources it can import. Once it’s finished, click “Done”.
Note: Items like "labels", alerts or widgets included into the pack will not import automatically. This is a manual process covered later.
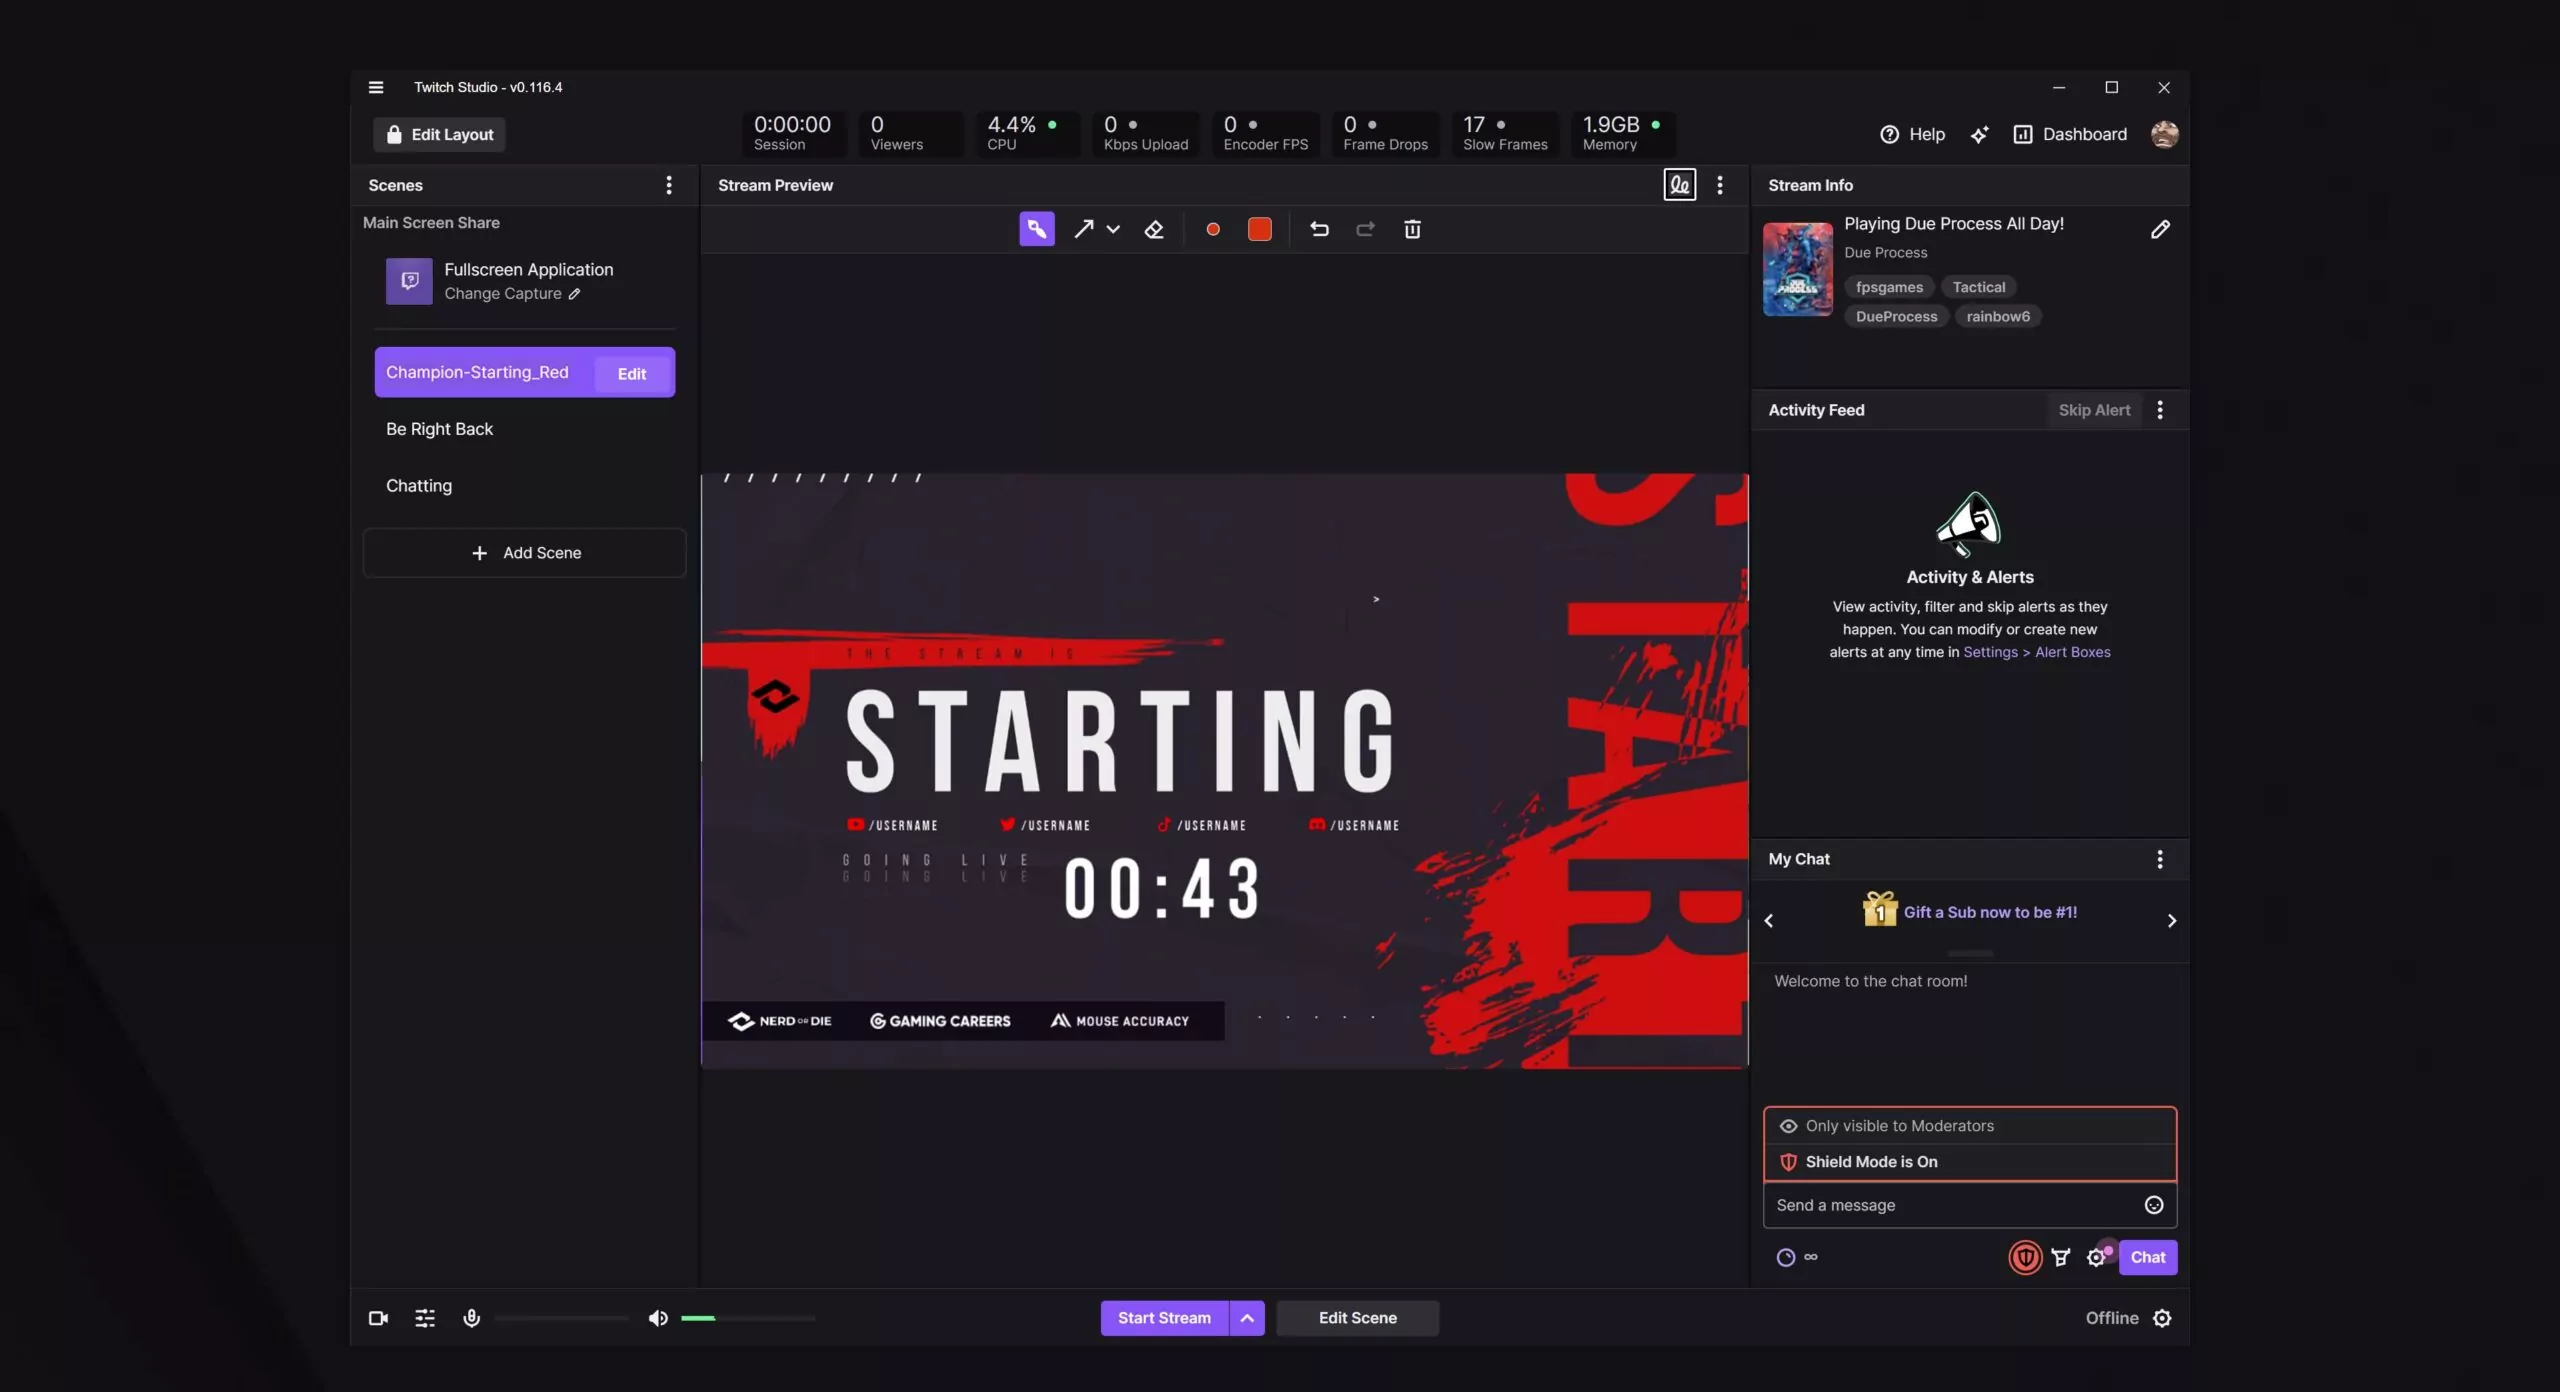
Editing Scenes
Back in the main Twitch Studio overlay page, click the “Edit” button beside of the new premade scenes. Opening up each scene you can adjust the layouts and sources as you see fit. This is where you can get creative! Remember to add your webcam and gameplay sources!
Using Labels, Alerts and Widgets
One of the biggest downsides is a few elements will not automatically import to Twitch Studio. The items are Labels, Alerts, Widgets. We’ve covered how to use them as a browser source in tutorials here:
- Using Streamlabs Labels
- Importing Streamlabs Alerts
- Importing StreamElements Alerts
- Importing Streamlabs Widgets
- Importing StreamElements Widgets
Custom Transitions
Custom transitions will not work. Hopefully this get’s updated in the future. For now you are limited to their preset options.
Manually Customise Your Scenes and Layers
For those who want to take the manual route for full control, Twitch Studio will immediately set you up with a handful of scenes, which we can customise after setup is complete. After that, you’ll get a stream quality screen where you can run a test to see what Twitch Studio recommends for your stream out put. You can adjust these settings if you disagree, and honestly sometimes it’s best to double check your internet connection with the likes of ookla.com or other speed test websites, just to be sure you’re not limiting yourself.
The stream quality adjustment page will let you add in more details to your stream output settings, so give that a whirl, and once you’re happy, hit the Continue to App button.
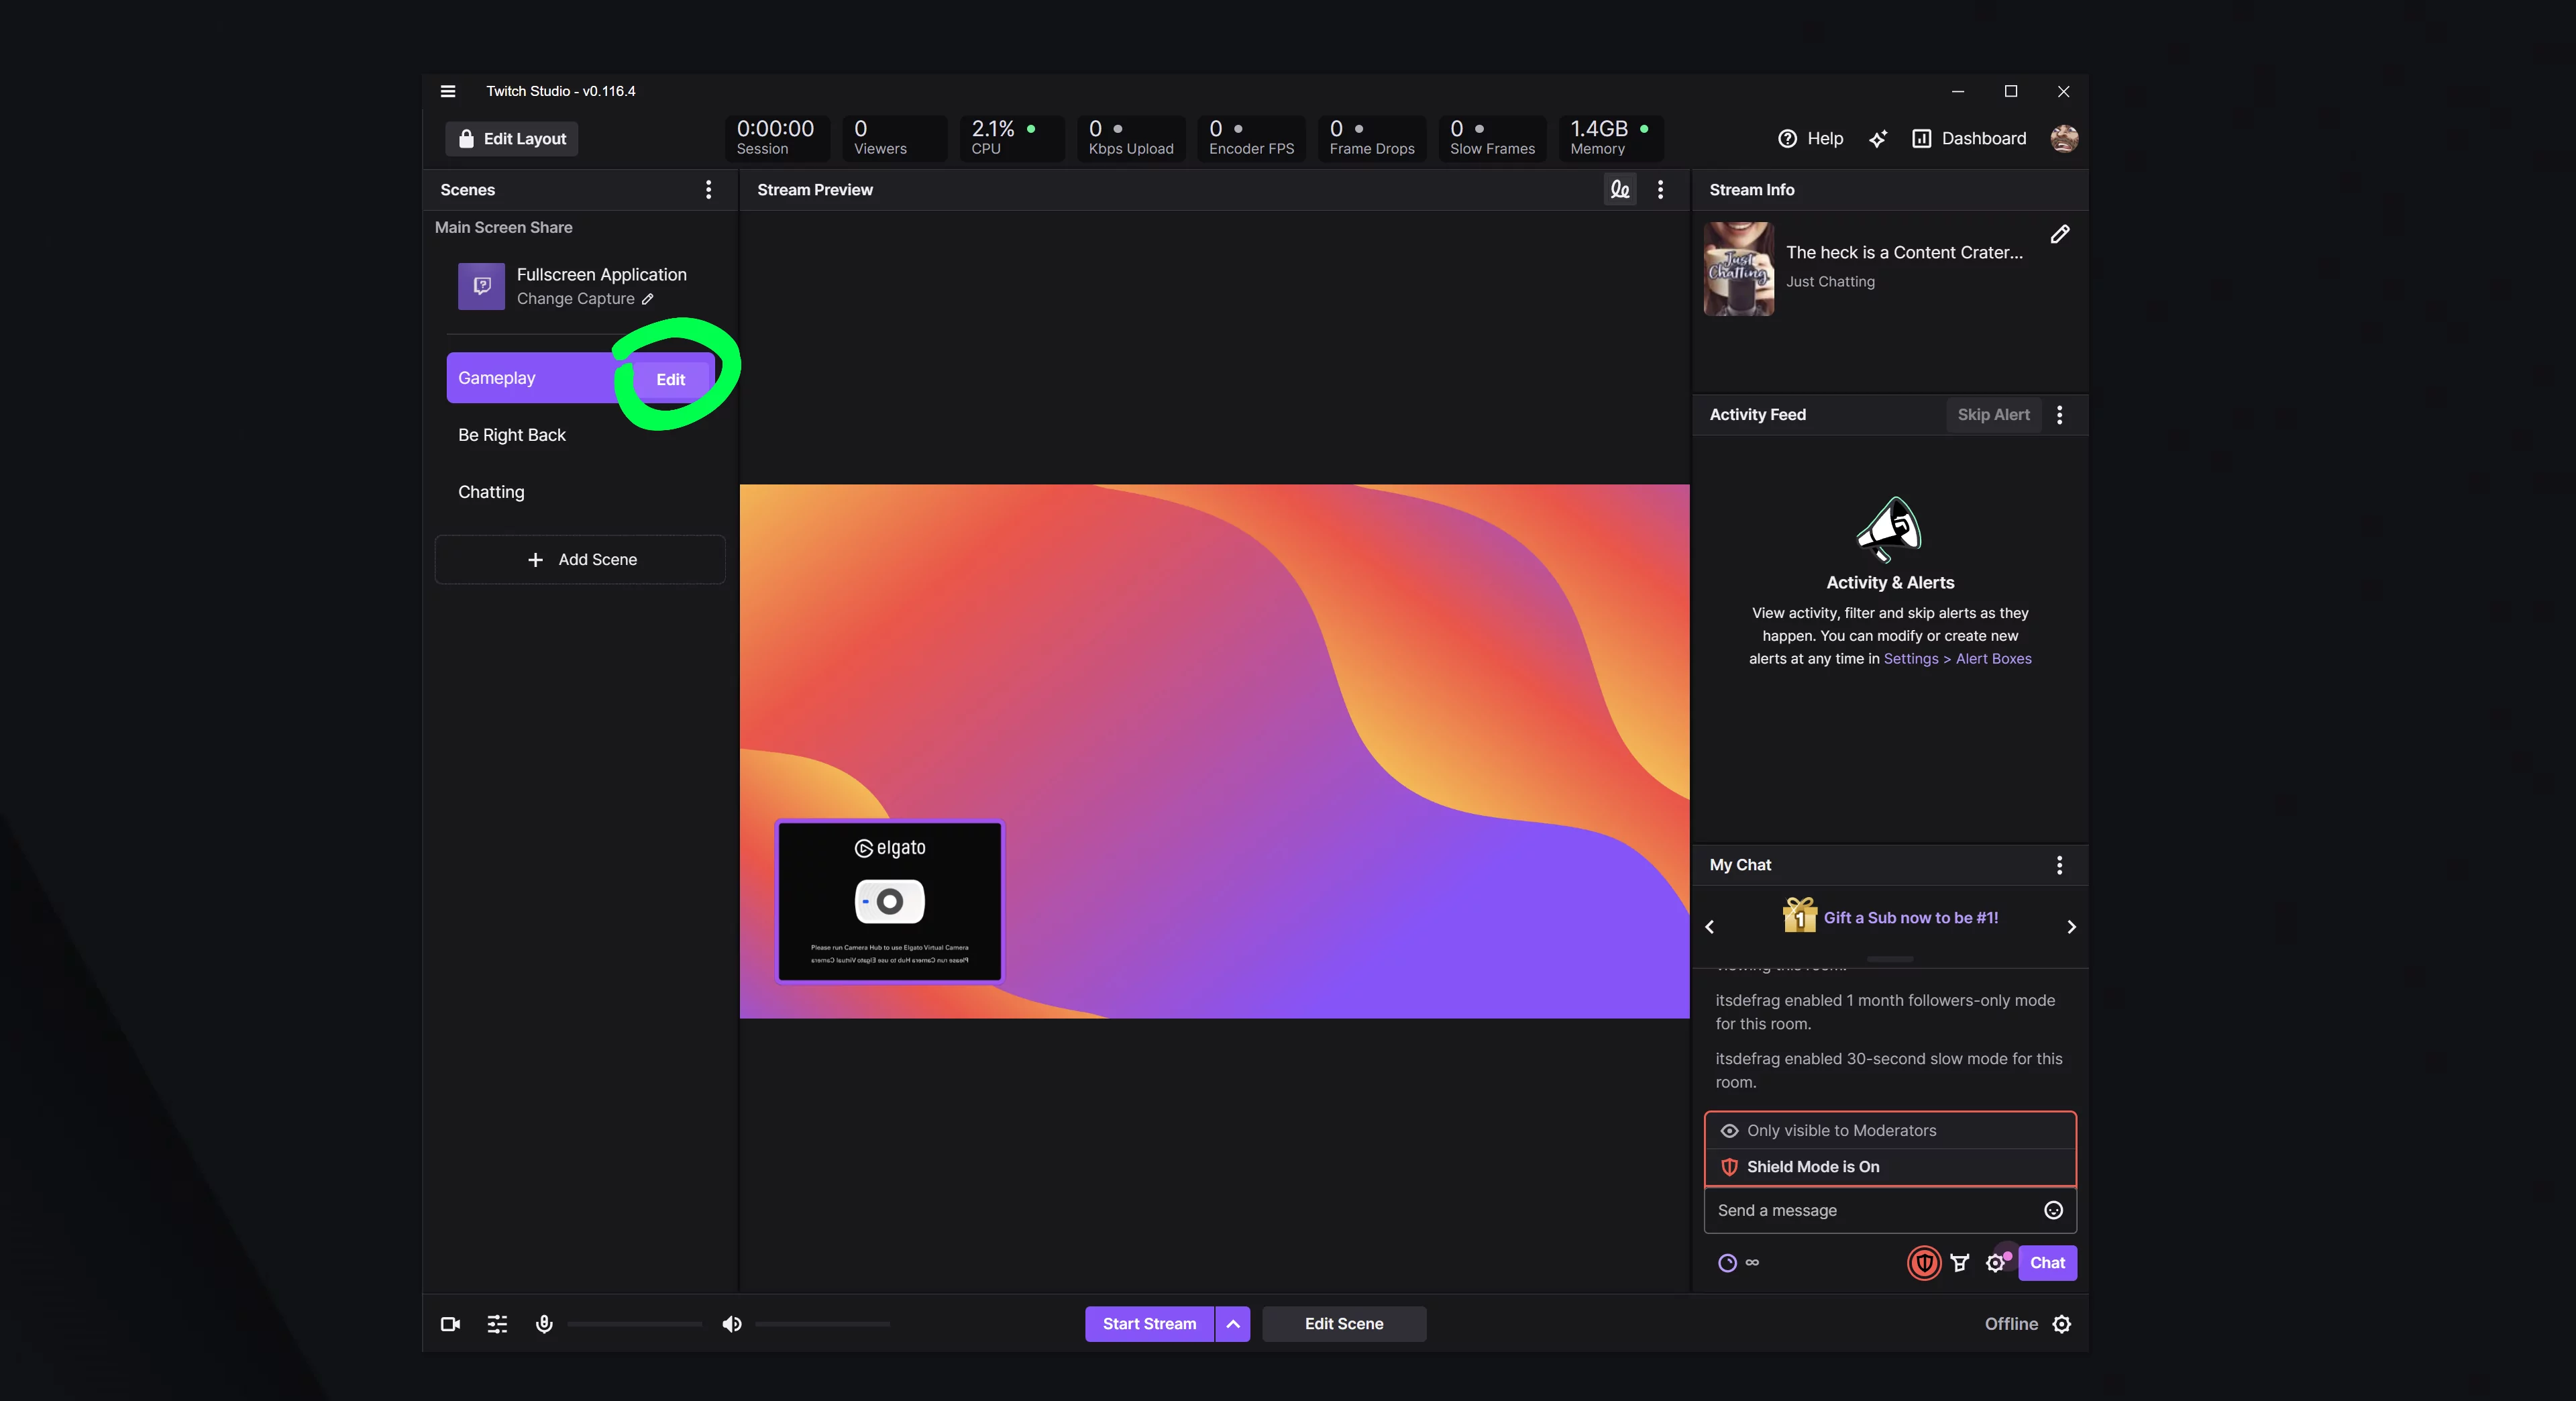
You should next be greeted with the Twitch Studio main page, here you can start streaming from the buttons at the bottom, adjust your stream info, see your activity feed and Twitch chat, as well as add and edit scenes. That’s what we’re going to check out first. Click the Edit button beside of the premade scenes, or add a new scene and you can build the scene up from scratch.
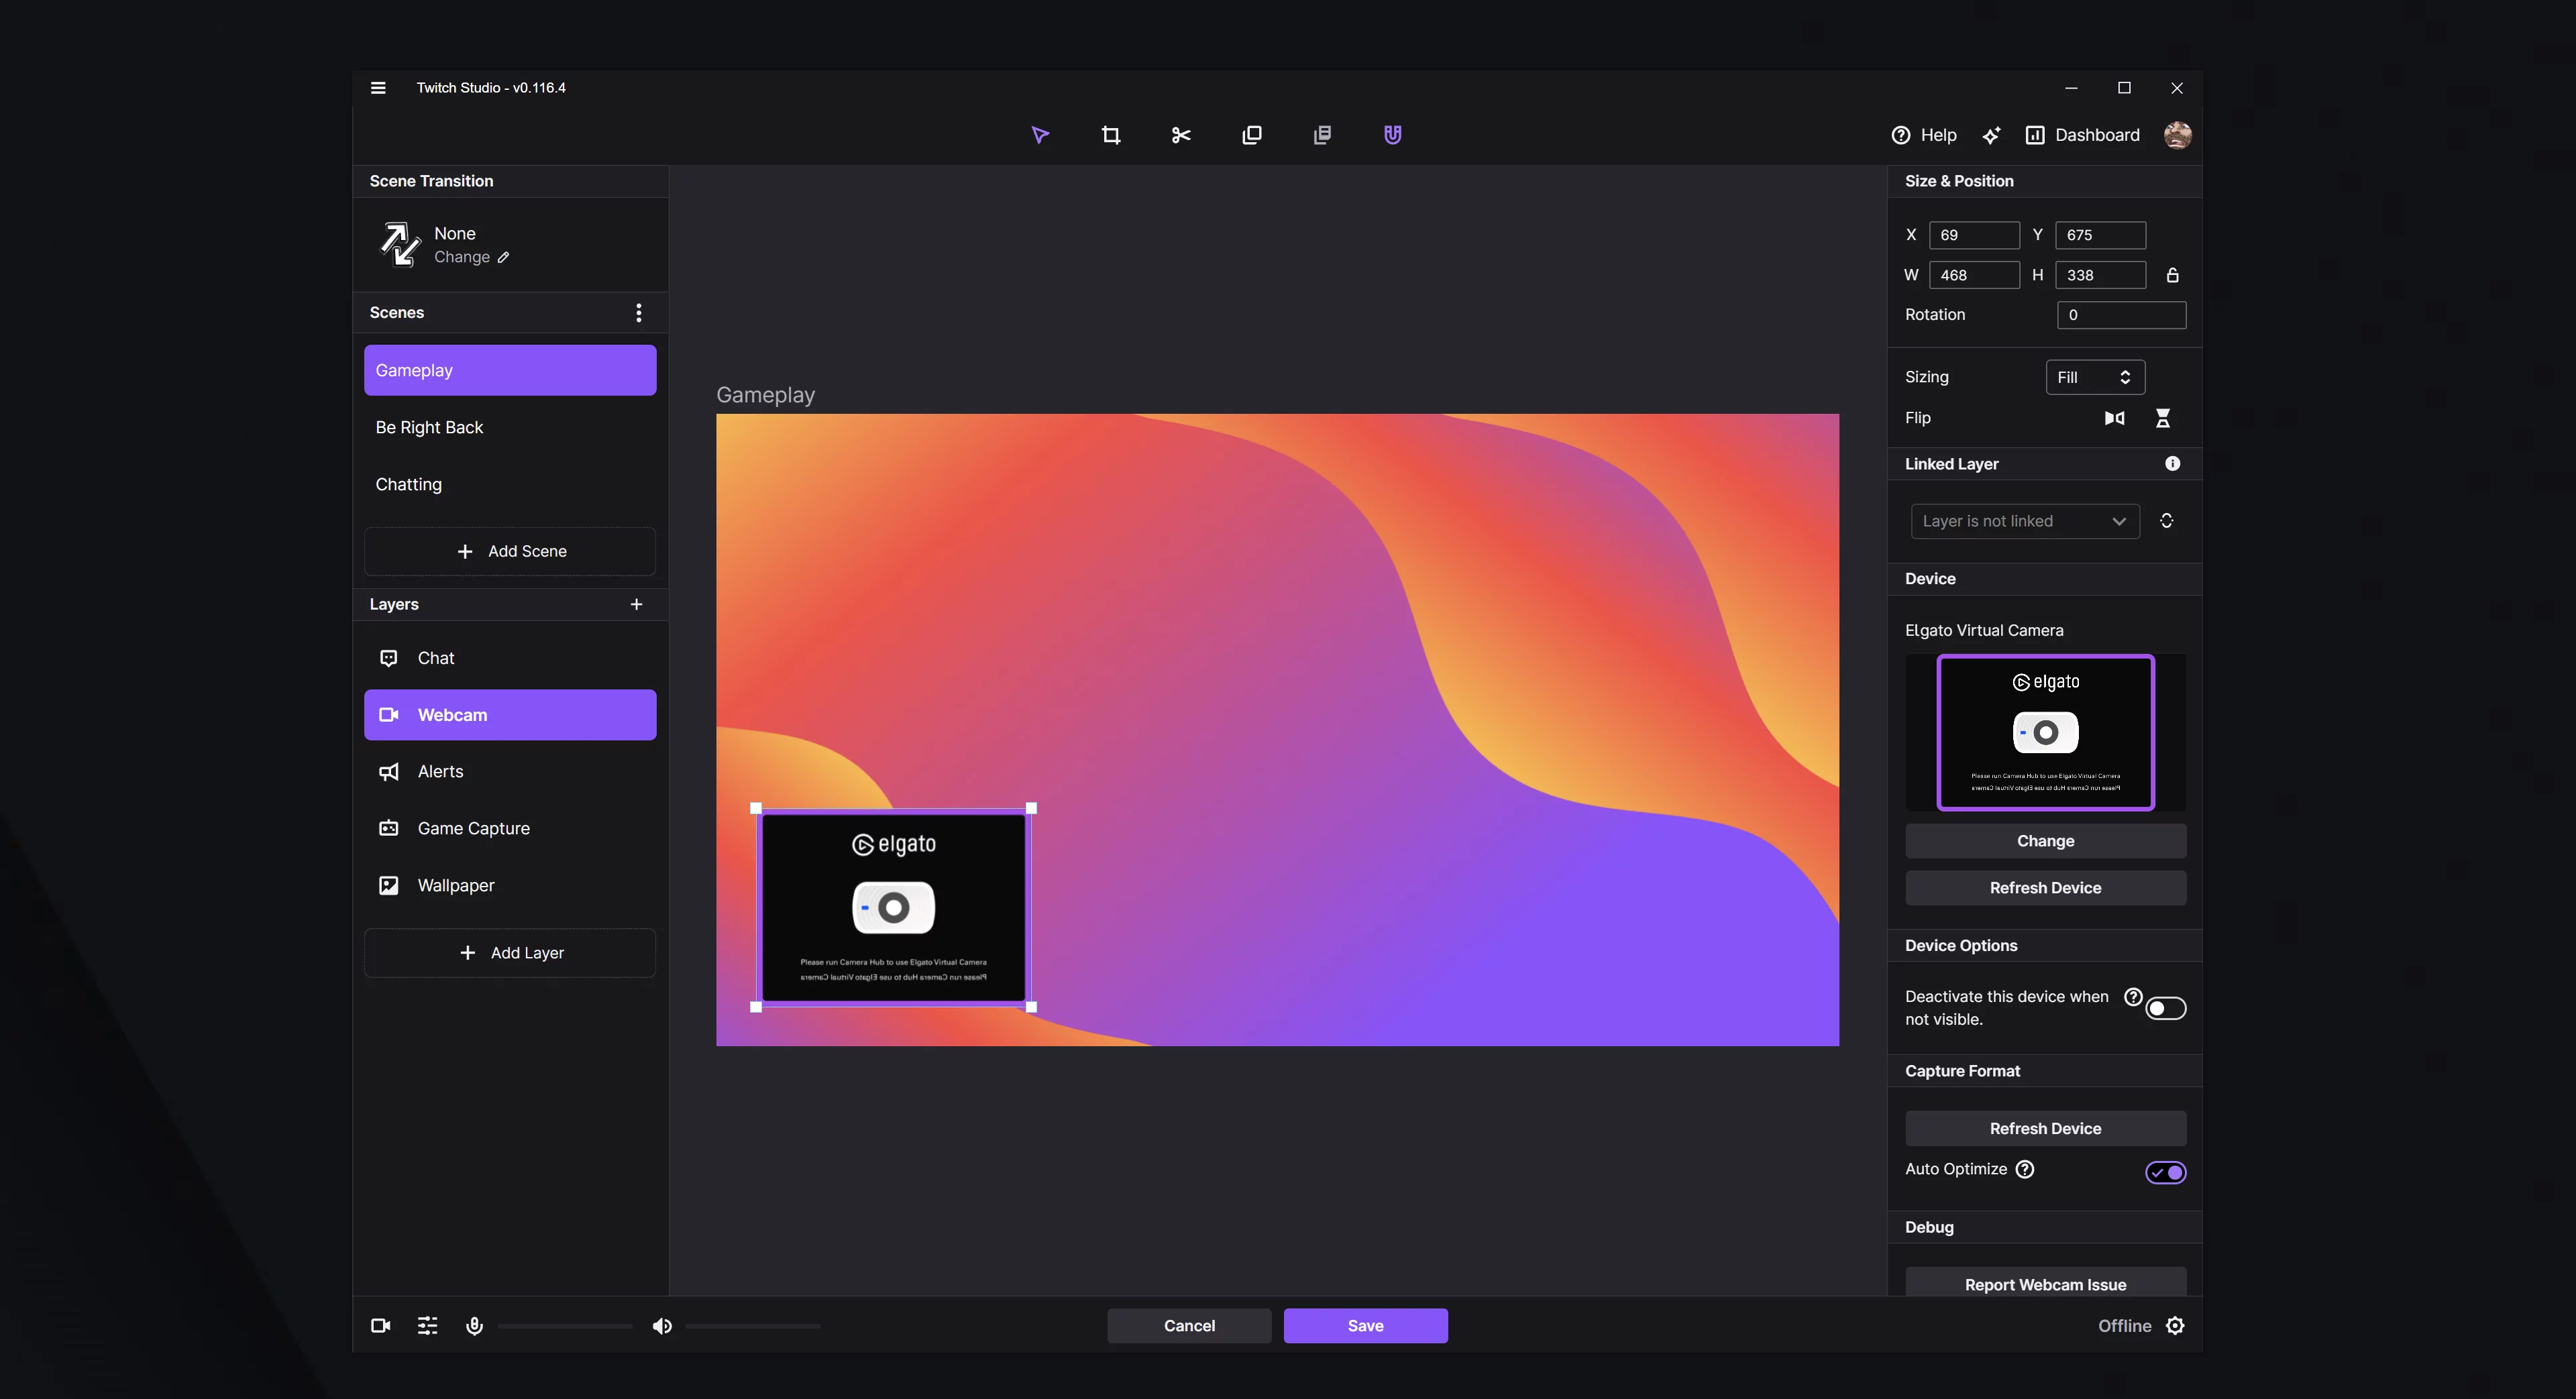
In the gameplay template, we’ve a handful of layers, which are basically the elements in the scene that we can adjust, add and remove as we see fit. If you’ve set up your webcam, you should set it pop up here immediately. Clicking on that layer, you will be greeted with some additional options for that layer, a webcam in this example, on the right side of Twitch Studio.
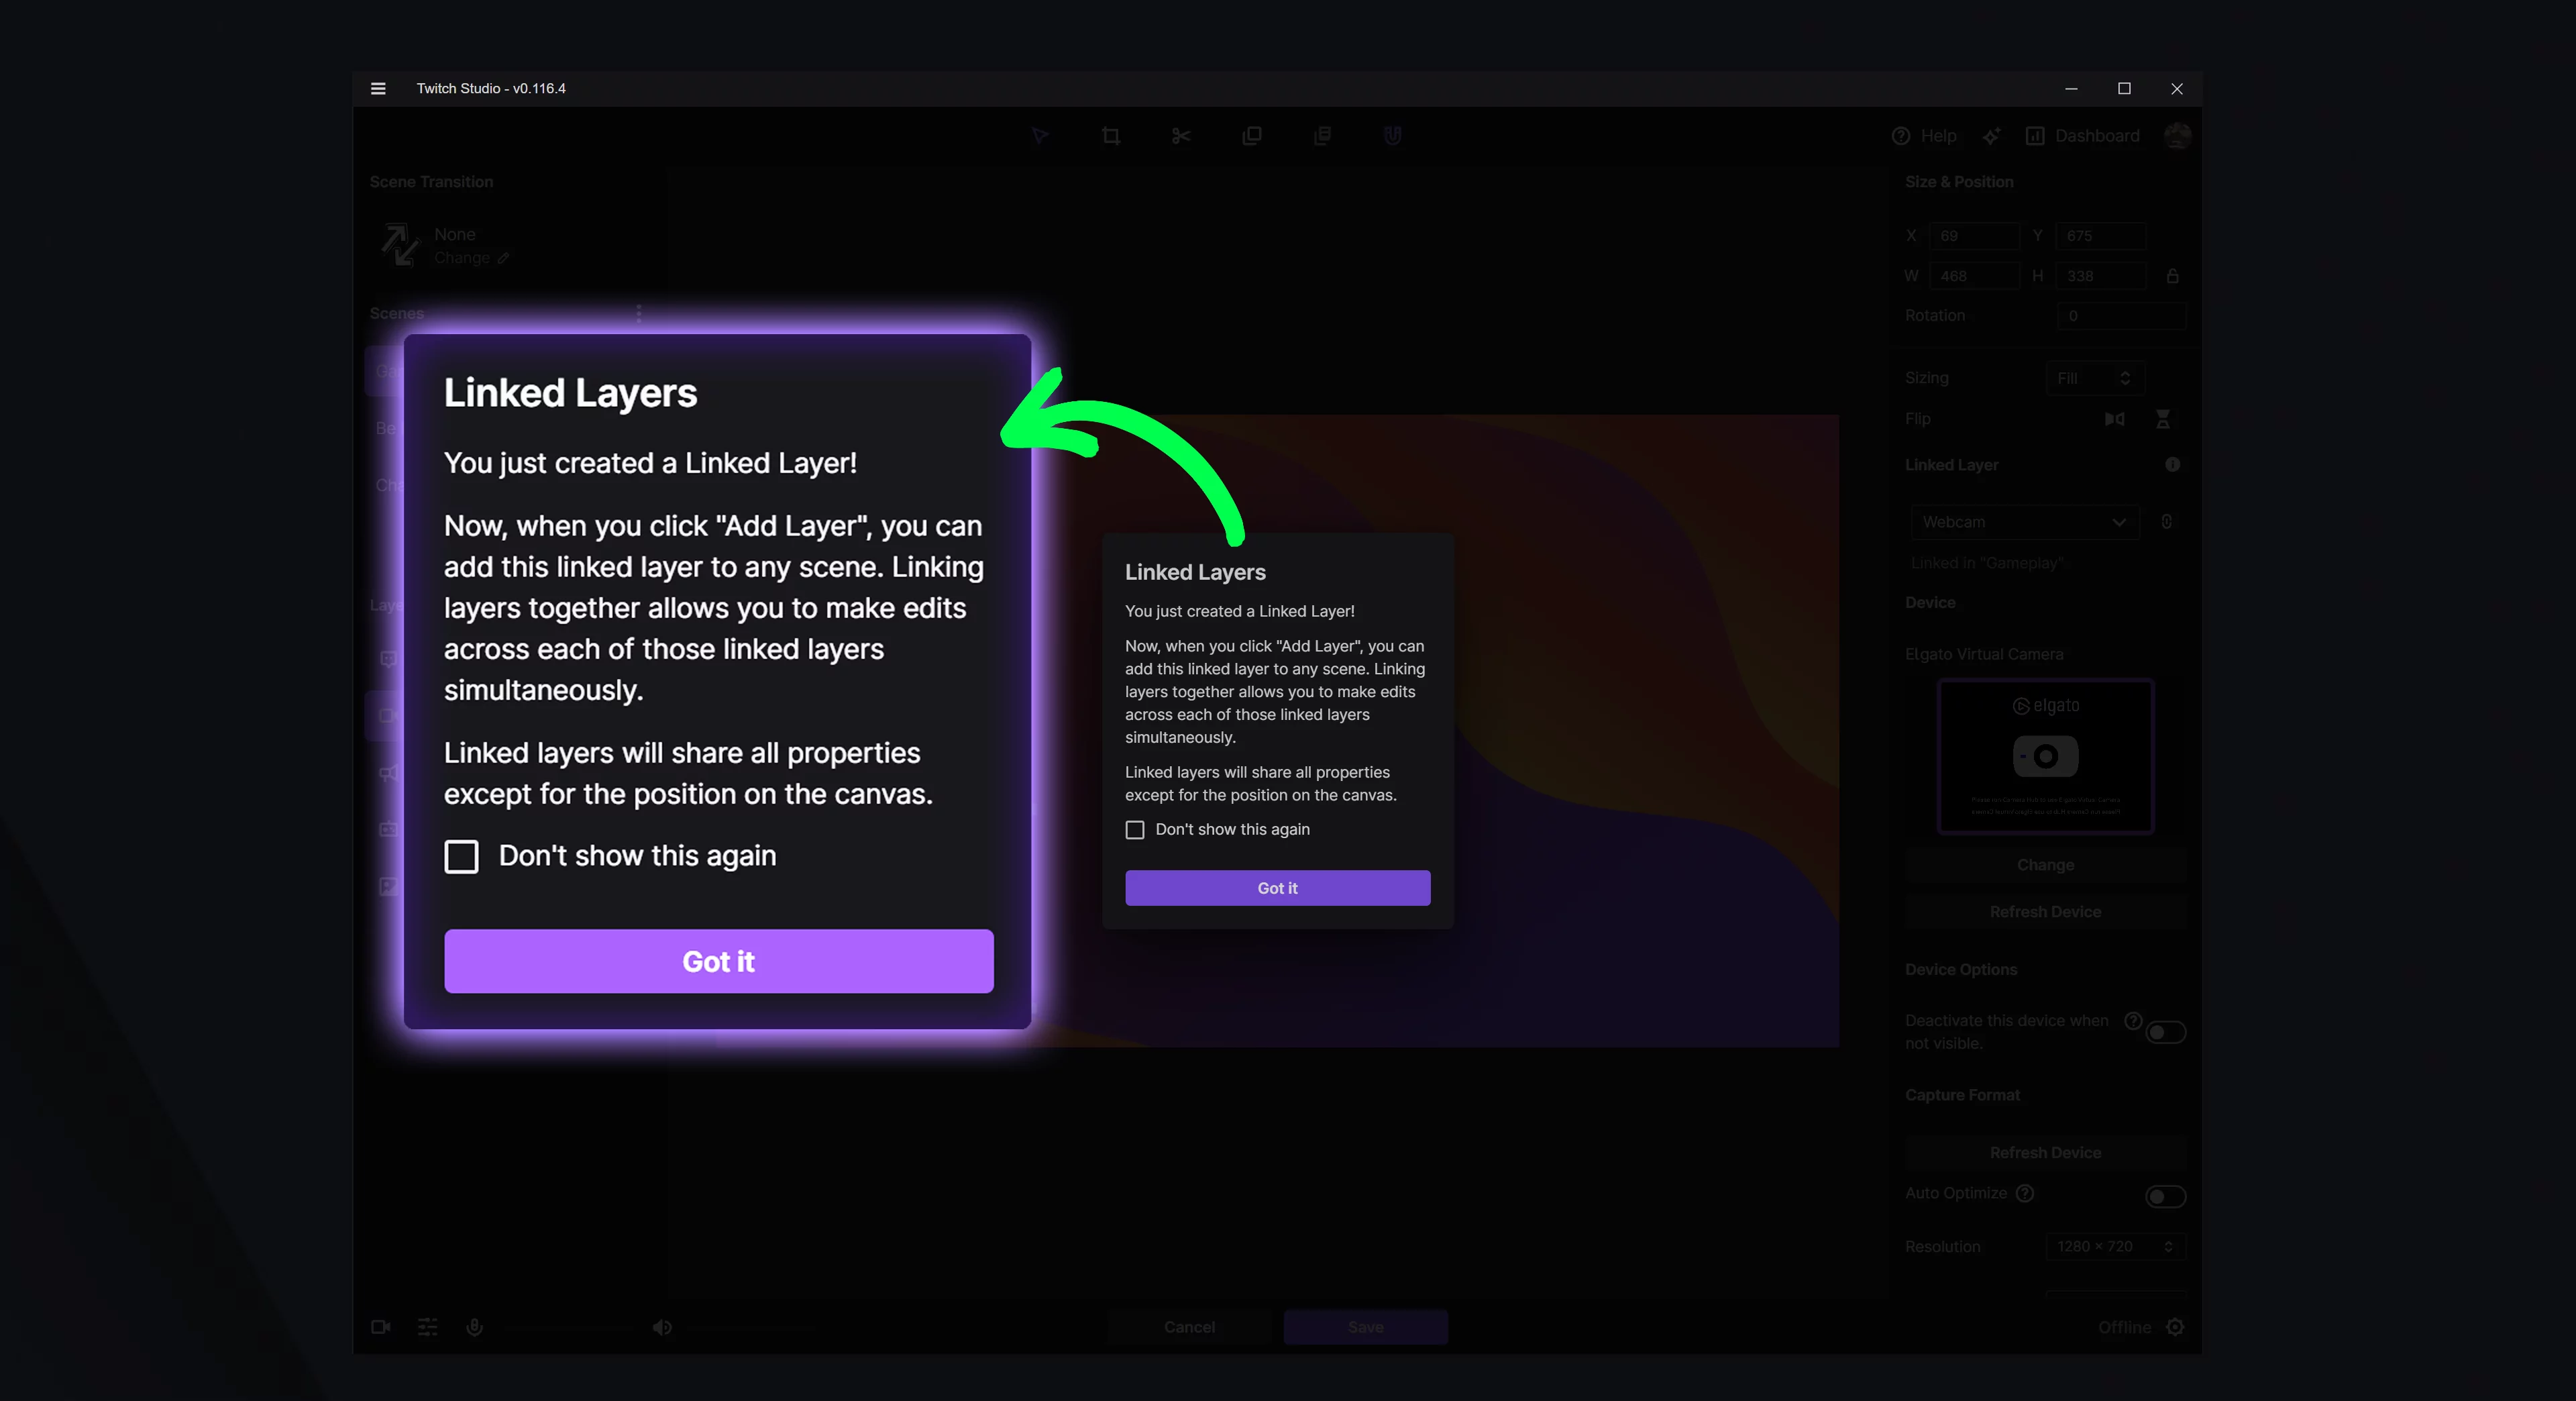
You will see a Linked Layer option on the right hand menu, and what this allows is for that layer, say – your webcam, to be linked into any scene you add it into. So if you make an edit on your webcam in one scene, you can be sure it will edit that same detail on the other scenes as well.
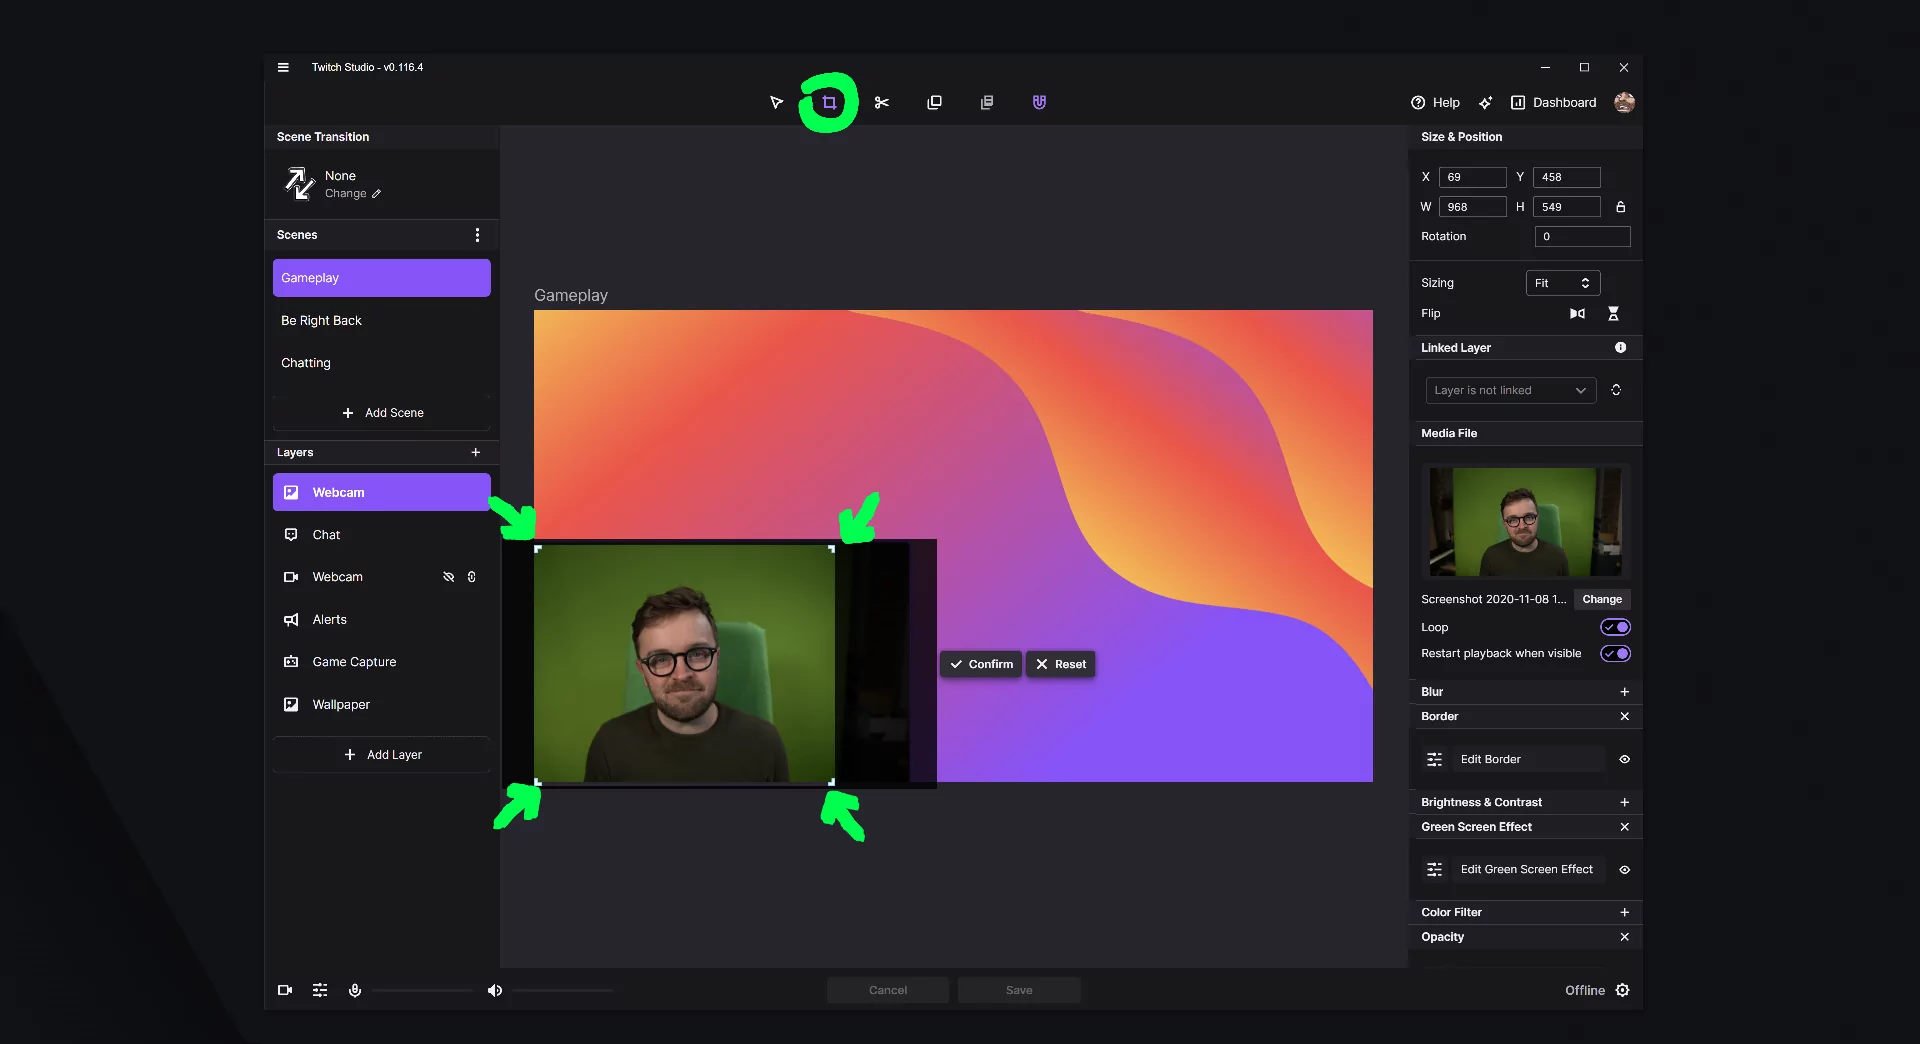
If there’s parts of your webcam you don’t want to show, you can choose to crop them out, just click the crop tool on the top bar of Twitch Studio, and you can make your adjustments on your webcam layer, then confirm once you’re happy!
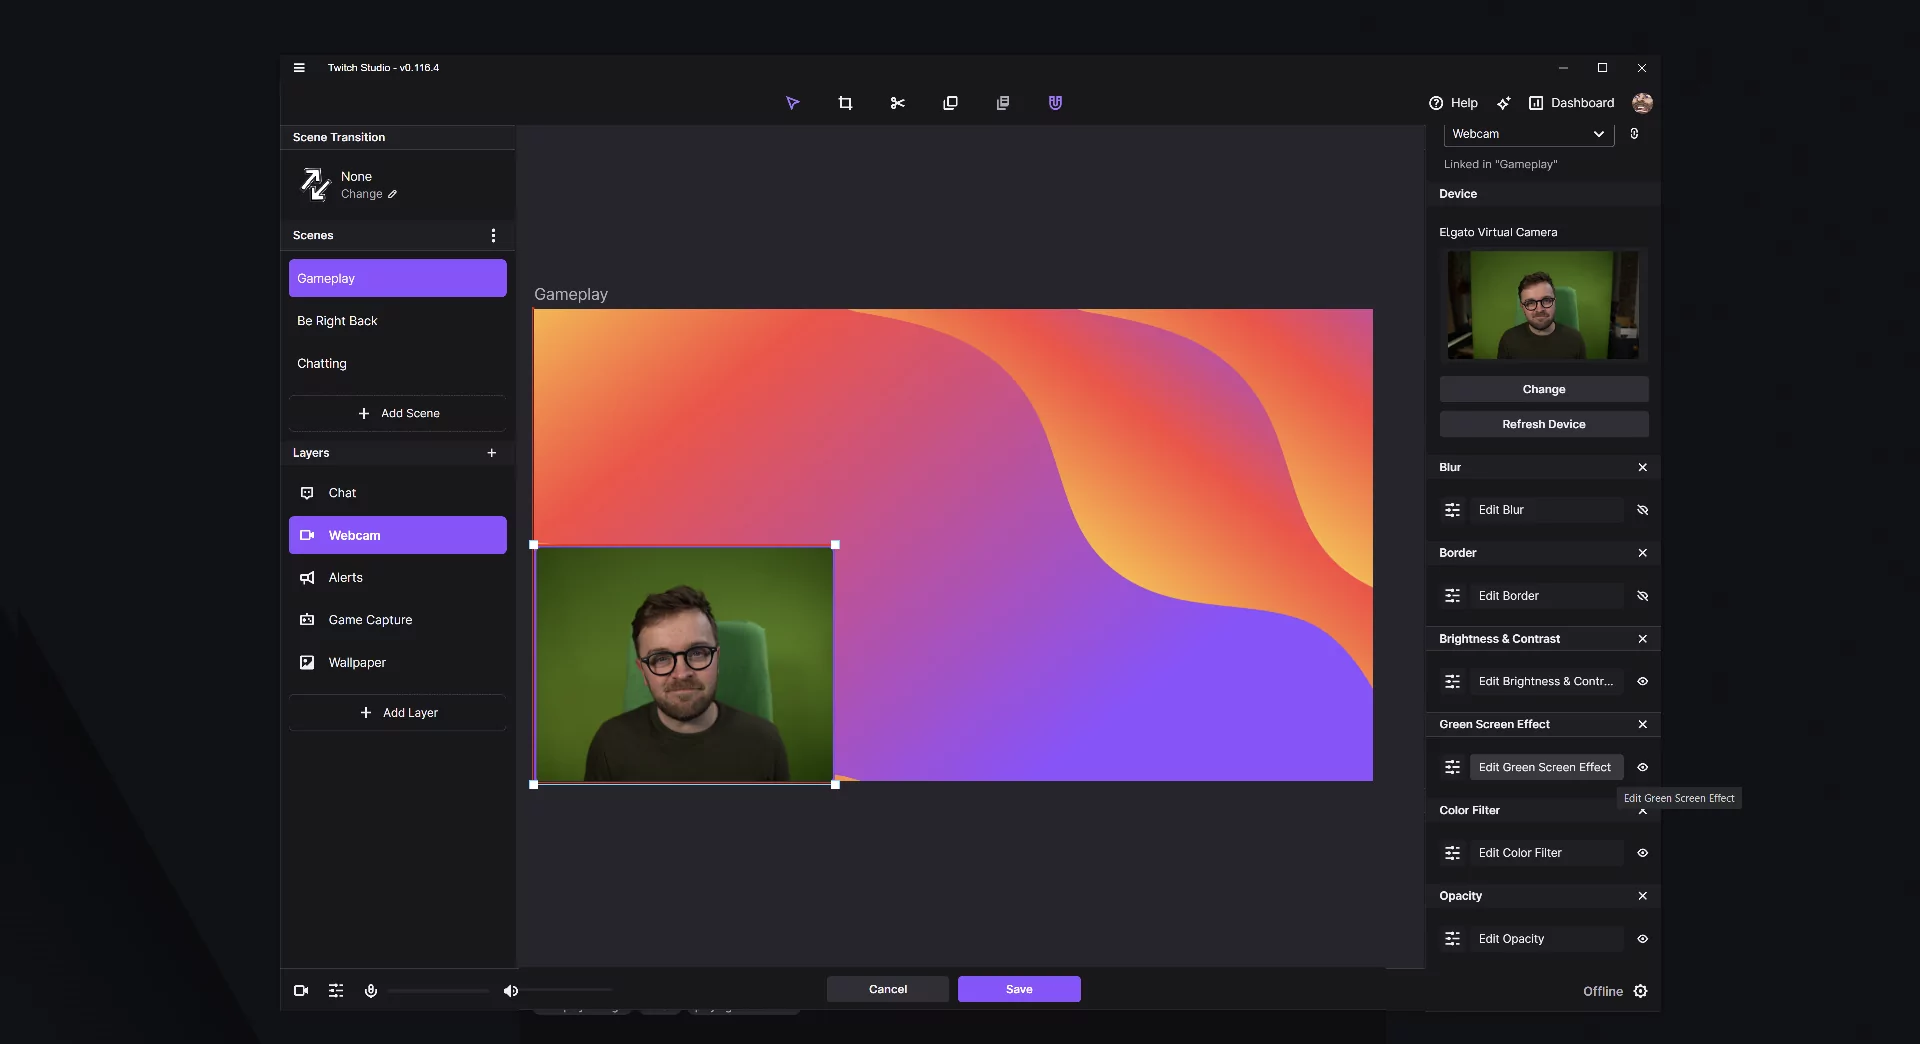
If you have a greenscreen, you can key out the green further down in the settings on the right. Just scroll down and you should see the Green Screen Effect option, then either use the Auto-Detect Color to get started, or adjust it from scratch with the settings below. These settings might help, but every green screen is different, so balance it according to your own personal setup! Remember, even lighting is going to make green screening a lot easier! And if you’re unsure where to start, check out this great guide on setting up your greenscreen.
Next, let’s set up your chat overlay (if you want one, if not, skip to the next section!)
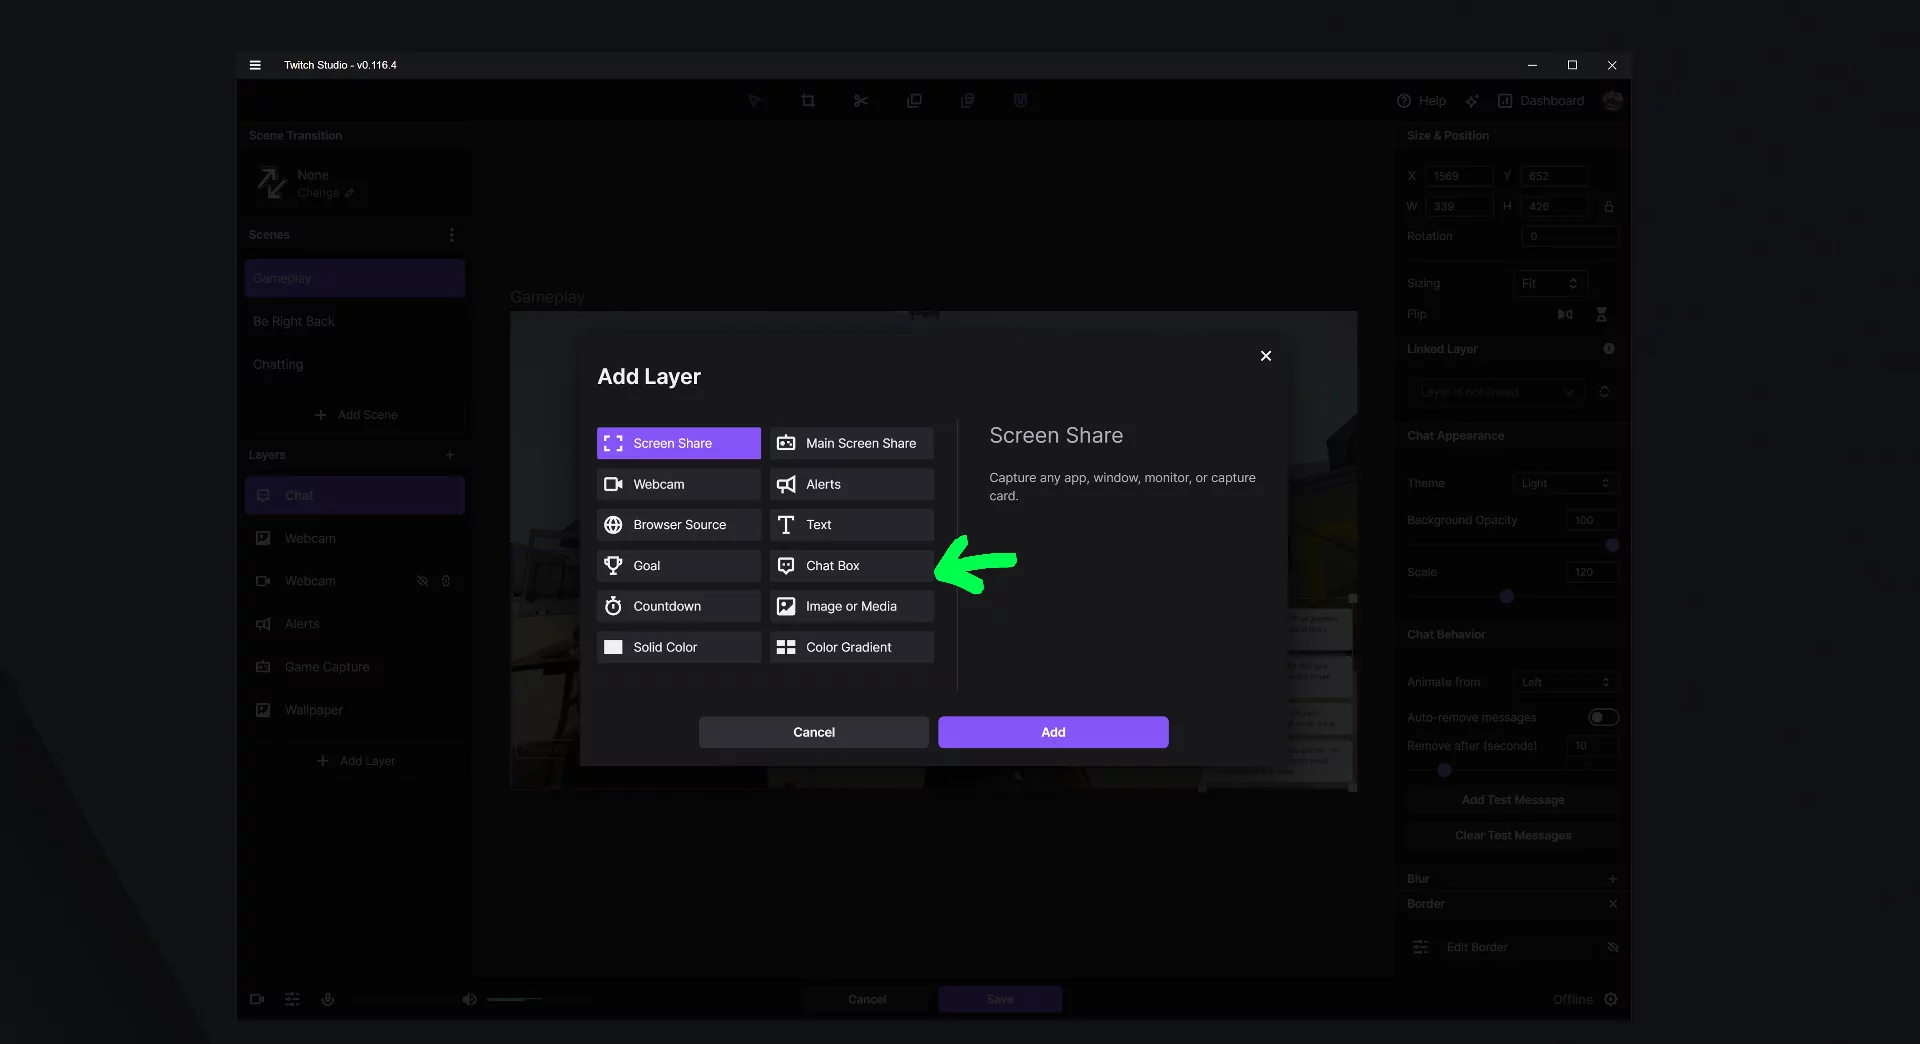
Simply add a layer on the left hand side, and choose Chat Box.
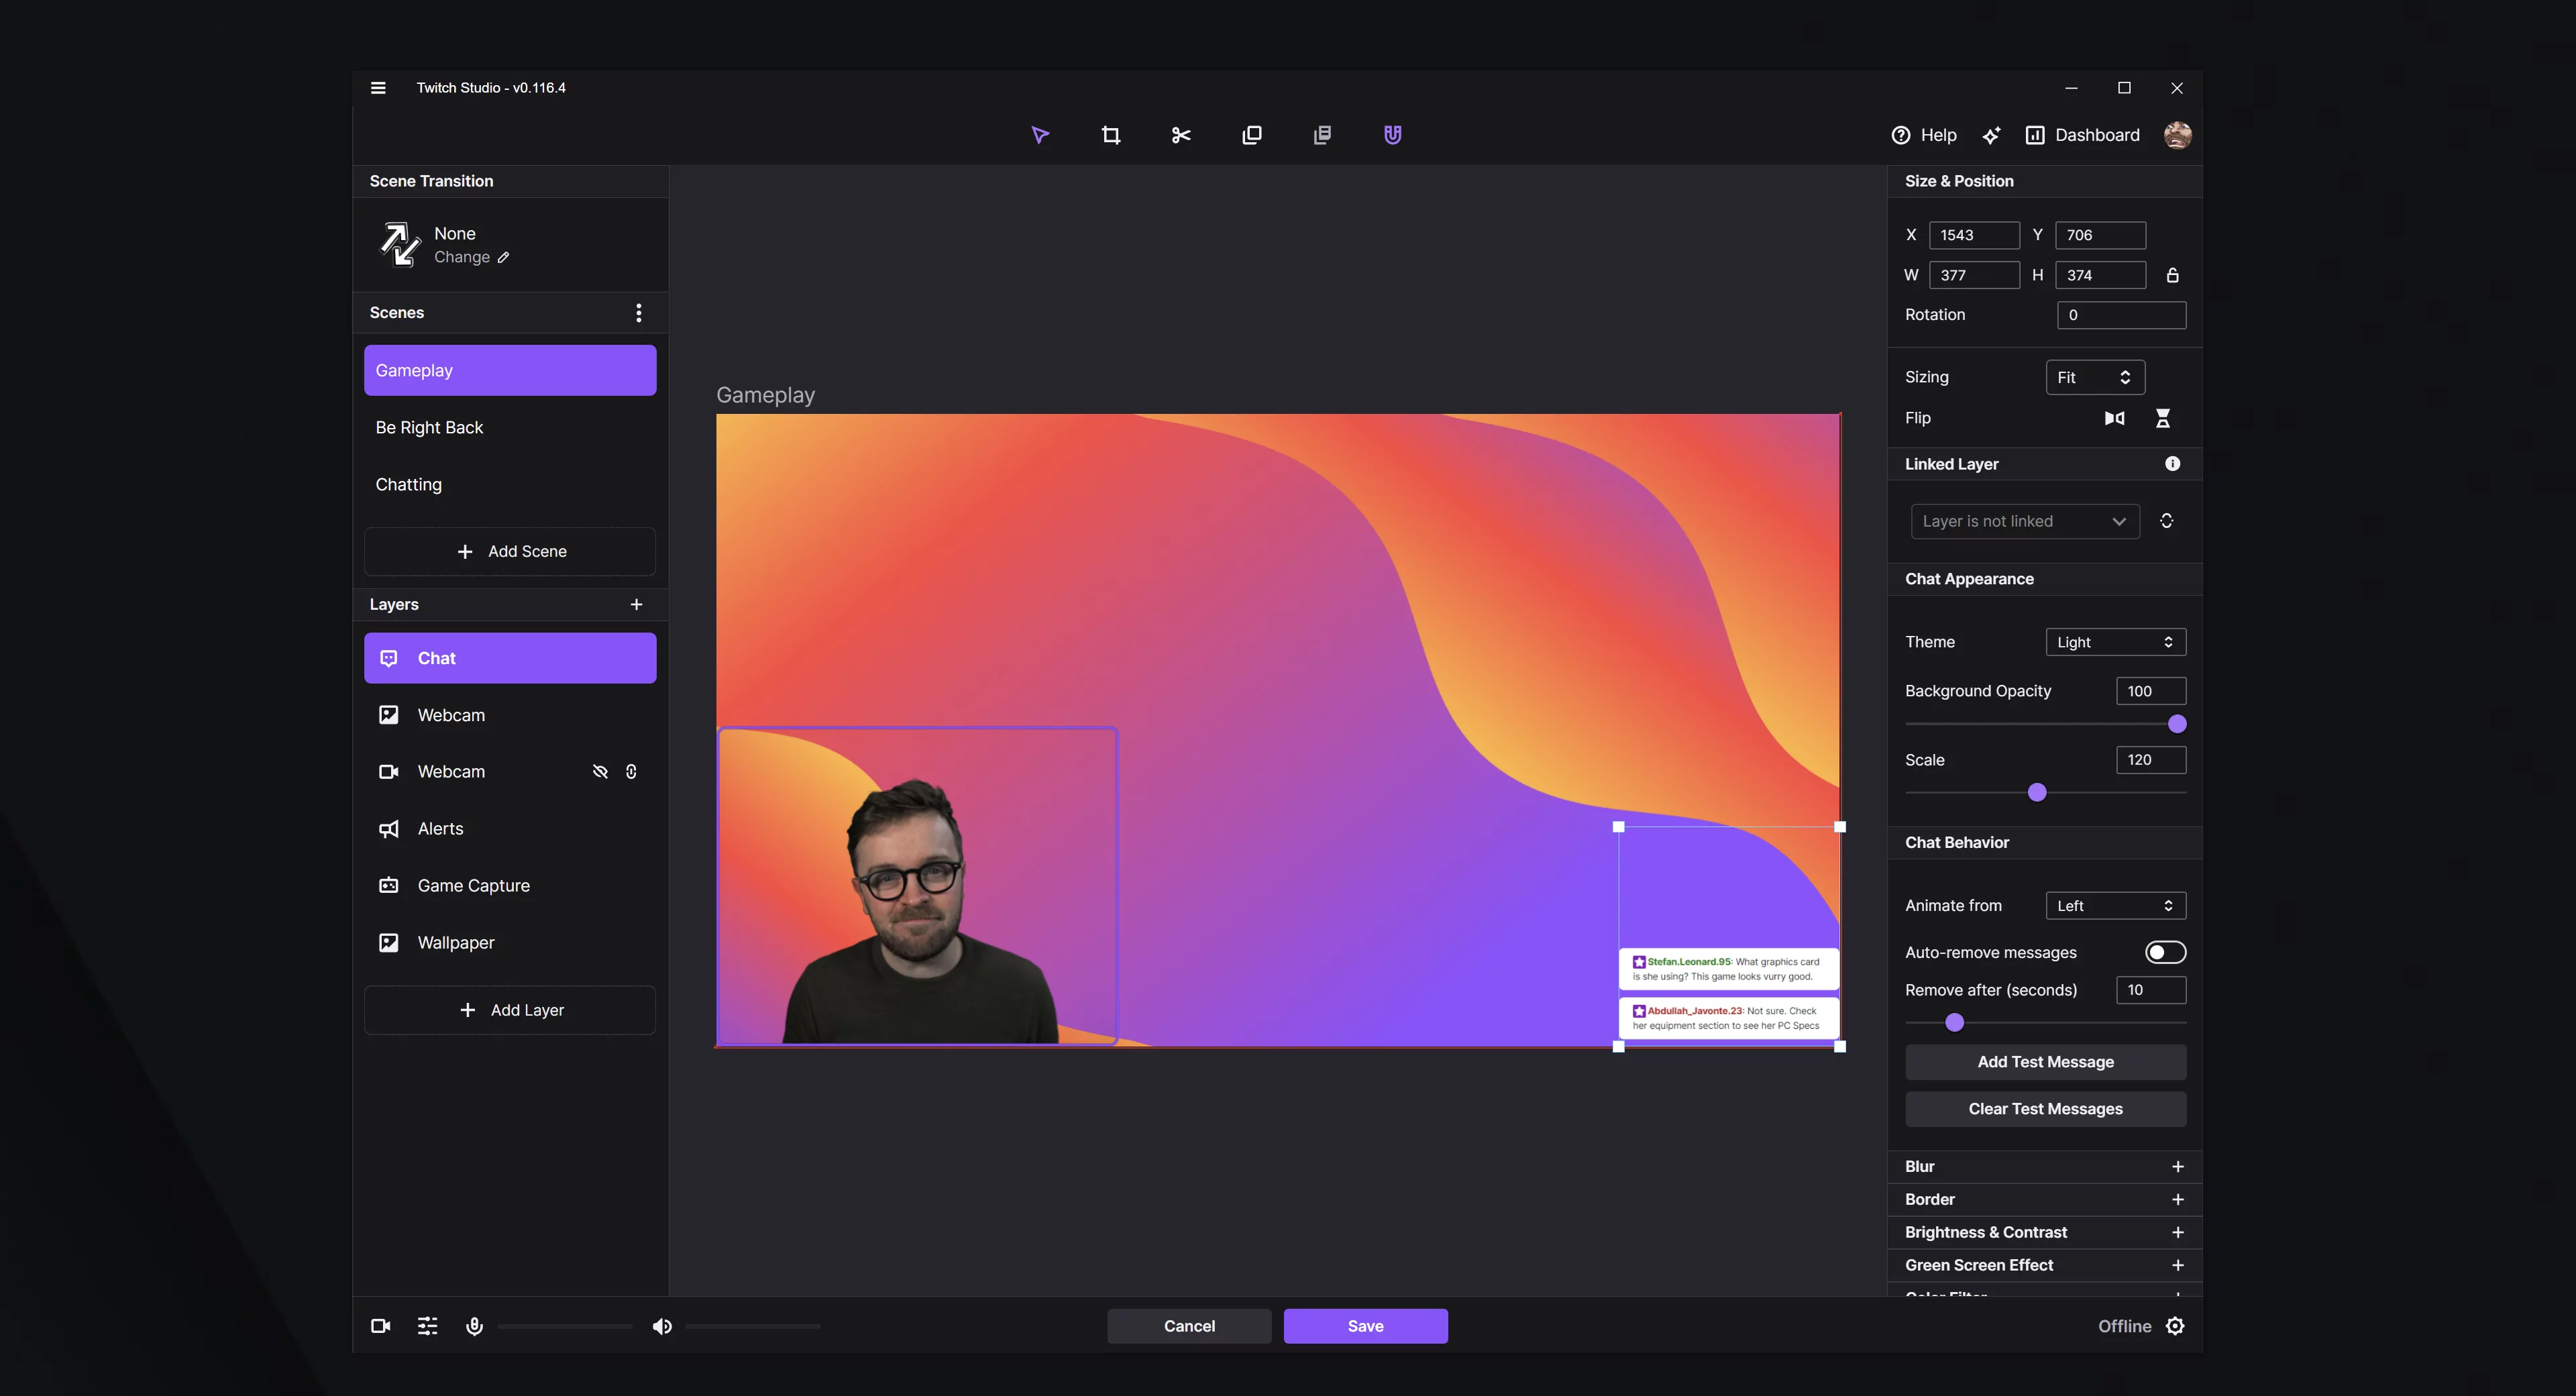
You can now drag and resize your chat box as you see fit, while also adjusting the appearance and behaviour of it on the right hand panel. Not sure how your changes are looking? Click the Add Test Message button to see an example of how the chat will look on your screen.
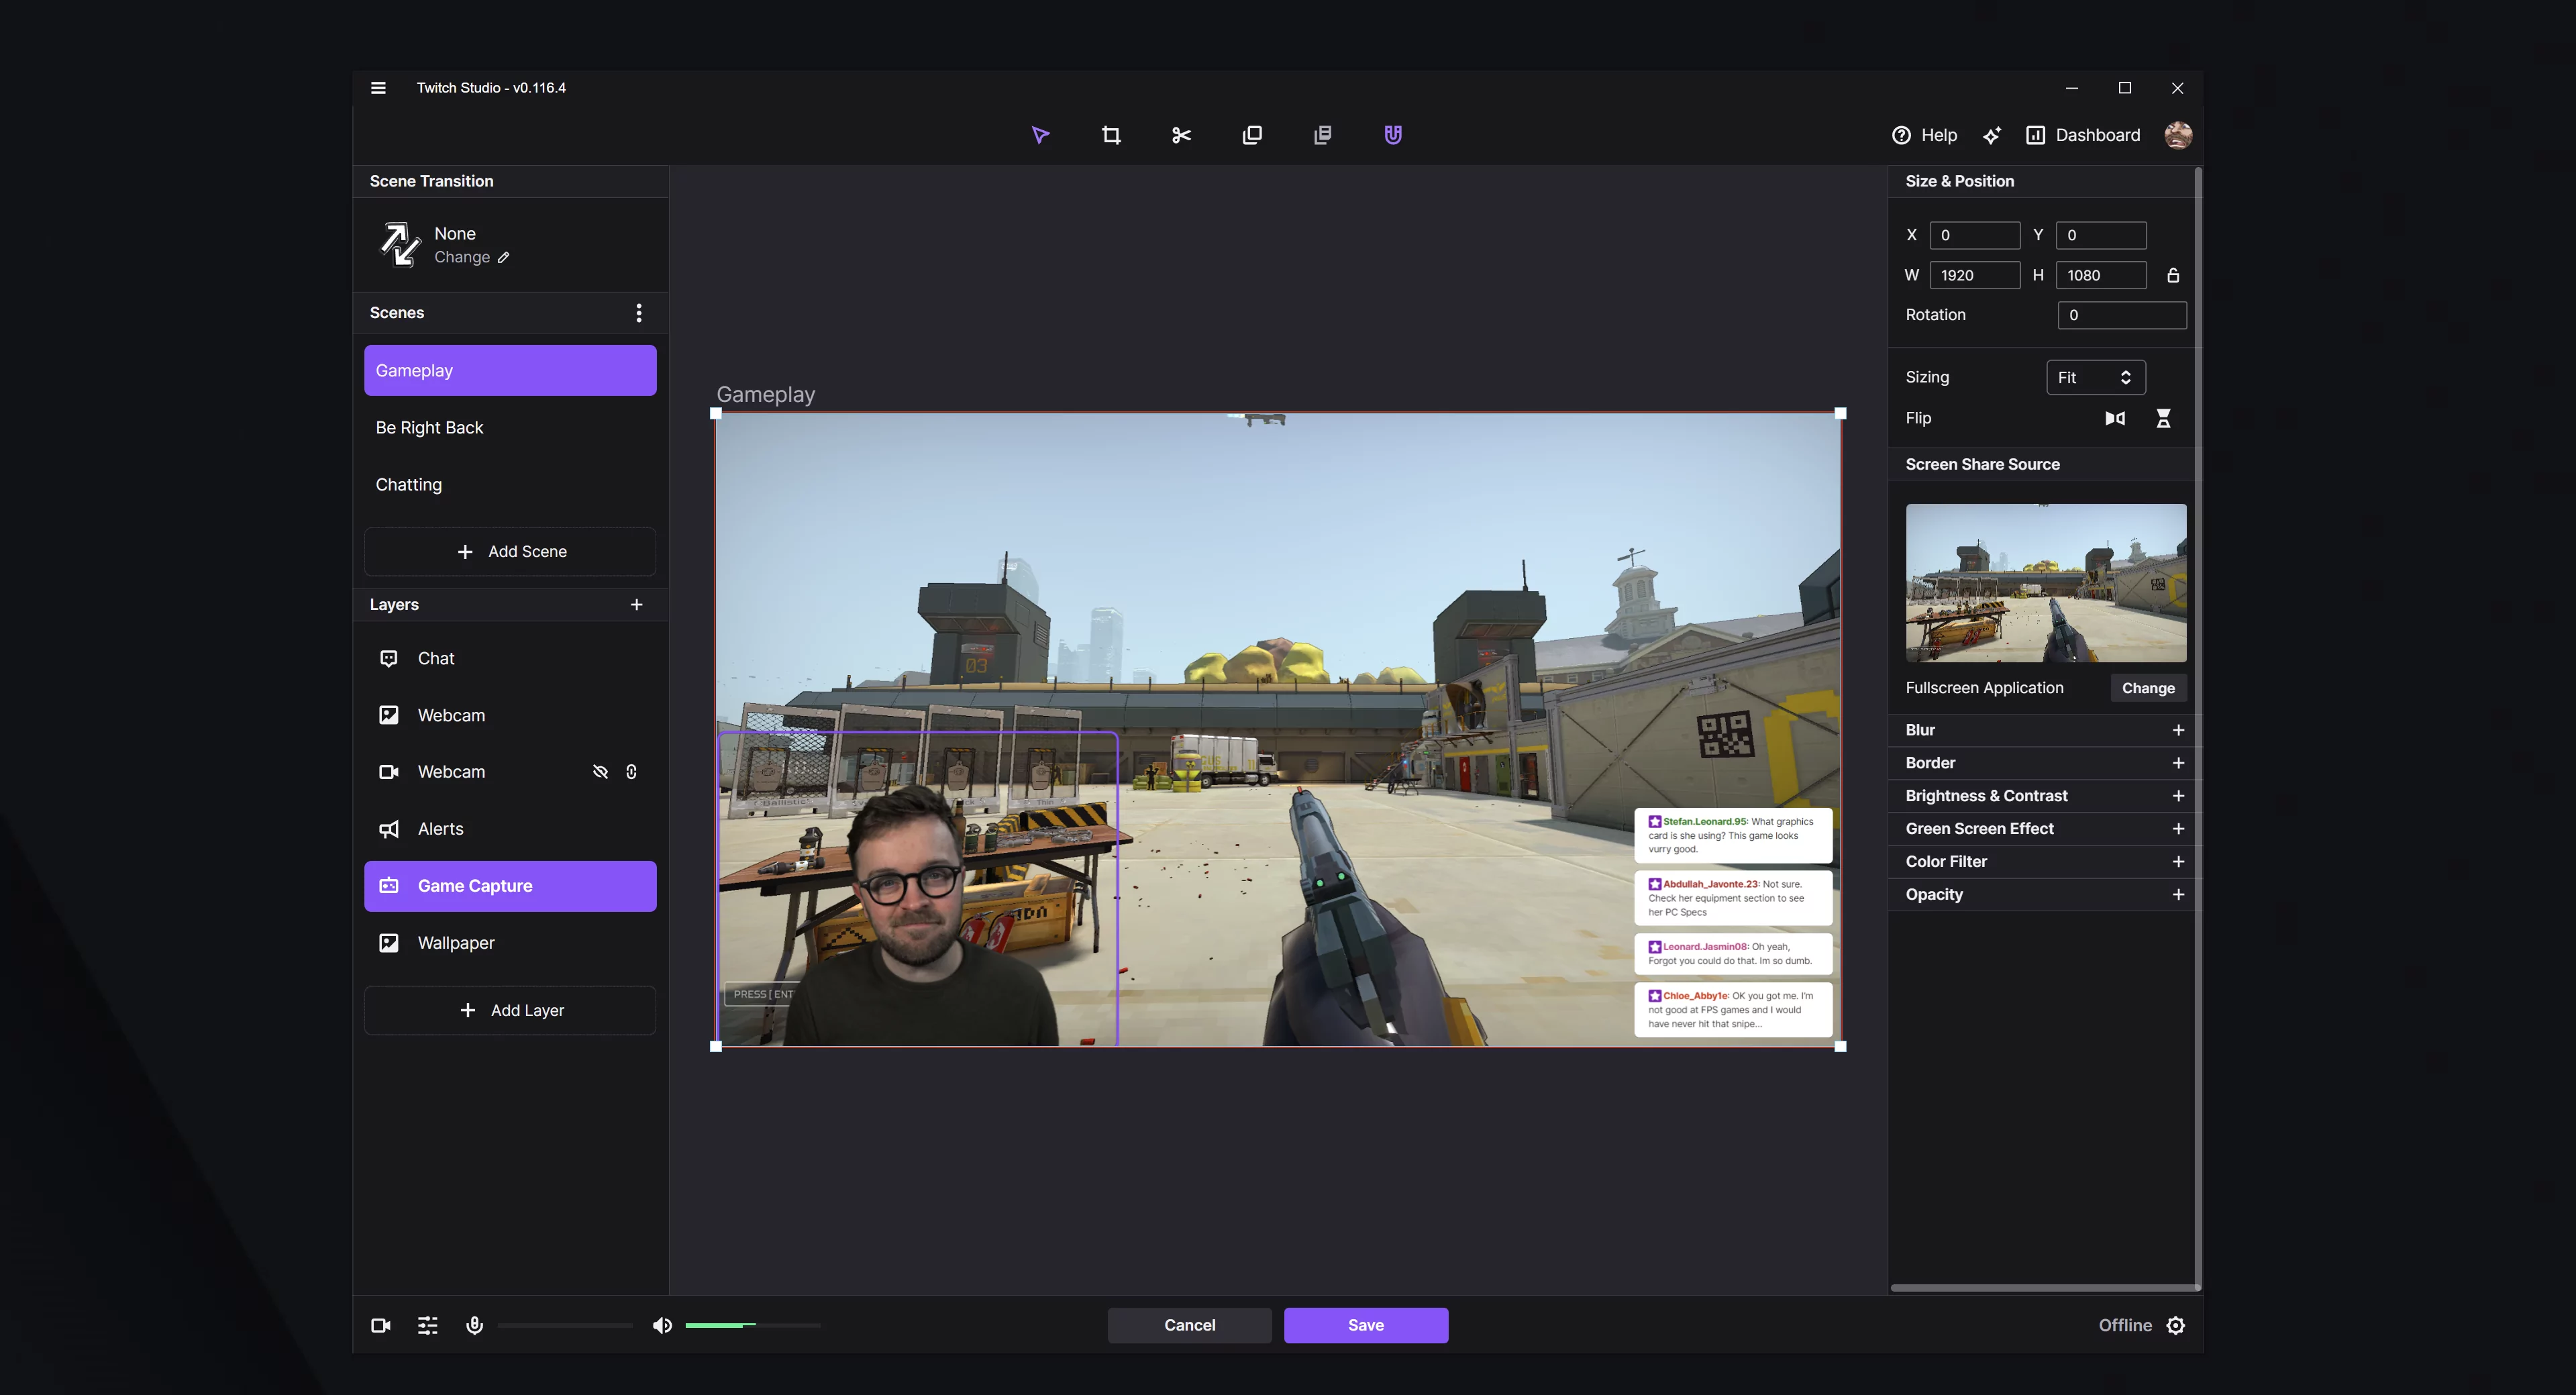
With the chat box now up and running, let’s add a Screen Share layer. We’ll rename it Game Capture, and set it to capture full screen applications, but you can specify it to capture particular window, even if that’s not a game as well, simply click on the change button beneath the screen share source preview on the right hand side, and choose your preference.
Customise your alerts
Next, it’s time to add in some alerts! You can add this layer from the add layer menu as well, although it may already be in the premade template scenes you’ve been given.
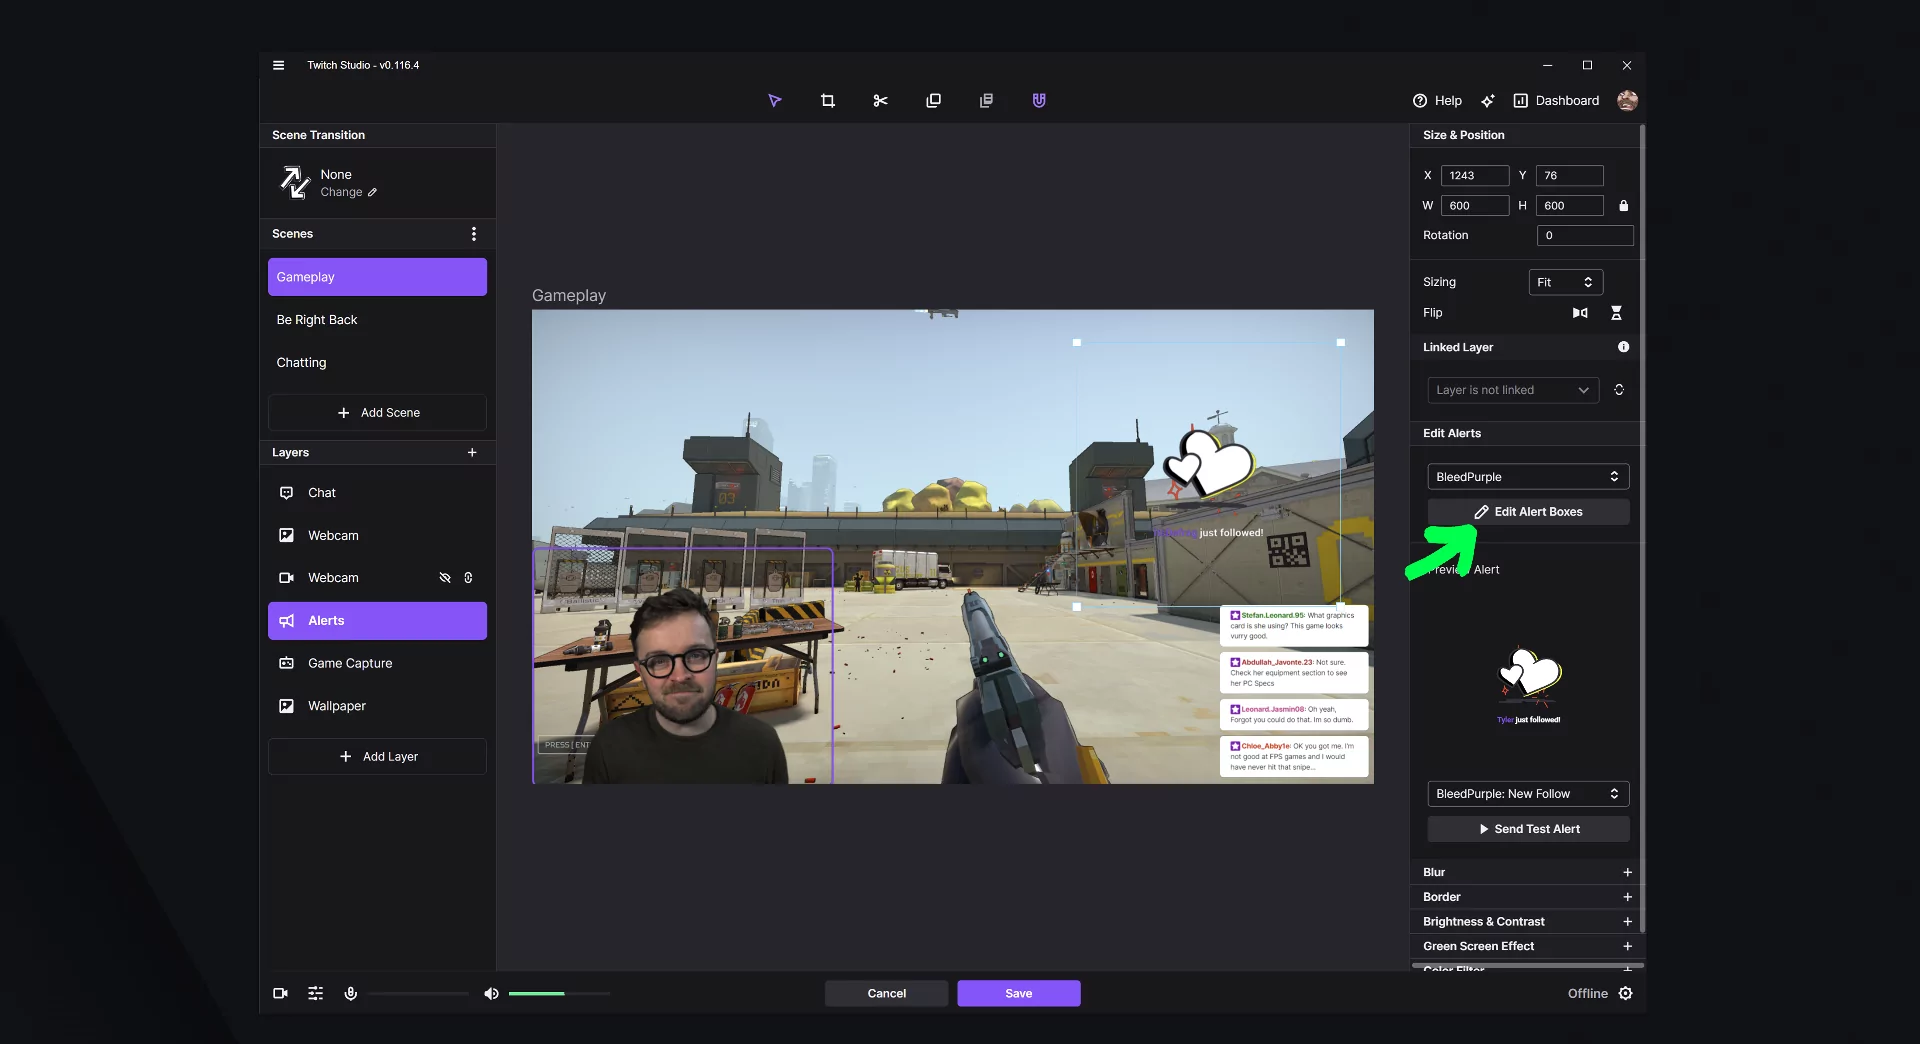
Now, you can see the right hand side shows lots of options for editing your alert boxes individually, as well as sending test alerts to see how they look on screen. If we click on the Edit Alert Boxes button, you will be brought to an area where you can actually set up to 10 unique alert boxes.
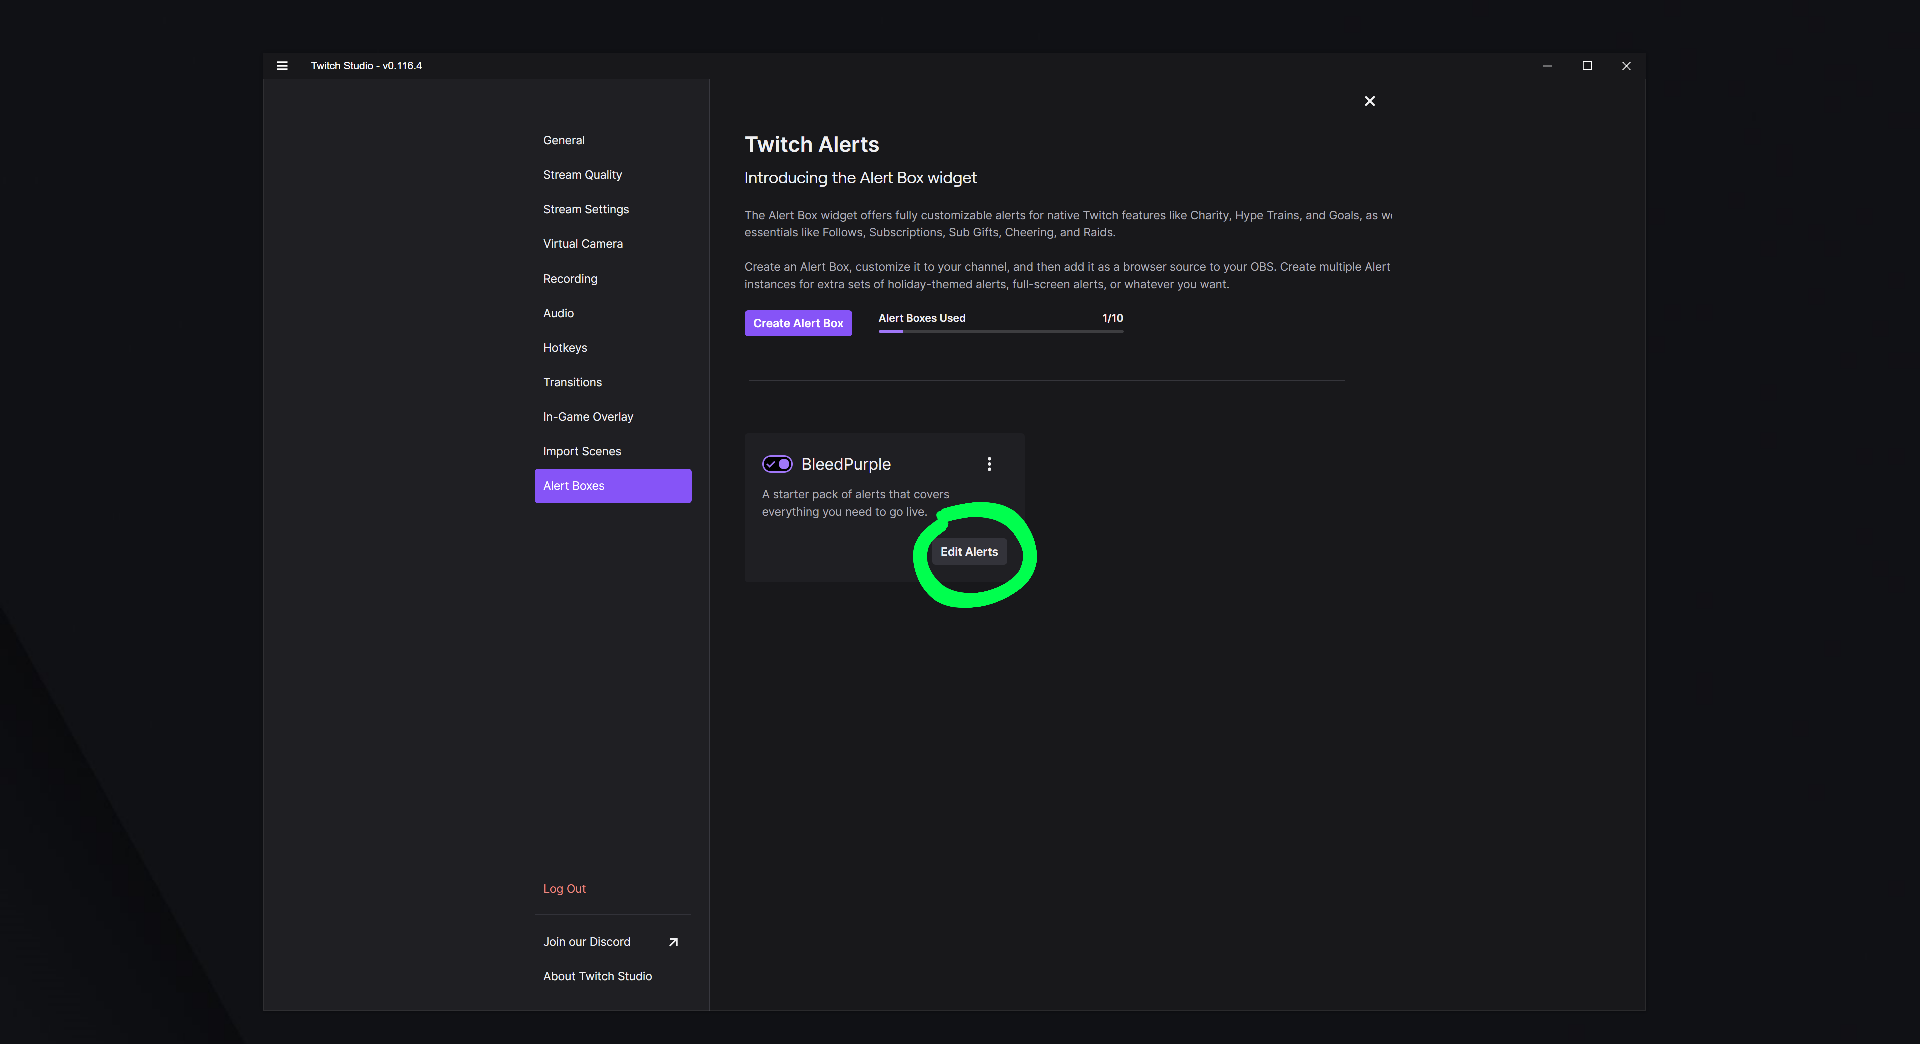
Click on the Edit Alerts button of the one already set up and named BleedPurple.
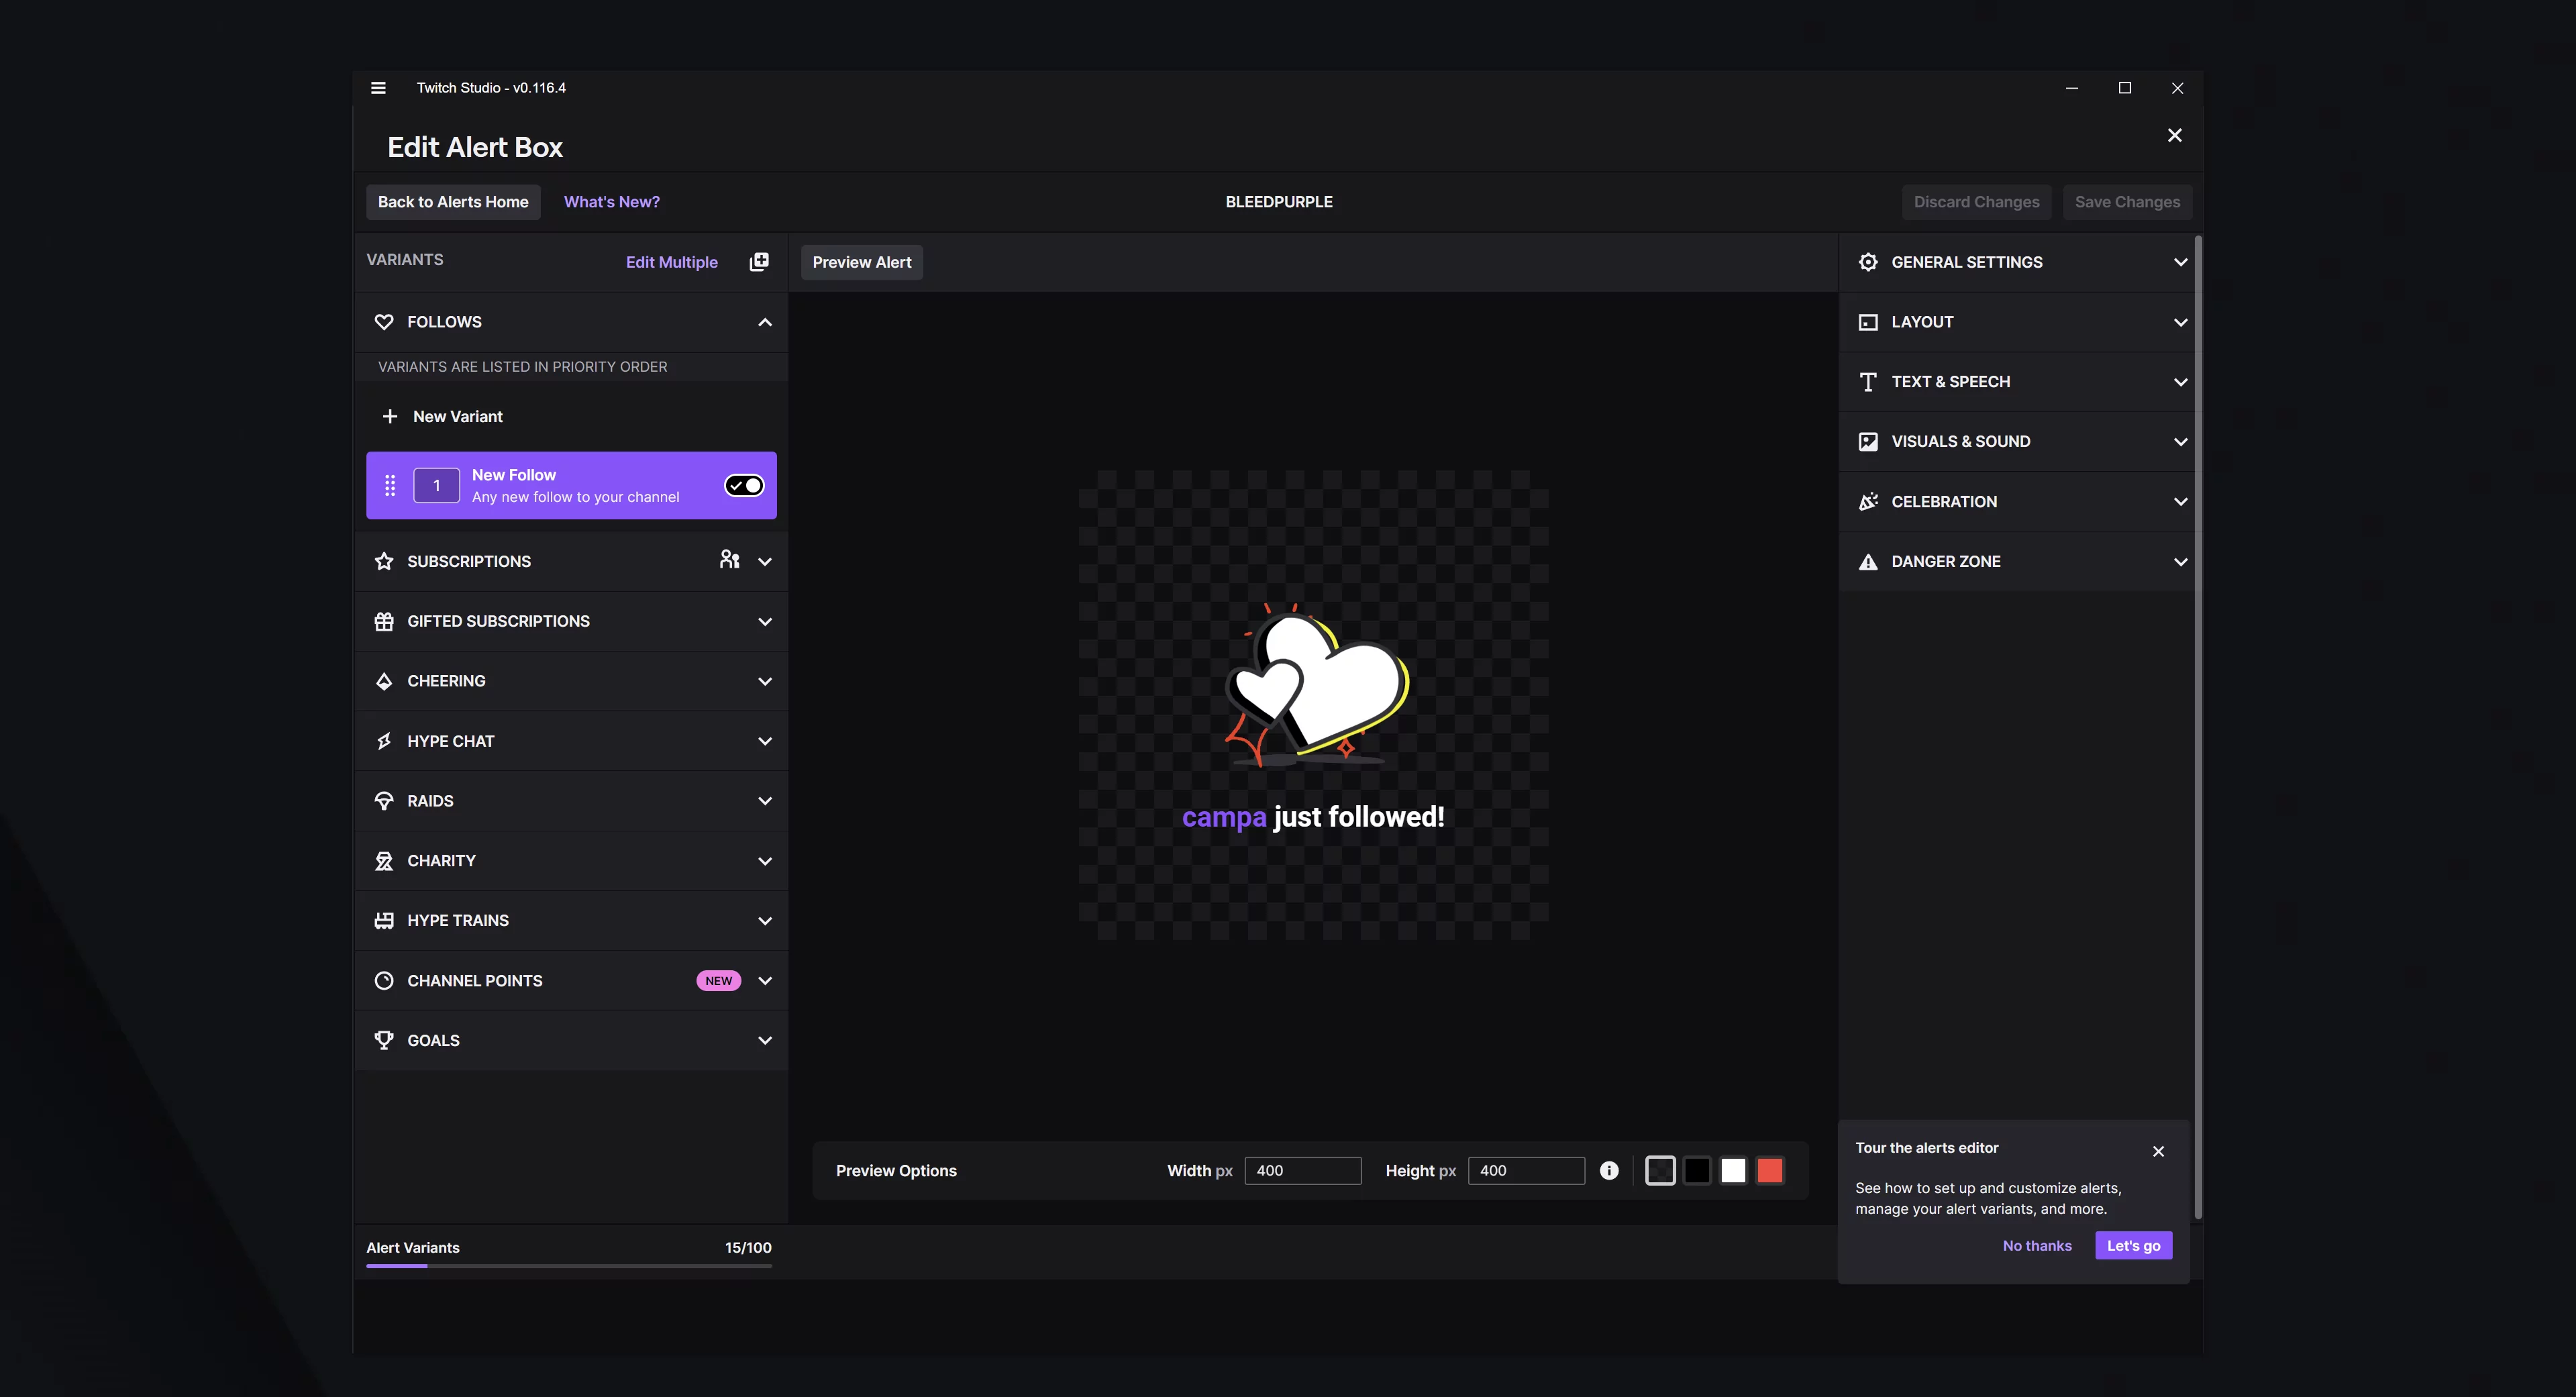
The left side will let you adjust every type of alert you can think of on Twitch, as well as letting you add in variants, so if you wanted to put in a special alert to go off when you hit 100 followers for the first time, you could do that here super easily!
The right hand side will let you tweak more of the visual options, with bonus options in the celebrations section like fireworks, rain and flamethrowers – it’s not a real celebration if somebody forgets to bring the flamethrower, let’s be honest.
Lastly, because we get on to interesting bonus additions to your stream, there is the scene transitions section.
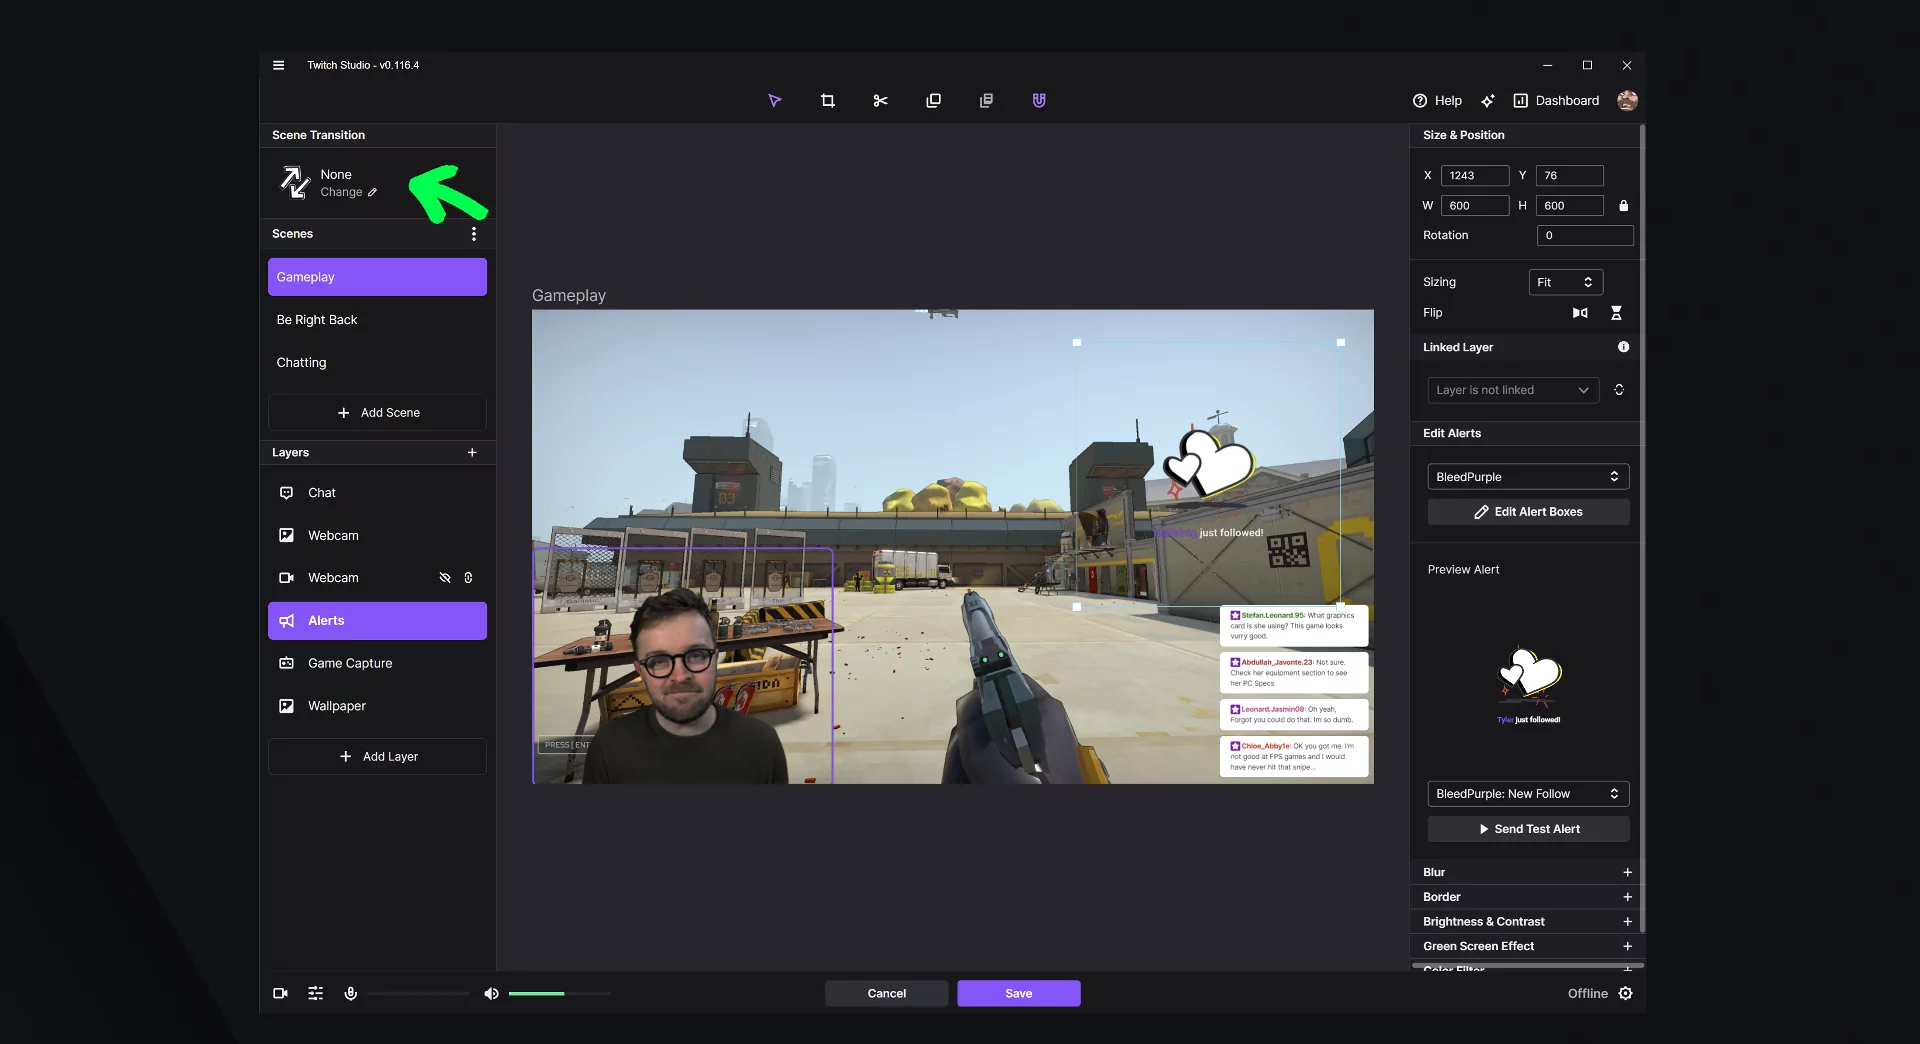
In here you have a selection of different scene transition animations you can choose from, where you can also set the duration and even preview the transitions. It’s a simple setup, but it’s pretty solid.
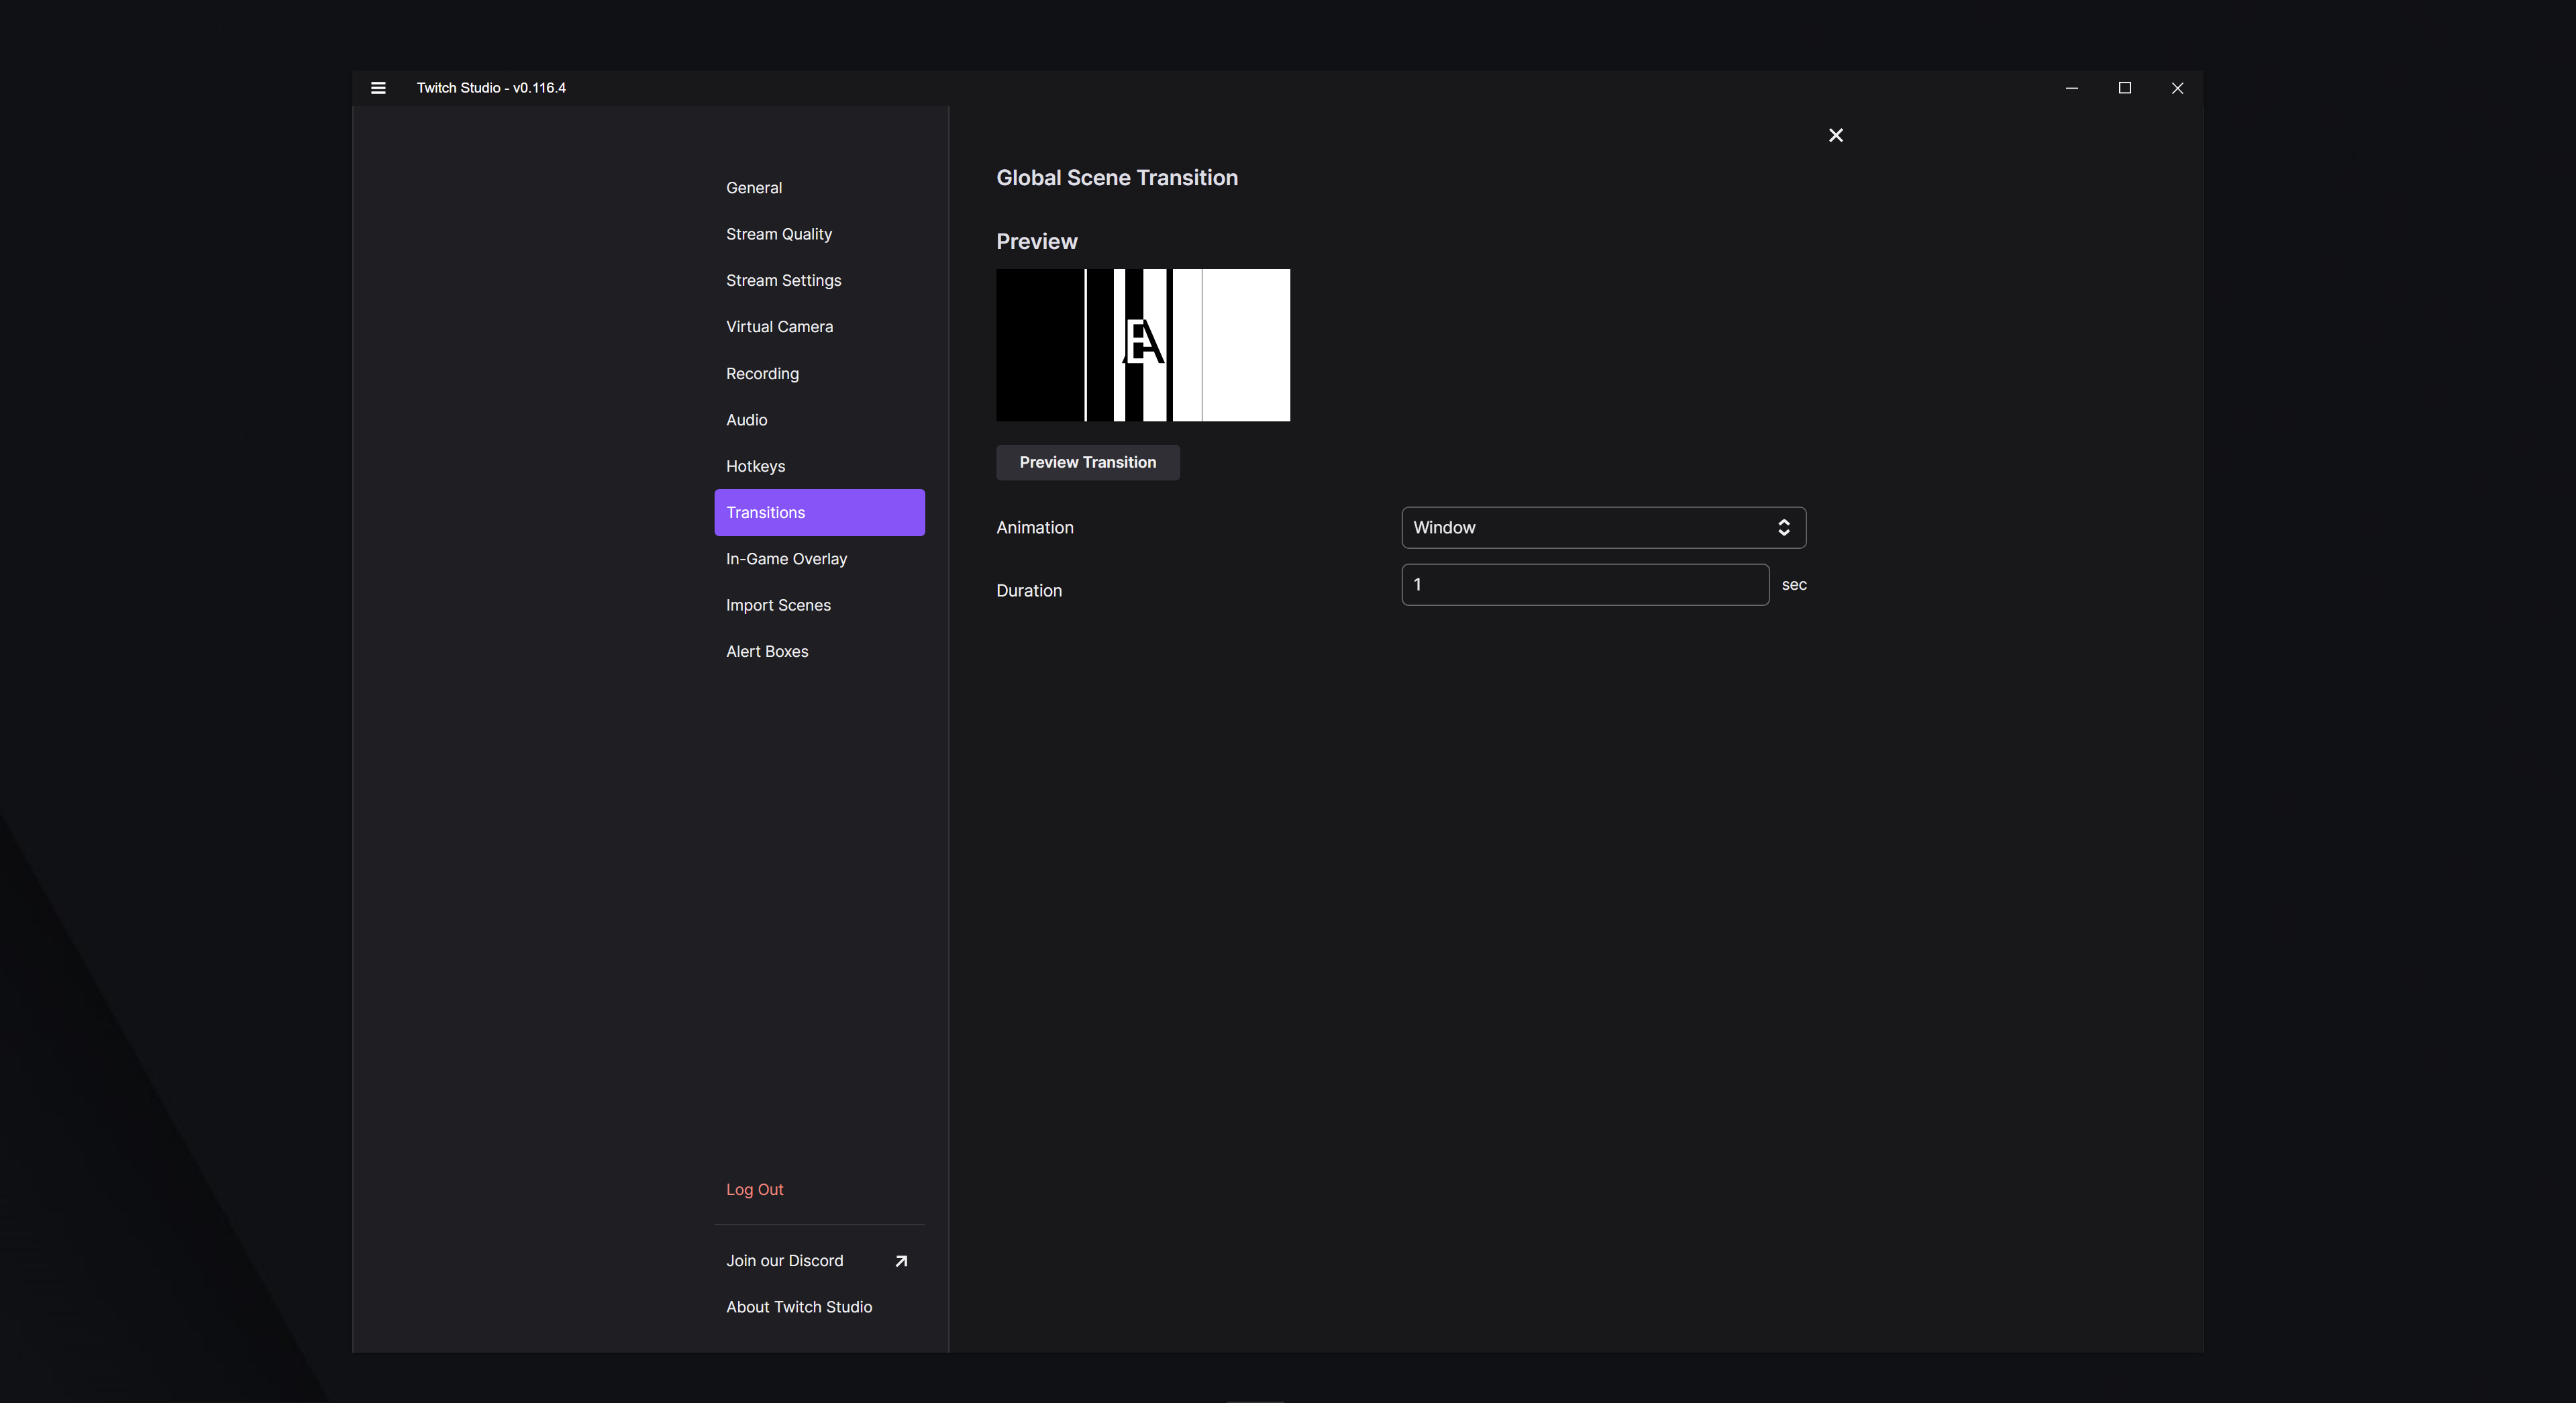
Once you’re happy with your scene transition, you can flick between your scenes and see it happening right before your very eyes!
Set your stream information
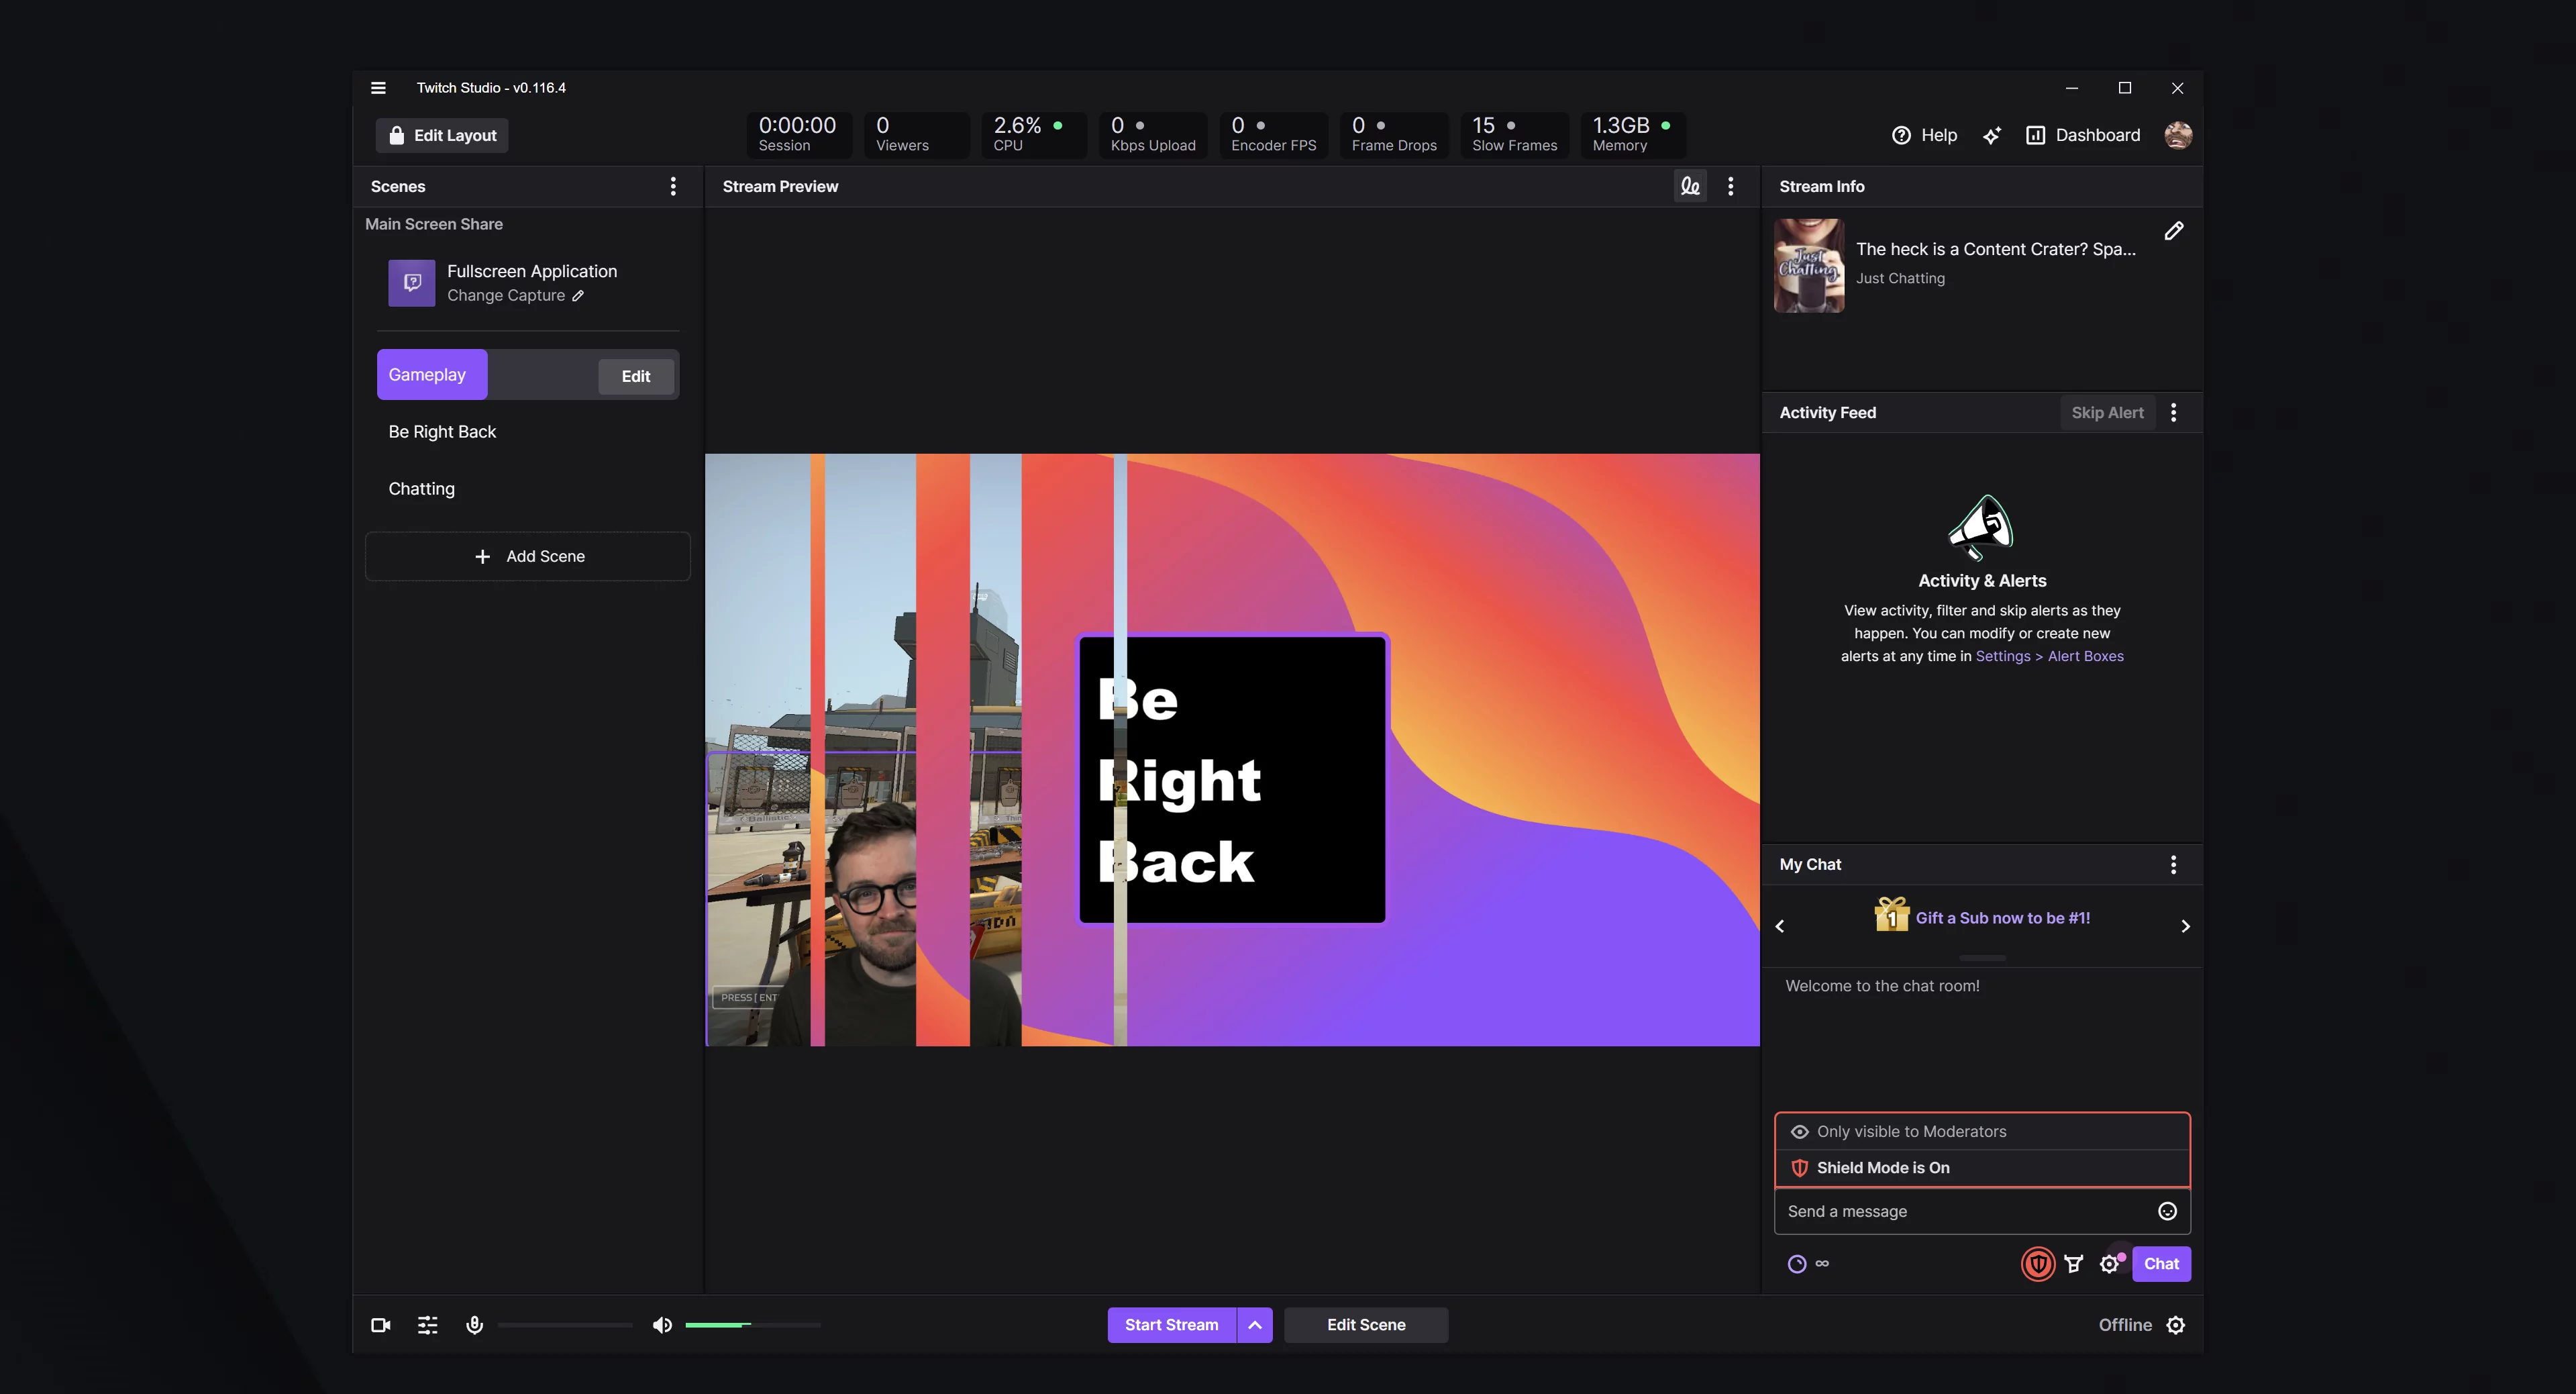
We’re almost ready to hit that Start Stream button! Heading back out to the main interface of Twitch Studio, we can see everything that’s going on, including our Stream Info! This is where we set what game or category we’re going to be in, as well as useful tags like No Backseating or Speedrun to help people figure out what our stream is about and fine tune their search for great content (i.e. your content, just facts).
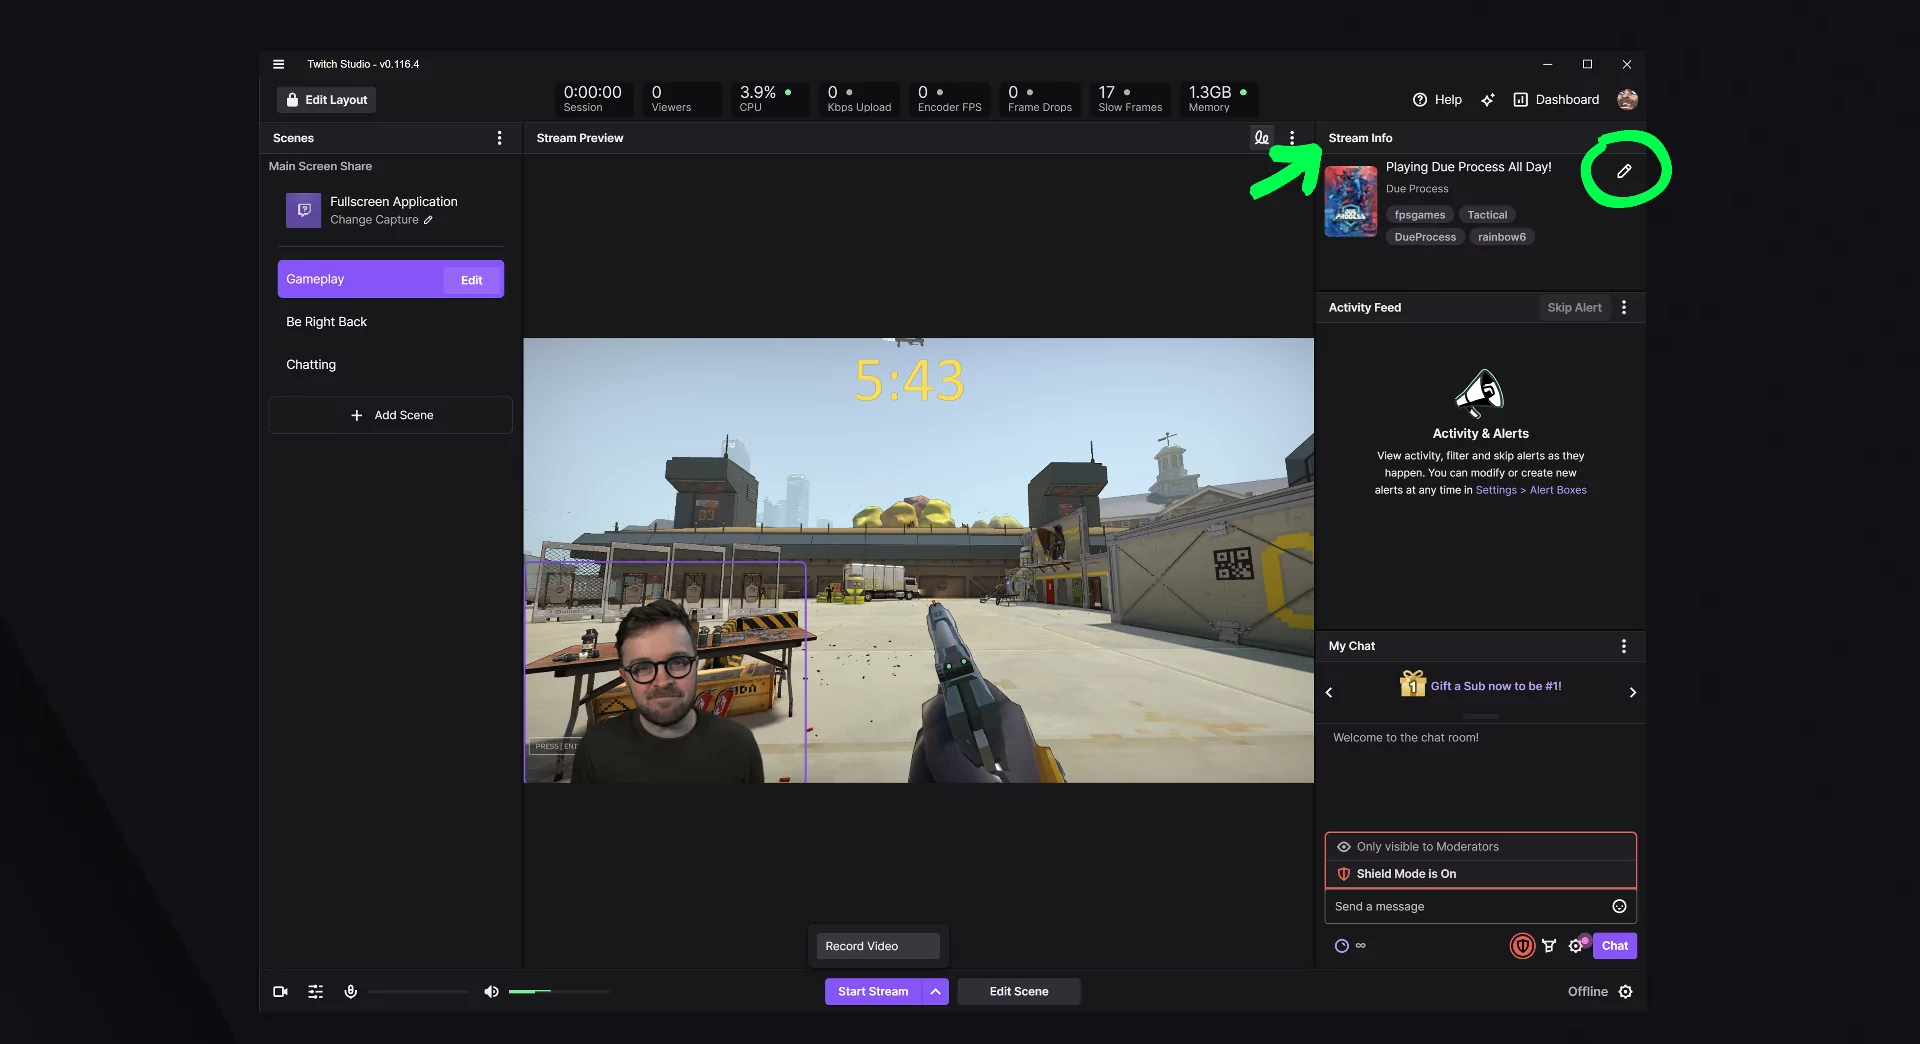
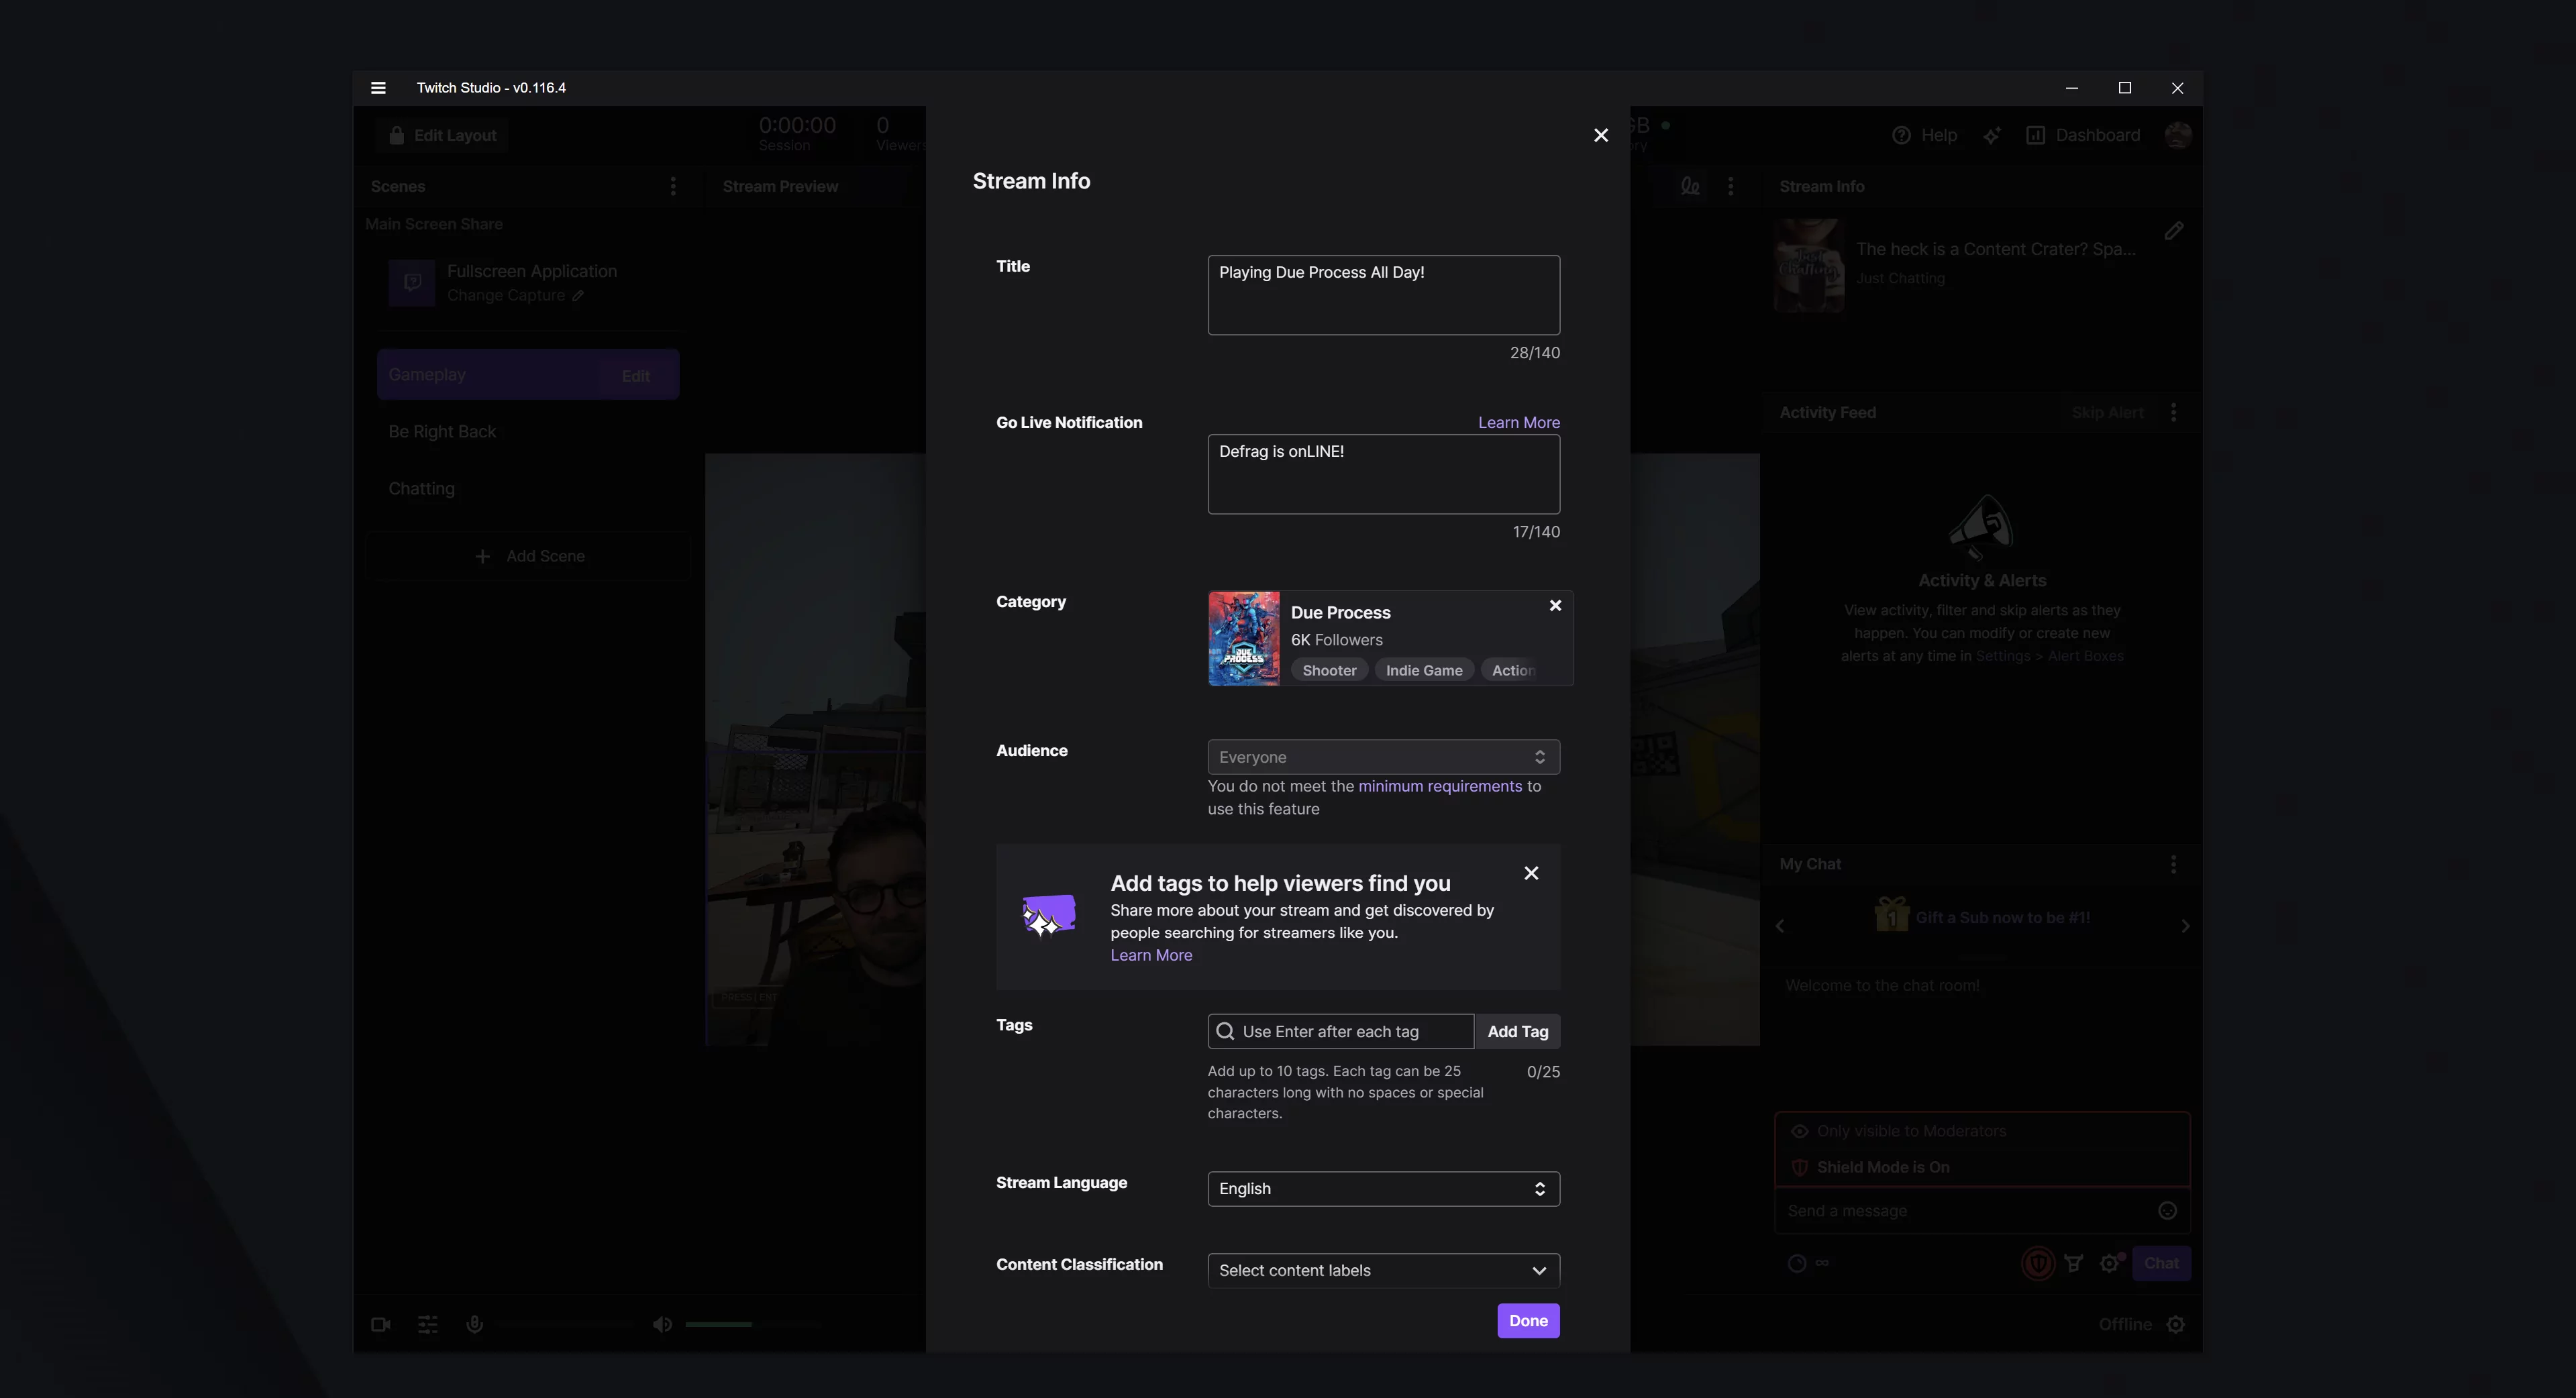
In here you can set your Stream title, your going live notification, category, audience, language, as well as other things like whether your stream features branded content or is perhaps a rerun.
Set goals, countdowns and more
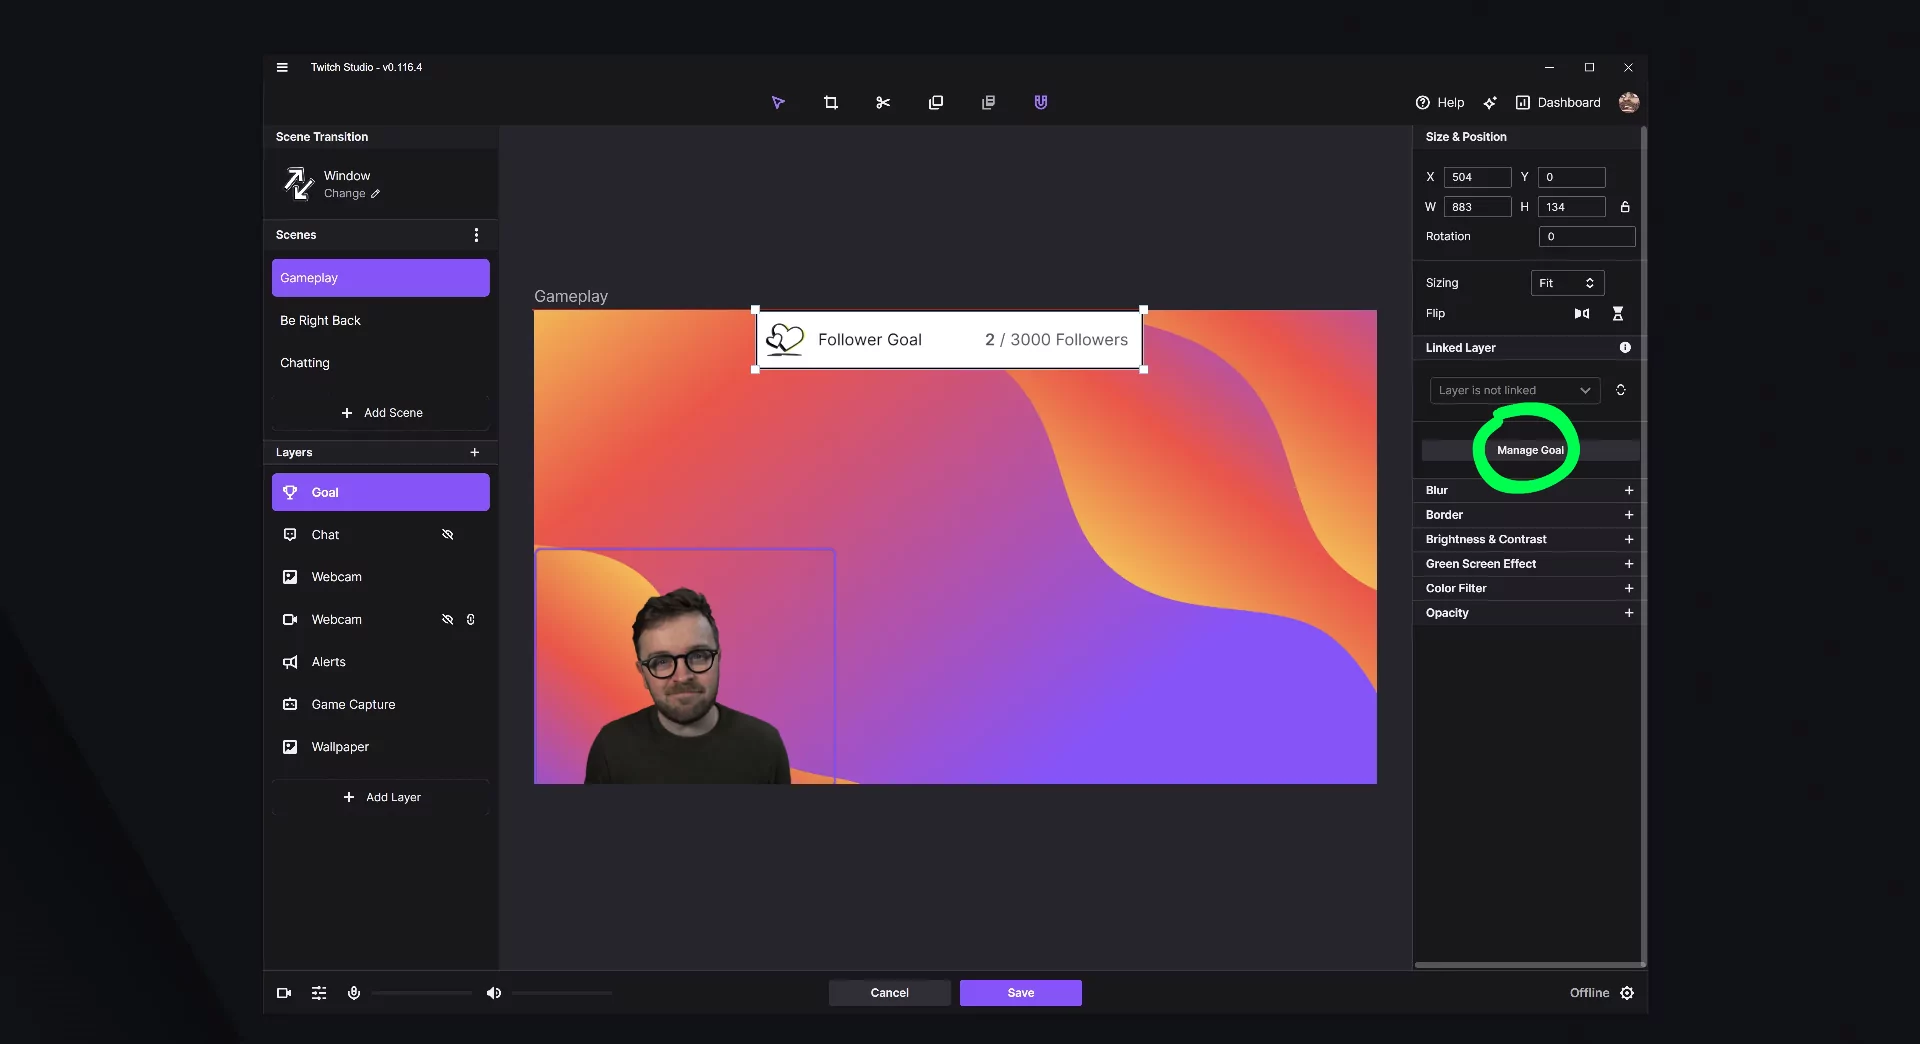
There are of course other cool options such as setting up follower or subscriber goals with the Goal layer, or putting a countdown layer in to use for beginning your stream, or simply taking a break to get some much needed water and touch some much needed grass.
Here you can see the Manage Goal button on the right hand side, and clicking in there will give you all the options you need to customise your goals!

Here is all you need to set up the countdown layer, pretty simple stuff!

We’re nearly ready to go live and blow the entire world away, however, there’s a few more things that I consider incredible quality of life additions to any streamers arsenal, and considering they’re all in Twitch Studio, it’s a no brainer to get them up and running.
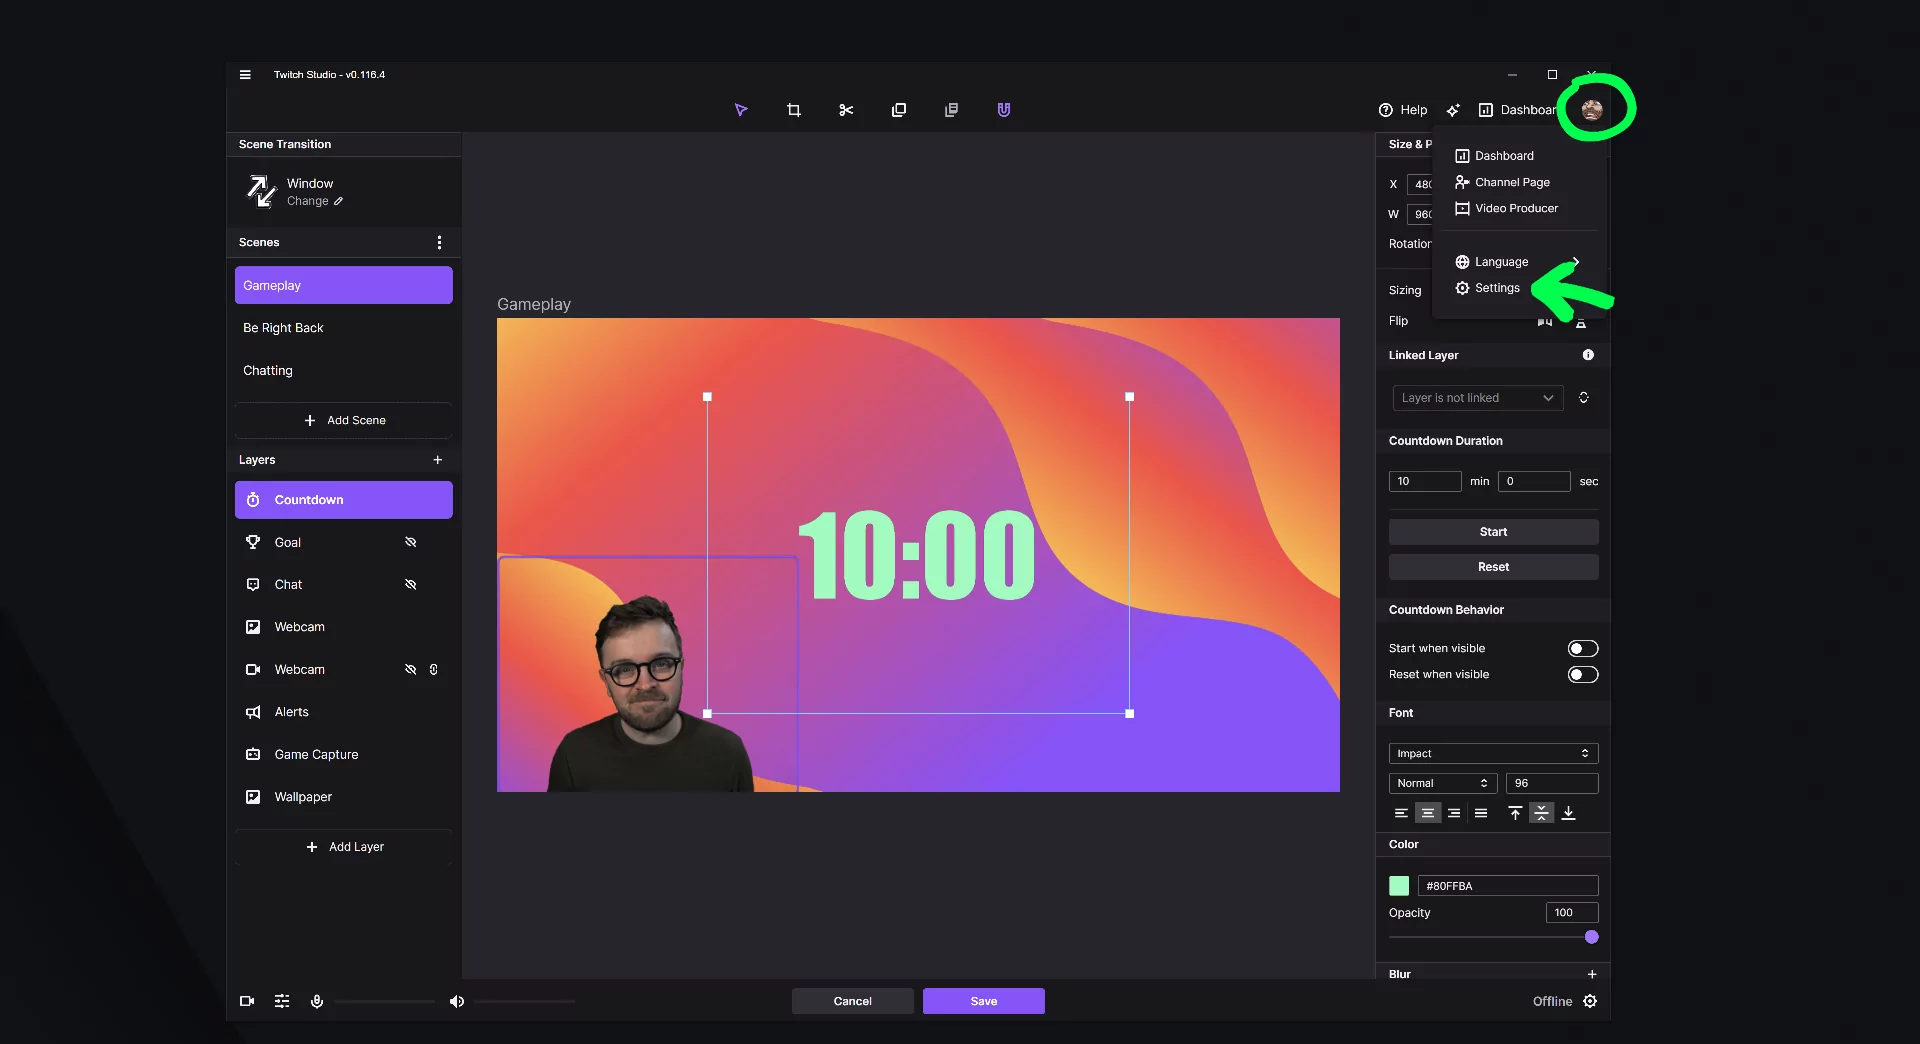
The first one takes us into the settings page, which you can get to by clicking on your user icon in the top right, and going into settings.
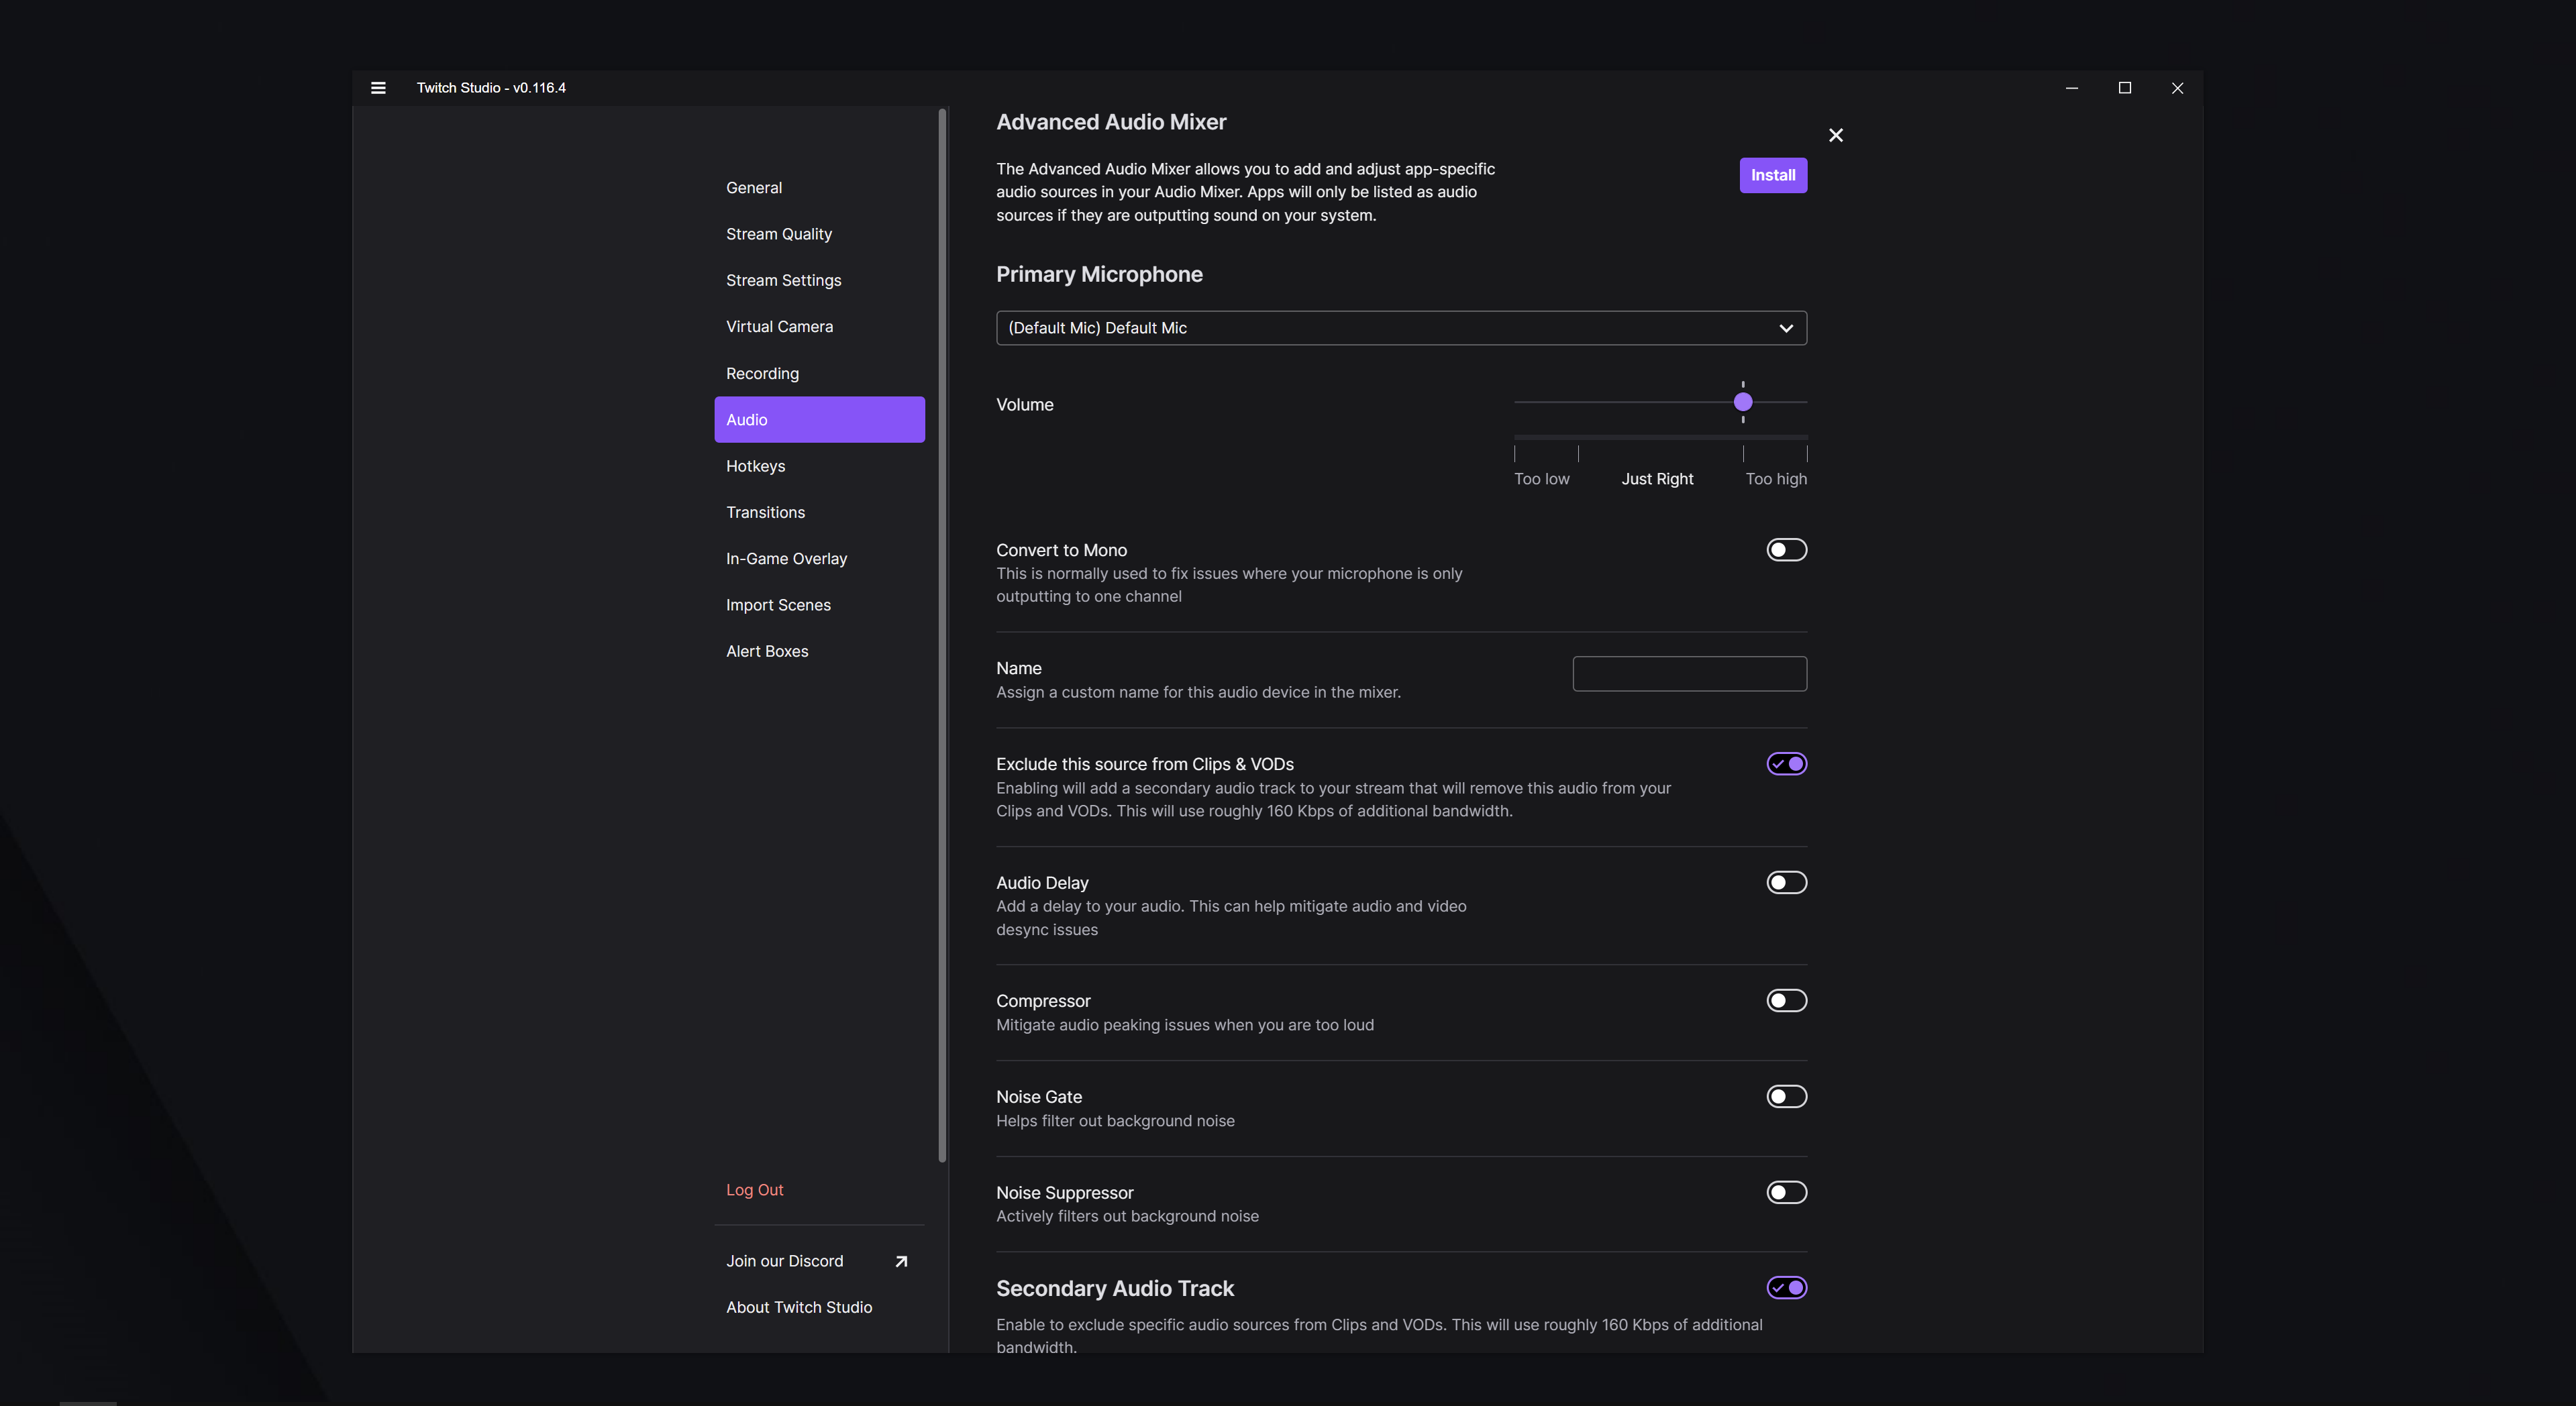
Advanced audio mixer
In here, you’ll have a lot of options – but the first one I want to point out is the Audio tab. There are so many more settings in here that you don’t initially realise, and it’s pretty incredible. The very top of this tab, you will see Advanced Audio Mixer, I’d recommend installing and trying this out, as what it does is, it lets you add and adjust app-specific audio sources into your Audio Mixer. This means you can use Spotify or YouTube Music sources and add Discord audio to Twitch Studio. Whatever you’re using, and be able to tweak the volume that your audience hears within Twitch Studio.
It has other options such as compressors, excluding particular audio sources from clips and VODs such as your music track, if you’re wanting to make a montage or highlight reel with different music.
It even lets you include a secondary audio track, so you can further adjust what you do and do not keep in your final VOD mix.
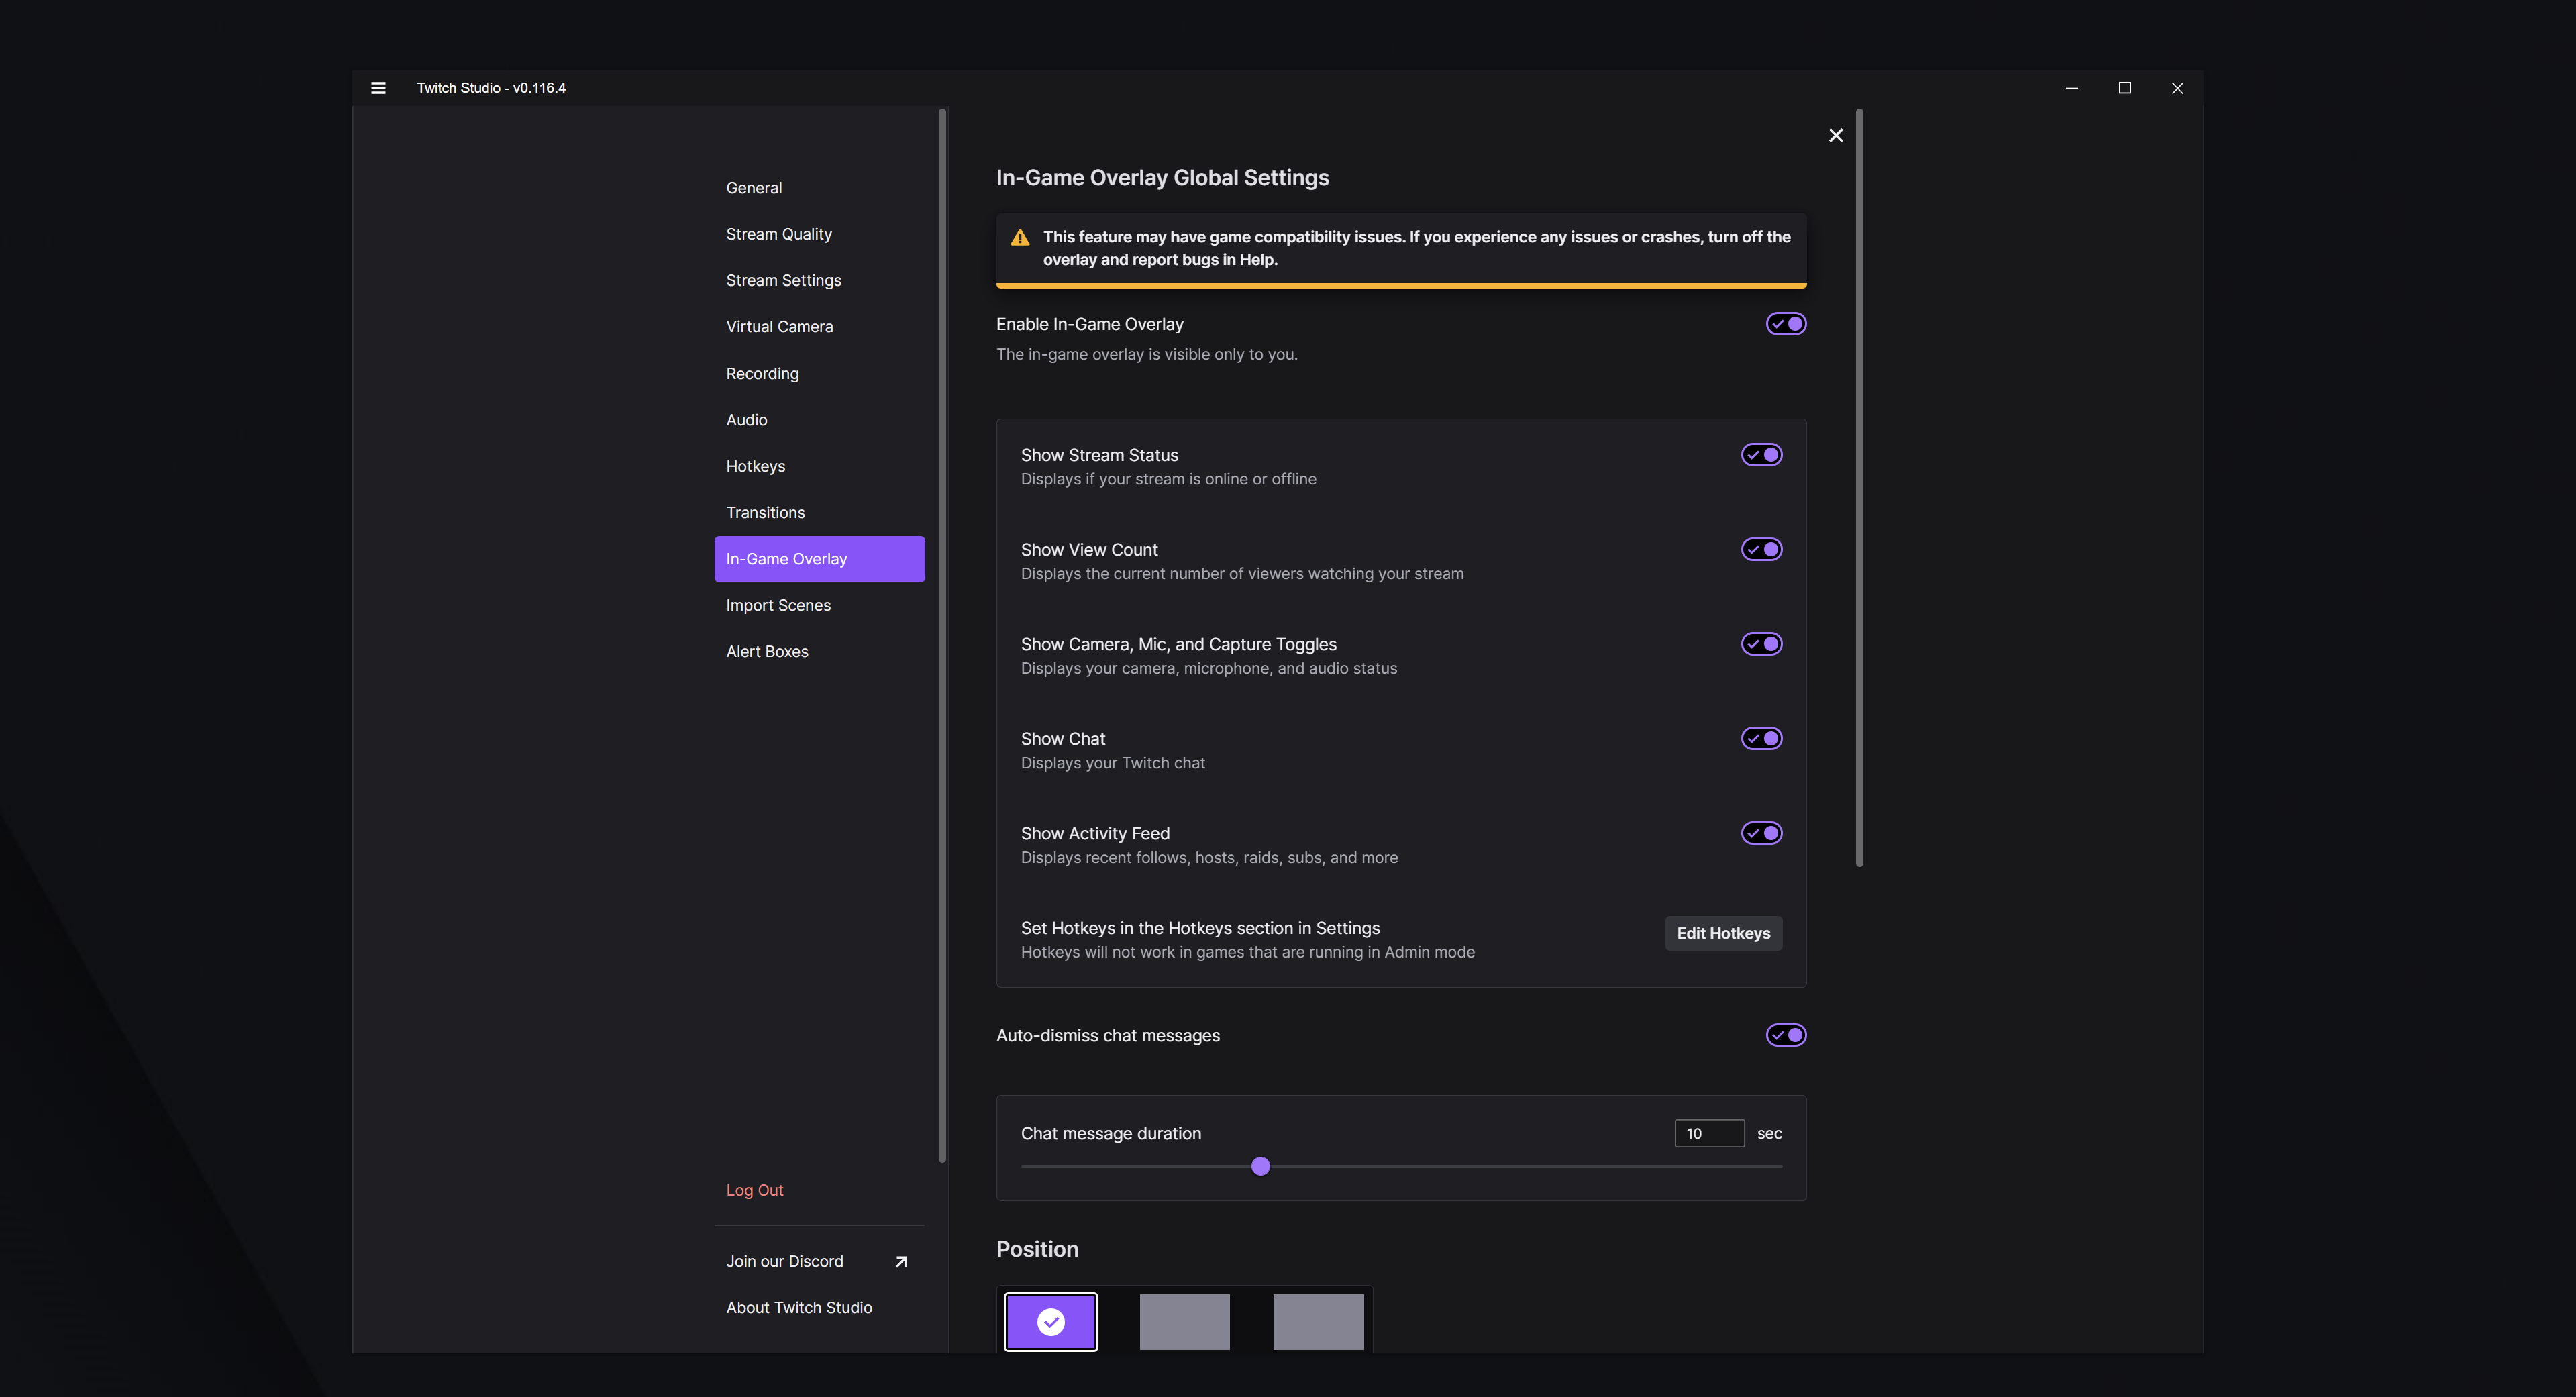
Twitch Studio In-Game Settings
While we’re still in Settings we should check out the In-Game Overlay tab, and this is particularly useful if you’re on a single monitor setup, and you want to be able to say, see your alerts and chat on screen while you’re gaming. People with one monitor will love this, and you can customise where it is on screen, and what it shows as well.
And one more thing…
Heading back out, I’ve one more weird.. but very cool thing to show you, and I don’t know how people would use this, but I have seen some streamers use it to breakdown replays, point out tactical decisions in a competitive game match, or just draw.. glasses and moustaches on other people or things in game.. so yeah, go wild with this one!
You can select it on the main screen, just to the top right of the center panel.
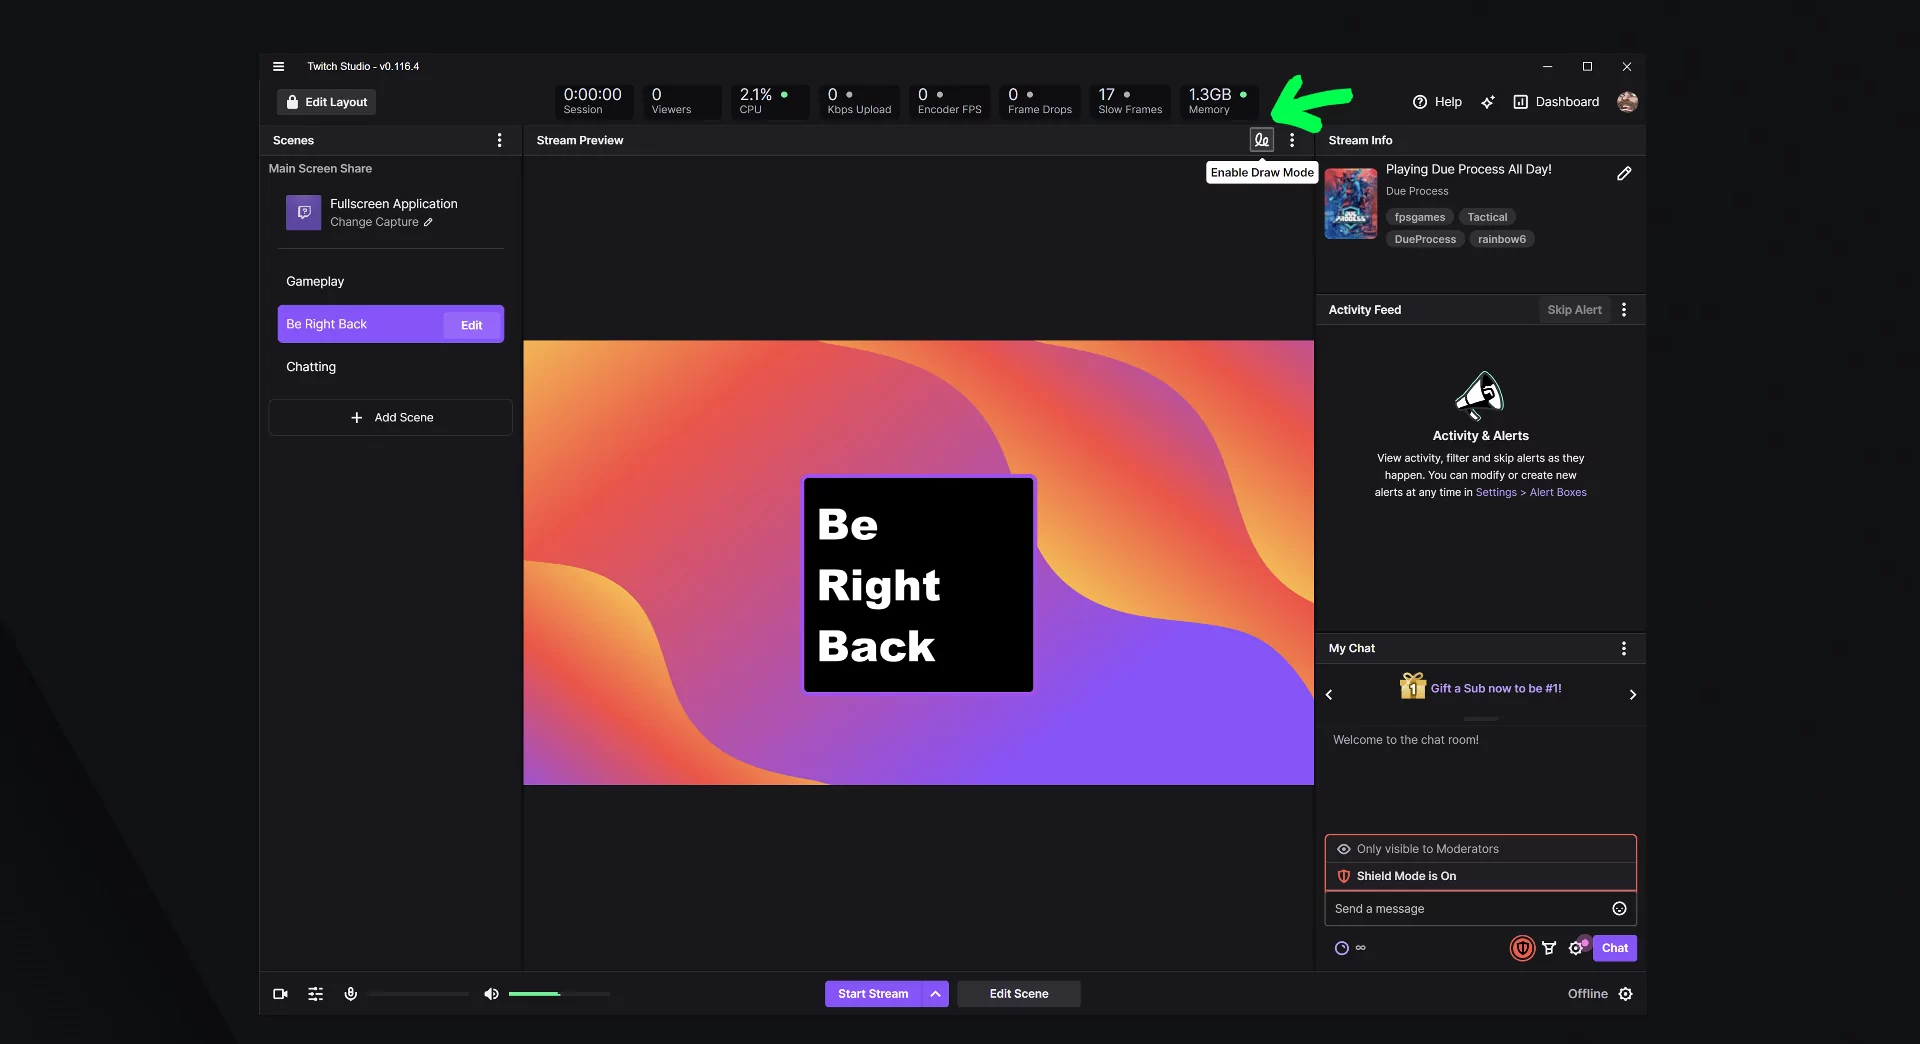
Once you do, you can see the options right away, from just drawing on screen, to placing arrows, and even erasing, undoing or changing the colour of your paintbrush, there’s lots of freedom here. I’ve seen this before but only as a third party plugin for OBS Studio, and even then, it hasn’t come close to this. It’s great to see it as a built in option, though I am still trying to figure out how to draw the perfect top hat on myself..
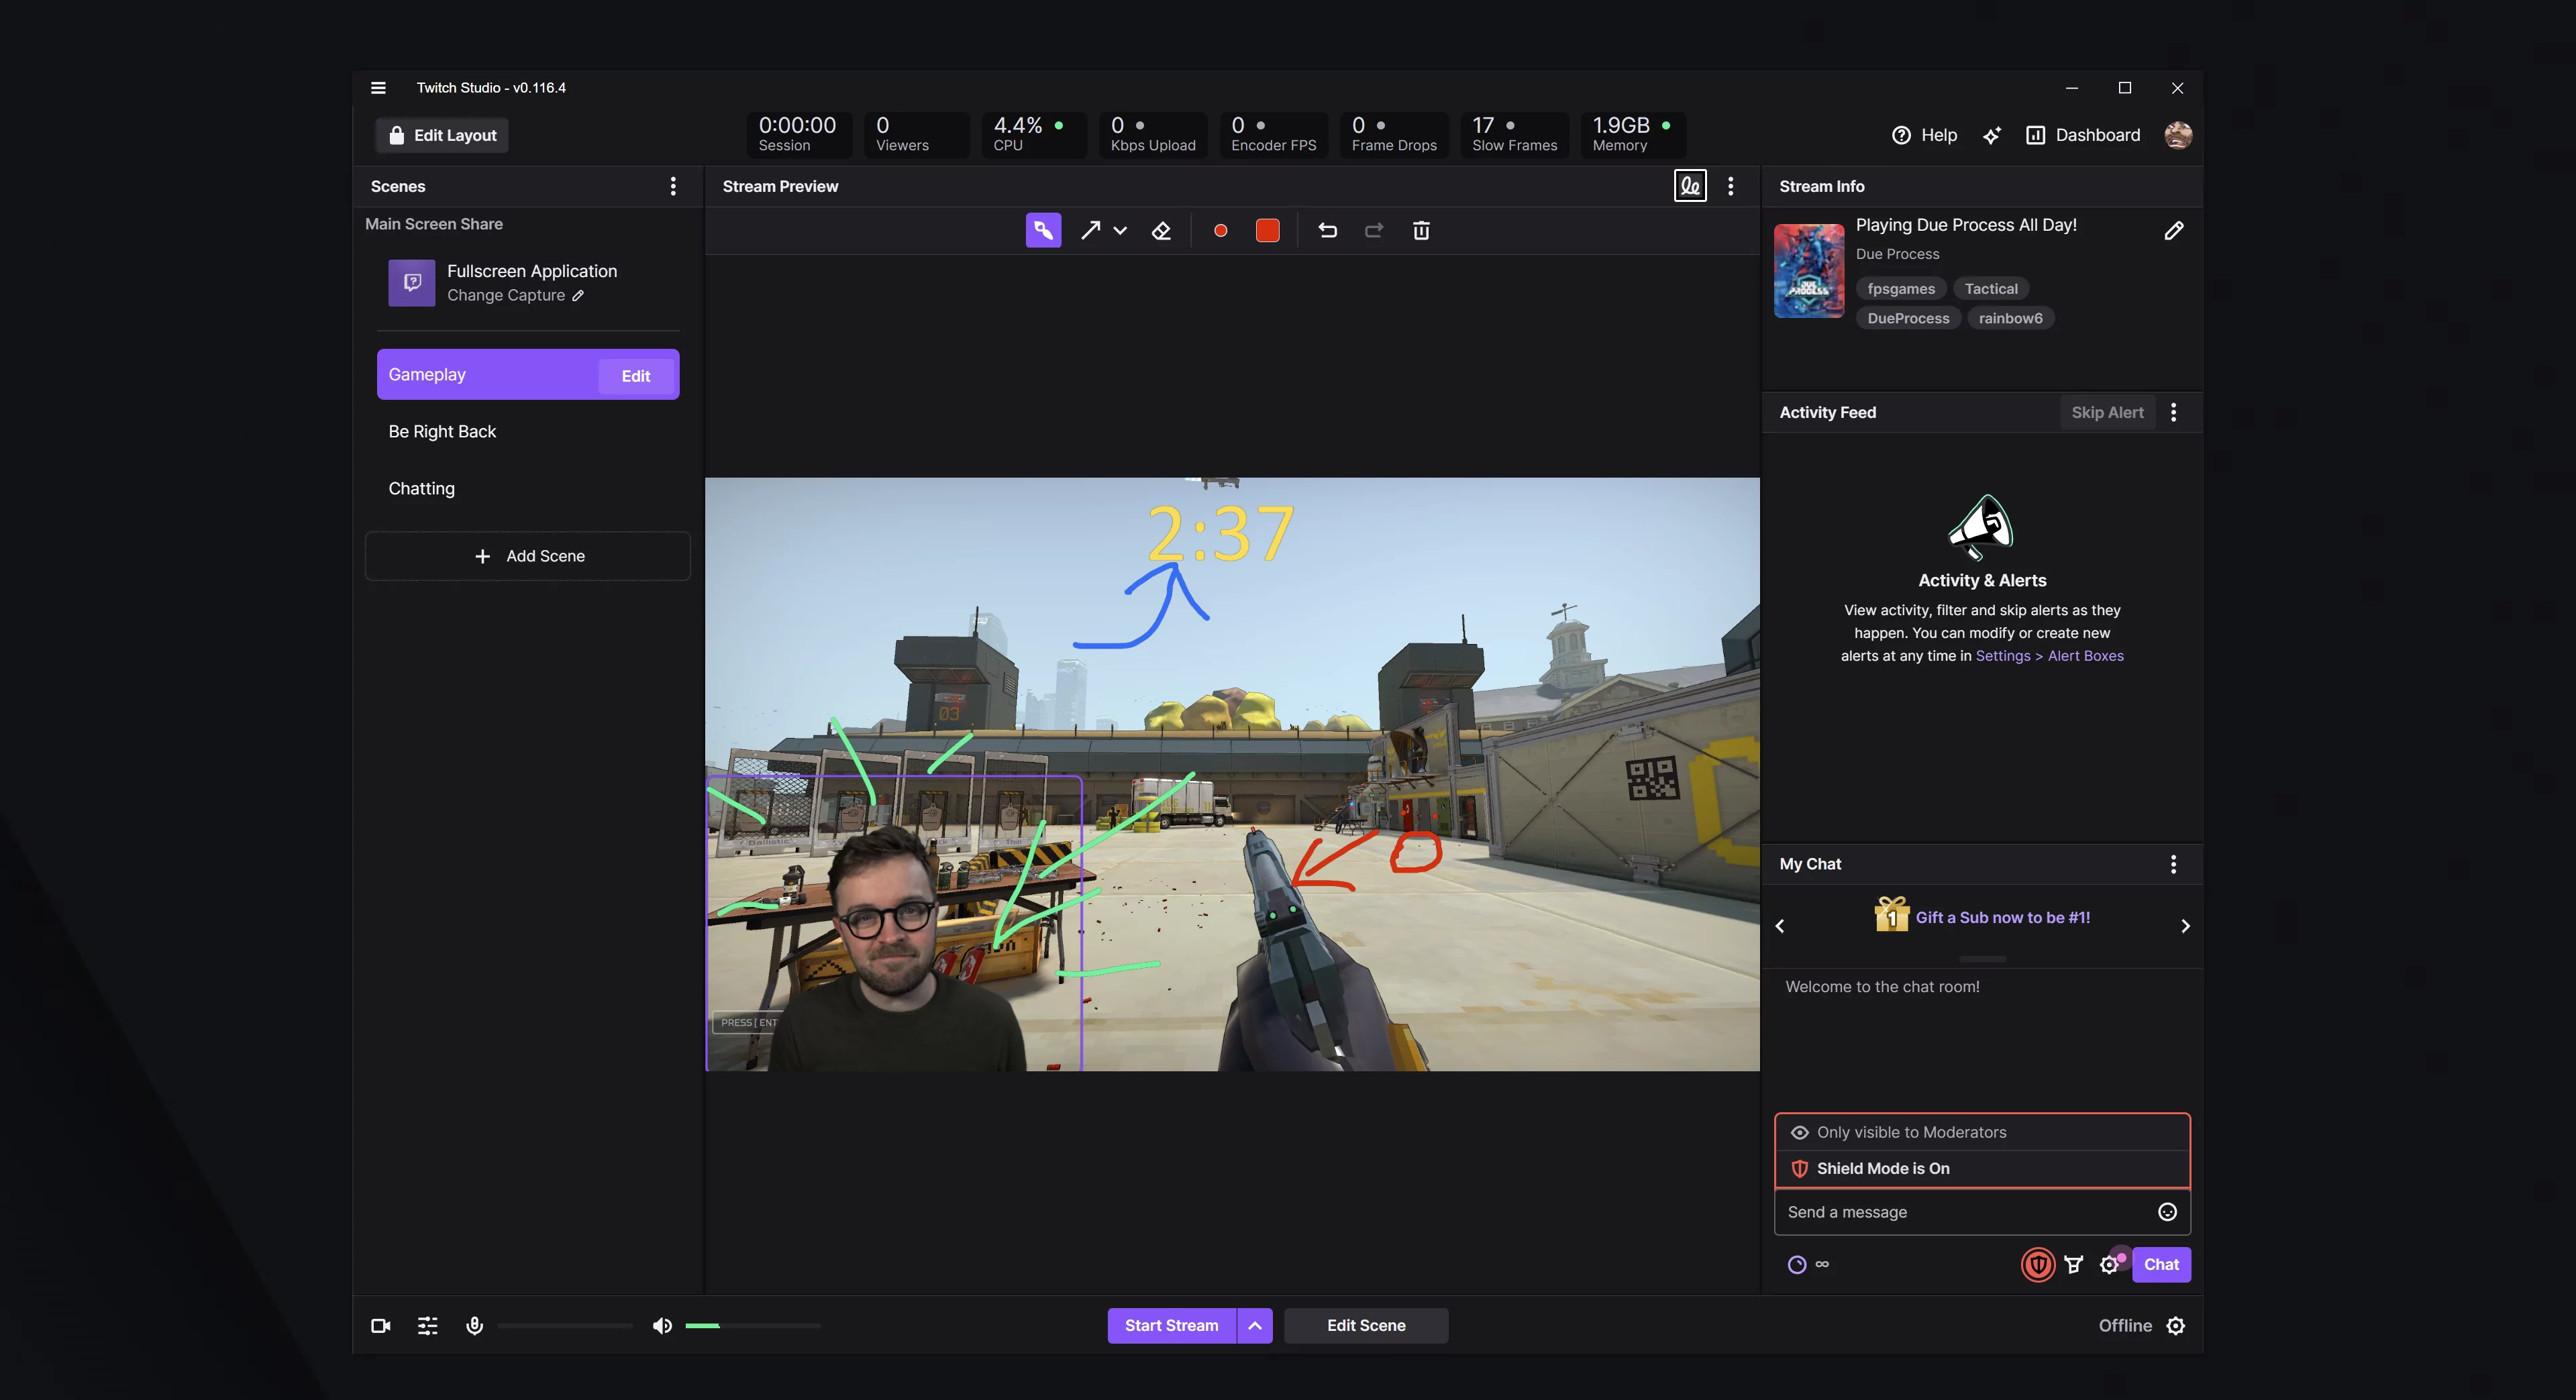
And that’s it! You can hit Start Stream or click the arrow beside it and simply Record your footage from in here too. Go look through the settings page we looked at earlier and check out your recording locations as well as your video format type: we’ve covered lots here but there’s always some extra details you can discover as you go. Hope this helped, and best of luck with Twitch Studio!
New Posts
Premium and Free Twitch Overlays Templates
April 20, 2024
Twitch overlay templates are what we do best. Here is a selection of freebies…
0 Comments7 Minutes
Streamers VS Mainstream Media
April 8, 2024
The digital landscape is ever-evolving, and with it, the rise of streaming in…
0 Comments7 Minutes
Free Twitch Overlays, Alerts, and Widgets
March 3, 2024
Free twitch overlays, alerts, and stream widgets are something that we’ve been…
0 Comments9 Minutes
